3
Replacing or Adding a Disk Module
3-13
Servicing and Upgrading a Deskside DPE
Removing a Disk or
Disk Filler Module
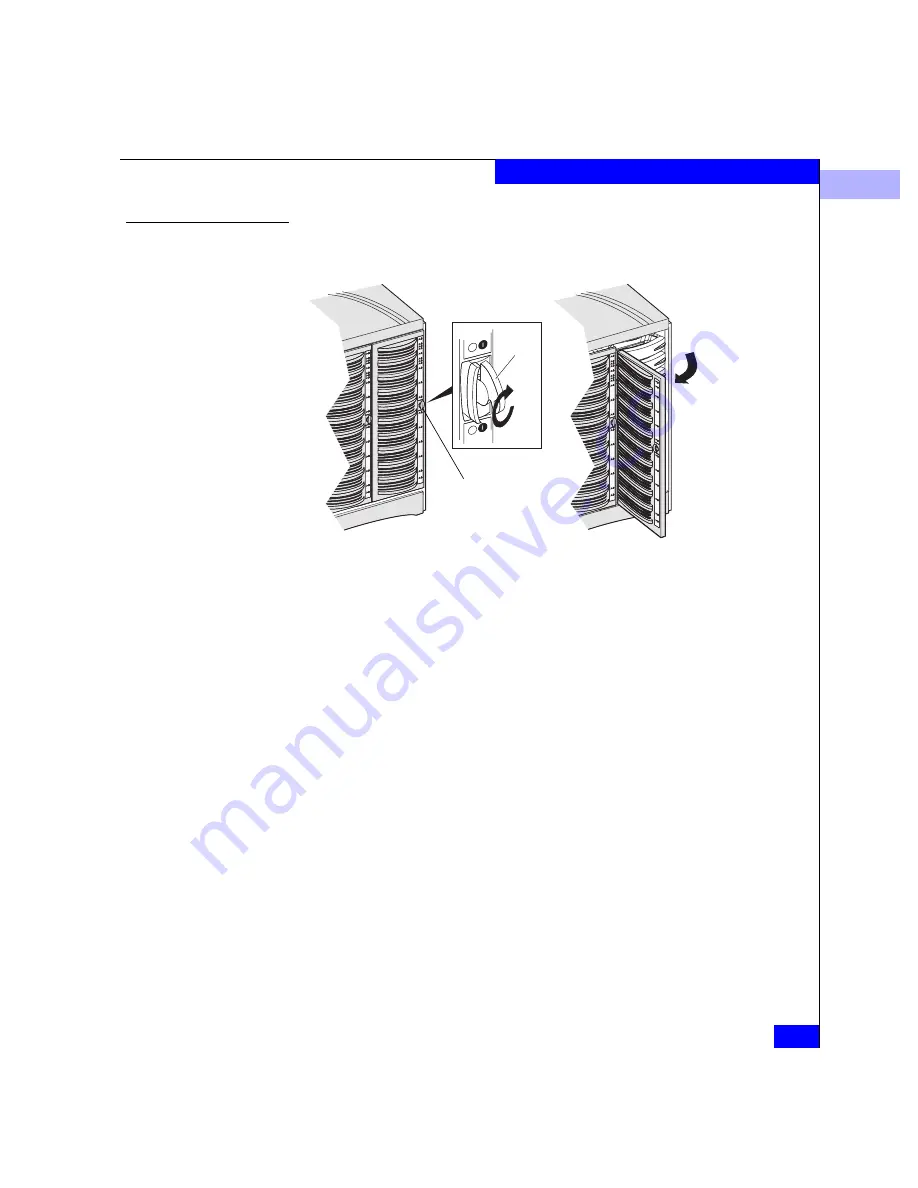
1. Unlock and open the front door as shown below.
Figure 3-3
Unlocking and Opening the Front Door
2. Locate the slot where you want to install the new or replacement
disk module.
3. Remove the disk or disk filler module from the slot as shown
below and on the next page.
Key
A. If the door is locked:
Insert the key in the door’s latch.
Turn the key 180 degrees clockwise.
Swing the door to the left.
B. Push the door’s latch.
C. Swing the door to the left.
CAUTION
Do not force the
door open. If the door snaps off
the hinges, reinstall it by
positioning it at a 45-degree
angle to the enclosure and
snapping it into the hinge
Latch
Содержание FC4400
Страница 6: ...EMC Disk Array Processor Enclosure DPE Deskside Model FC4400 4500 Hardware Reference vi Contents ...
Страница 10: ...x EMC Disk Array Processor Enclosure DPE Deskside Model FC4400 4500 Hardware Reference Figures ...
Страница 12: ...xii EMC Disk Array Processor Enclosure DPE Deskside Model FC4400 4500 Hardware Reference Tables ...
Страница 16: ...xvi EMC Disk Array Processor Enclosure DPE Deskside Model FC4400 4500 Hardware Reference Preface ...
Страница 128: ...g 6 EMC Disk Array Processor Enclosure DPE Deskside Model FC4400 4500 Hardware Reference Glossary ...
Страница 134: ...EMC Disk Array Processor Enclosure DPE Deskside Model FC4400 4500 Hardware Reference i 6 Index ...


