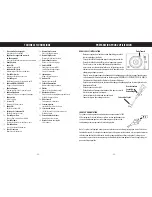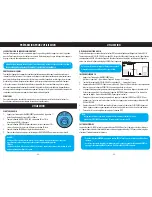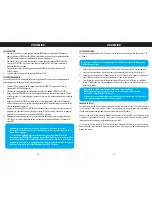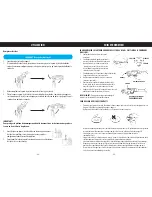
- 14 -
- 15 -
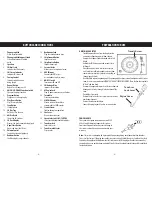
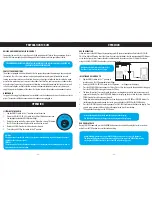
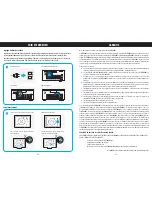
Replacing the stylus
IMPORTANT: Avoid touching the stylus itself.
Be sure to disconnect any devices (MP3 player or smartphone) before using the Record player.
1. Lift the tone arm off the tone arm rest.
2. At the front end of the tone arm, place the tip of your fingernail between the stylus holder and the
black cartridge housing as shown, press down on the stylus holder until it separates from the cartridge
housing.
3. Completely remove the stylus holder with worn stylus and discard it.
4. Place the new stylus holder with stylus under the cartridge housing. First, press upward on the back side
of the stylus holder, and then press up on the front edge of the stylus holder until it snaps into place on
the cartridge housing.
IMPORTANT!
To protect the turntable from damage during transportation, a silver transit screw is located at
the upper right of the turntable platform.
1. Before playing, please use a screwdriver to turn the transit screw in
clockwise direction (screw going down) completely to unlock
the turntable.
2. To lock the turntable again for transportation, please turn screw in
counter-clockwise direction.
OPERATION
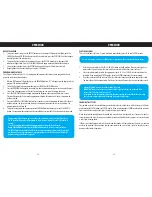
TO REPLACE THE CARTRIDGE FROM TONE ARM PLEASE FOLLOW THE PROCEDURES BELOW
1. Gently lift the tone arm from the tone arm rest.
2. By using your left hand to hold the tone arm and
using your right hand to hold the rear portion of
the cartridge. Then push the cartridge backwards
and downwards according to the direction as
shown to the left to separate the cartridge from
the tone arm.
3. Using either a tweezer or your fingers, carefully
unplug the terminals from the cartridge.
4. Carefully connect the terminals to the new
cartridge (not included).
5. To re-install the new cartridge to the tone
arm. First please lock the front end of the new
cartridge on the hook of the tone arm.
6. Press the rear side of the new cartridge upwards
to lock it on to the tone arm.
CAUTION: Please do not damage the stylus when installing the new cartridge.
Caring for Compact Discs
•
Treat the compact disc carefully. Handle the compact disc only by its edges. Never allow your fingers to
come in contact with the shiny, unprinted side of the compact disc.
•
Do not attach adhesive tape, stickers, etc. to the compact disc label.
•
Clean the compact disc periodically with a soft, lint-free, dry cloth. Never use detergents or abrasive
cleaners to clean the compact disc. If necessary, use a CD cleaning kit.
•
If a disc skips or gets stuck on a section of the compact disc, it is probably dirty or damaged (scratched).
•
Wipe in straight lines from the center of the compact disc to the outer edge of the compact disc. Never
wipe in circular motions.
•
Compact Discs should be stored in their cases after each use to avoid damage.
•
Do not expose compact discs to direct sunlight, high humidity, high temperatures or dust, etc. Prolonged
exposure or extreme temperatures can warp the compact disc.
•
Do not stick or write anything on either side of the compact disc. Sharp writing instruments, or the ink,
may damage the surface.
CARE AND MAINTENANCE
Содержание WINSTON EANOS501
Страница 17: ...electrohome com ...


