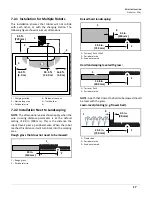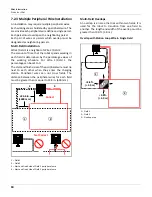
26
U
SING
THE
R
OBOT
S
ETTINGS
M
ENU
5)
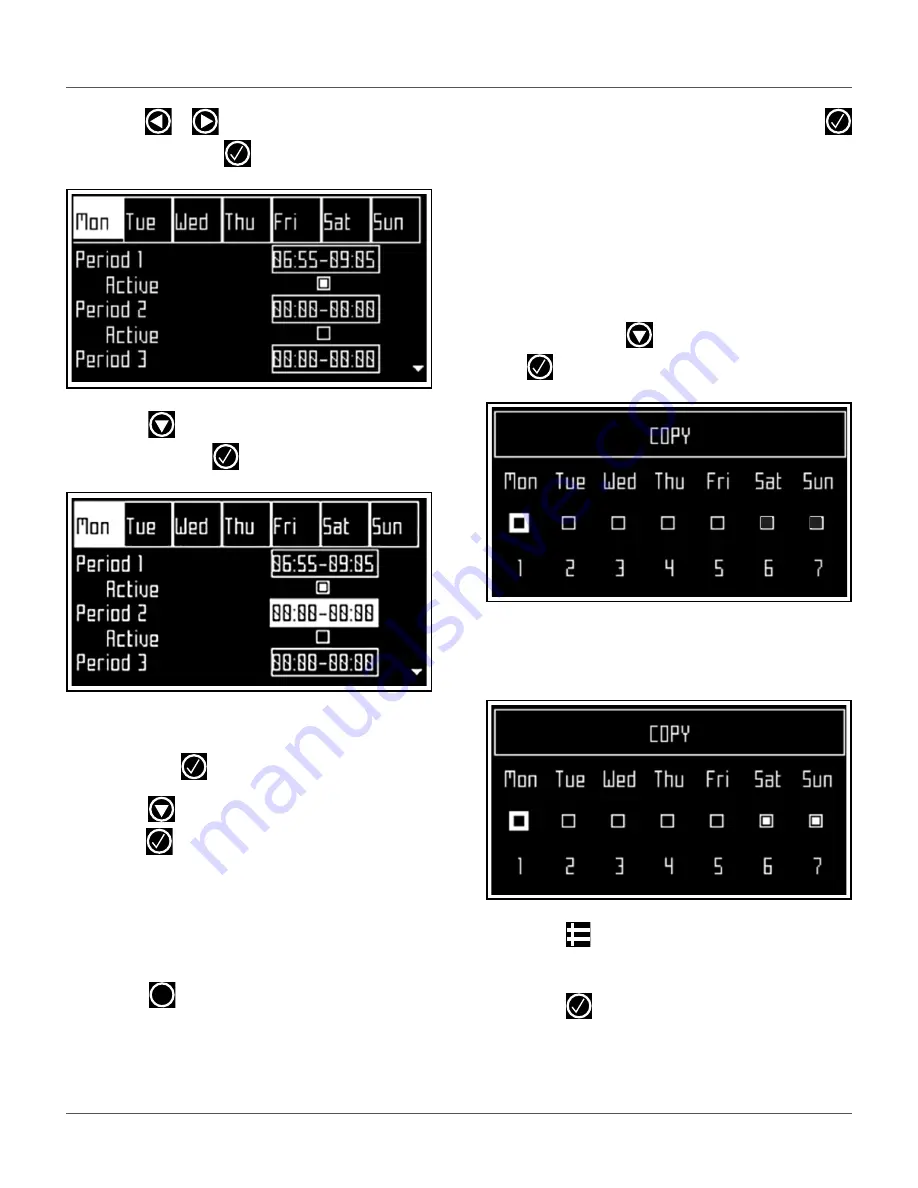
Press
or
to select the required day of the
week, then press
.
6)
Press
to select the required period in the
day, then press
.
7)
Use the numeric keyboard to enter the start and
end time values where the cursor is flashing,
then press
.
8)
Press
to select the active check box, then
press
to activate the defined session.
NOTE
: In the figure above, Period 1 is active, Pe-
riod 2 is inactive.
9)
Repeat the process for all days and time periods
required. note: The defined schedule can be
copied to another day.
10)
Press
to return to the
PARCEL SCHEDULE
menu.
11)
Use the arrows to select
Follow sched
. Press
to check the button on to ensure that the robot
follows the defined schedule. When unchecked,
the robot will ignore the timetable and work
continuously.
To copy the schedule from one day to another:
1)
Follow the procedure above to define the
working schedule for one day.
2)
When all the required periods have been
defined, press
to highlight
Copy
, then press
. The
COPY
menu will appear:
3)
Press the number key that corresponds to the
day to which the schedule is to be copied (more
than one day can be selected).
4)
Press .
5)
Highlight
Edit
.
6)
Press .
X


