-60-
-61-
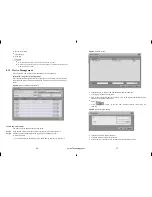
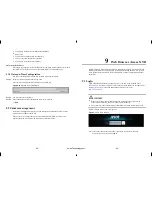
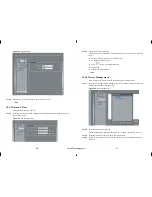
Figure 10-4
Login interface
Step 2
Enter the user name and password, and click Save to exist.
---- End
10.4.3 Date and Time
Change the date and time of NVR
Step 1
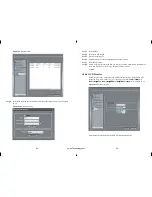
Select Device manager->NVR management->Date and time enter configure interface
show in Figure 10-5.
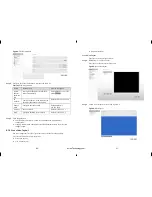
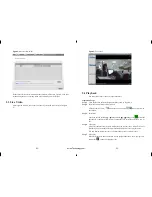
Figure 10-5
date and time setting
Step 2
Change the NVR date and time
Click the Set button behind the Current Computer Time to sync the time from PC to
device.
Set the Computer current time to be NVR time.
Set manually to change time.
Click
button to call the date ActiveX.
Set the date.
Input the time after the date.
---- End
10.4.4 Device Management
Add / Delete the IP cameras to NVR through the Device management.
Step 1
Select Device manager->NVR management->Device management enter the device
manager interface show in Figure 10-6.
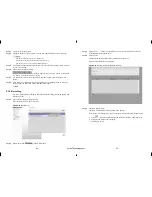
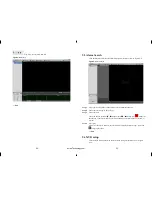
Figure 10-6
device management
Step 2
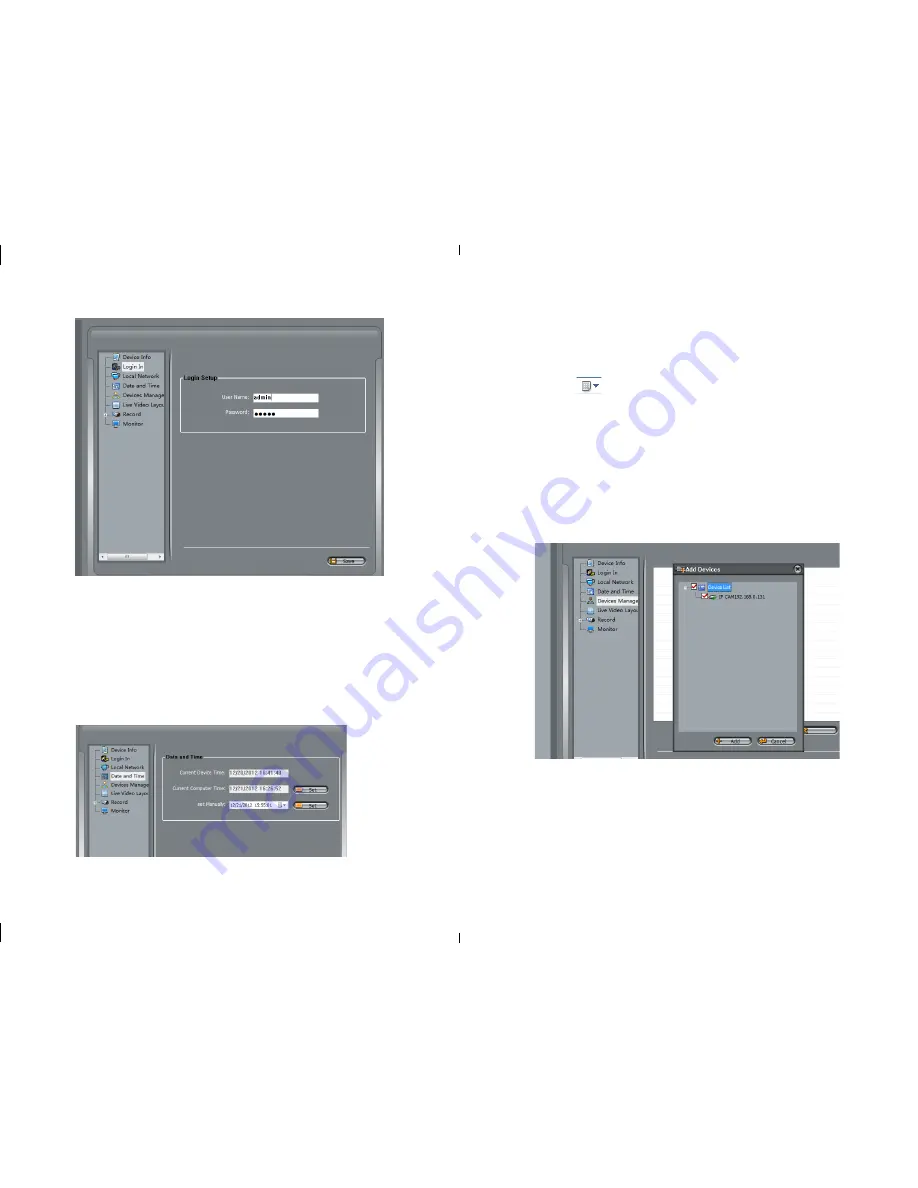
Select the cameras and click Add.
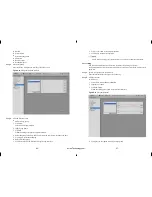
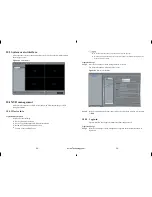
Call the adding device interface, like Figure 10-7 to add all the network cameras.
Step 3
Select the cameras which you want to add into the NVR.
Step 4
Click Add to call the added ok, click OK, add the device successfully and exit the
interface.
eLineTechnology.com


