-48-
-49-
5.
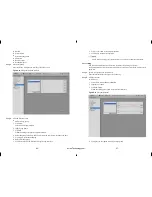
Click Apply to finish the user adding configuration.
Delete user.
1.
Click delete to call the delete user interface.
2.
Click yes to return the previous interface.
3.
Click Apply to finish the user operates.
Unlock the locked user
When login to the system, if the user input the wrong password more than 3 times, then
the system will lock the user, but only the administrator can unlock the users.
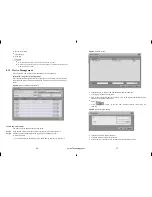
8.1.9 Date and Time Configuration
You can set the Date and Time and also the Date Time format of NVR.
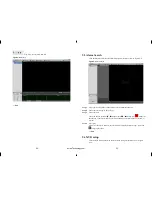
Step 1
Setup>System Configuration>Date and Time,
Enter the date and time interface like Figure 8-16 showing.
Figure 8-16
Date and Time configuration
Step 2
You can input the correct time.
Step 3
Choose the date and time format which you want to use with.
---- End
8.2 Camera management
In the camera management interface we can configure the parameters of the cameras
which have been added to the NVR.
They way how to configure the device from NVR and from WEB is same. Please
reference the network cameras “IE Web browser interface Guide”
.
9
Web Browser Access NVR
NVR Web Server, built-in Flash technology supports IE, Chrome, Firefox, Safari and
other popular browsers. Can be quickly be configured through the Web, live preview,
video playback, alarm retrieval, NVR configuration, camera configuration and other
operations.
9.1 Login
The NVR default IP address is: network port 1 is 192.168.0.120, network port 2:
192.168.1.120. You can use a Web browser to access the IP address in the address bar
input device, such as: connection through the Ethernet port 1, enter
:
http://192.168.0.120
Web access, please confirm that the network is properly connected, and the
network is unobstructed, and you use the correct IP address
The system must have the flash player installed before main system can be used.
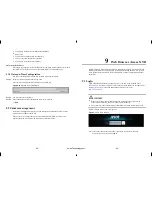
NVR Web login screen shows in Figure 9-1.
Figure 9-1
NVR Login interface
Enter a user name and password into the login screen to enter the main page
User Name and Passwords both are
admin
eLineTechnology.com


