14
4 - LOCATING BOILER
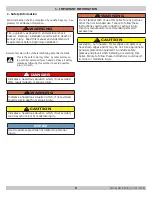
CAUTION
Boiler weight exceeds 140 pounds (63.5 kg). Do not
lift boiler onto wall without assistance.
!
4.2 Wall Mounting
1.
Decide position of boiler on the wall allowing for all
required clearances and flue terminal position.
2.
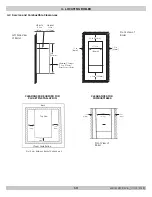
Tape template to the wall. Ensure template is level and
upright. Mark position of holes for boiler mounting bracket
and plumbing connections.
3.
Rear exit flue - mark position of hole for flue.
4.
Side exit flue - mark horizontal center line of flue across
the wall to side wall, then along side wall (ensure lines are
parallel and sloped properly towards the boiler, refer to
section 6. This will give position of center of hole for flue.
5.
Cut hole in wall for coaxial flue. See sizing below:
• 125 & 150 - 4
3/8
" [110 mm] diameter
• 165 & 205 - 5
5/16
" [135 mm] diameter
6.
Pre-pipe supply and return water connections with factory
fittings before wall mounting.
7.
Mount boiler on wall using wall mounting bracket included
with unit.
8.
Adjust the position of the boiler verify it is level.
Note
Lift boiler using chassis. Do not use front jacket,
vent piping, water or gas fittings to lift boiler as it
may cause damage to the boiler.
Use two (2) wrenches when tightening and fitting
to pipe boiler's threaded fittings. Boiler's internal
piping can be damaged if subjected to excessive
torque.
Note
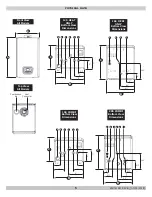
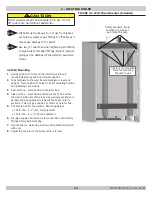
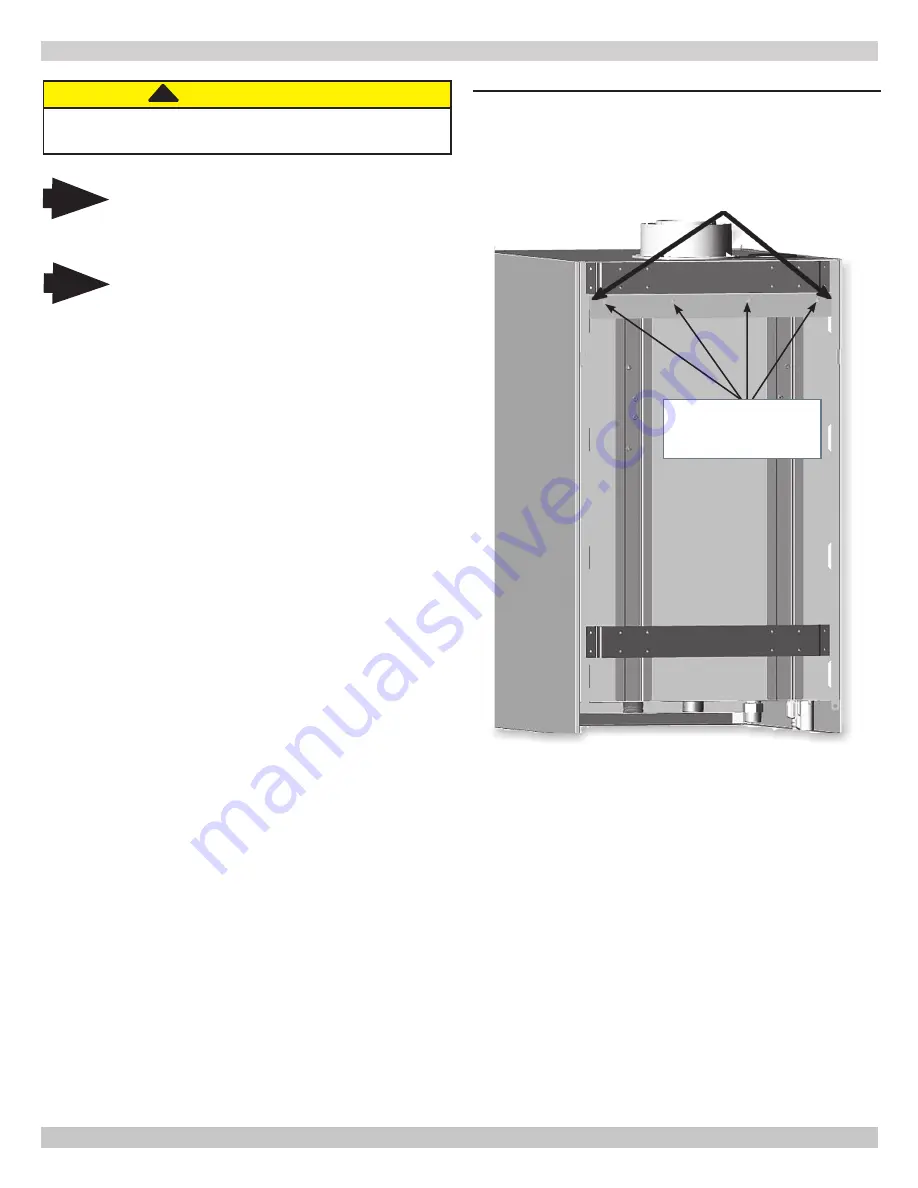
FIGURE 4-2 Wall Mount Bracket (Included)
Center brackets. Avoid
overhang on sides of
wall mount bracket.
Use four (4) predrilled
holes for mounting
bracket to wall
240011947 REV B, [03/31/2018]
Содержание DCB-125
Страница 2: ...DCC 205 ...
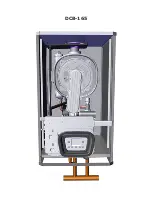
Страница 4: ...DCB 165 ...
Страница 65: ...61 APPENDIX A WIRING DIAGRAMS A 1 MODELS 125 Heat Only 240011947 REV B 03 31 2018 ...
Страница 66: ...62 APPENDIX A WIRING DIAGRAMS A 2 MODELS 165 Heat Only 240011947 REV B 03 31 2018 ...
Страница 67: ...63 APPENDIX A WIRING DIAGRAMS A 3 MODELS 150 Combi 240011947 REV B 03 31 2018 ...
Страница 68: ...64 APPENDIX A WIRING DIAGRAMS A 4 MODELS 205 Combi 240011947 REV B 03 31 2018 ...
Страница 69: ...65 NOTES 240011947 REV B 03 31 2018 ...
Страница 70: ...66 NOTES 240011947 REV B 03 31 2018 ...
Страница 81: ...9 125 WITH ZONE CIRCULATOR PUMPS 125 with Zone Circulator Pumps PN 240011430 REV G 03 31 18 ...
Страница 84: ...12 125 WITH ZONE VALVES PIPING DIAGRAM 125 with Zone Valves PN 240011430 REV G 03 31 18 ...
Страница 87: ...15 165 WITH ZONE CIRCULATOR PUMPS PIPING DIAGRAM 165 with Zone Circulator Pumps PN 240011430 REV G 03 31 18 ...
Страница 90: ...18 165 with Zone Valves 165 WITH ZONE VALVES PIPING DIAGRAM PN 240011430 REV G 03 31 18 ...
Страница 94: ...22 150 205 WITH ZONE PUMPS WIRING DIAGRAM 150 205 With Zone Pumps PN 240011430 REV G 03 31 18 ...
Страница 95: ...23 150 205 with Zone Valves 150 205 WITH ZONE VALVES PIPING DIAGRAM PN 240011430 REV G 03 31 18 ...
Страница 96: ...24 150 205 WITH ZONE VALVES WIRING DIAGRAM 150 205 With Zone Valves PN 240011430 REV G 03 31 18 ...
Страница 102: ...30 MODEL 125 Heat Only 125 HEAT ONLY WIRING DIAGRAM PN 240011430 REV G 03 31 18 ...
Страница 103: ...31 MODEL 165 Heat Only 165 HEAT ONLY WIRING DIAGRAM PN 240011430 REV G 03 31 18 ...
Страница 104: ...32 MODEL 150 Combi 150 COMBI WIRING DIAGRAM PN 240011430 REV G 03 31 18 ...
Страница 105: ...33 MODEL 205 Combi 205 COMBI WIRING DIAGRAM PN 240011430 REV G 03 31 18 ...
Страница 110: ...38 Low Water Cutoff Detail LOW WATER CUTOFF NO NO YES PN 240011430 REV G 03 31 18 ...
Страница 111: ...39 NOTES PN 240011430 REV G 03 31 18 ...
Страница 112: ......
Страница 115: ......
Страница 116: ......

