35
Donaldson Company, Inc.
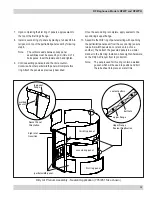
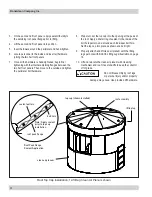
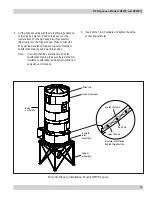
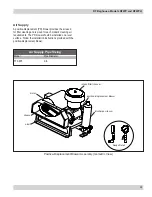
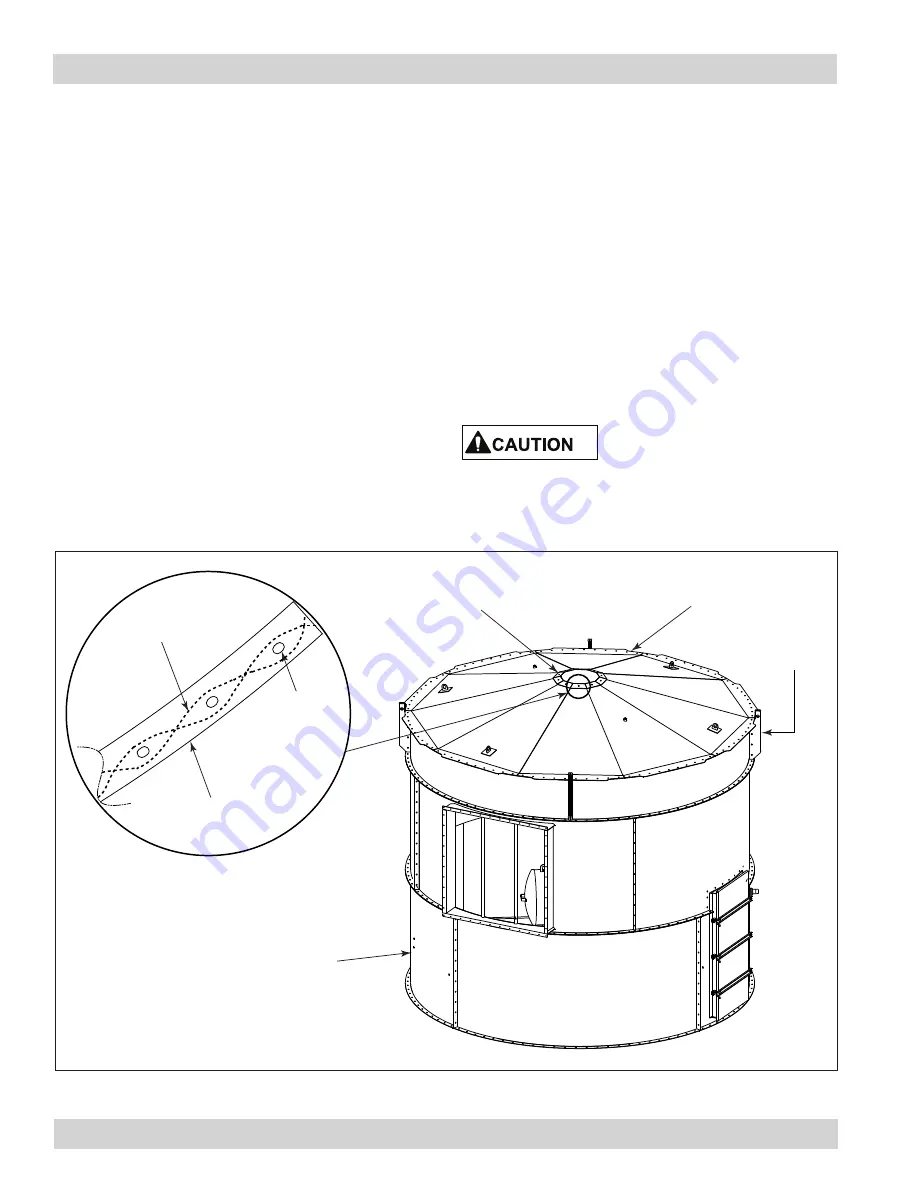
clean air plenum
roof assembly
Roof Peak Flange
Sealant Application
sealant pattern
roof peak flange
bolt hole
top cap (shown installed)
Note: Apply sealant
prior to top cap
installation.
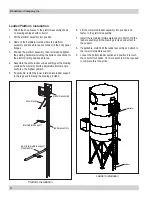
lifting lug
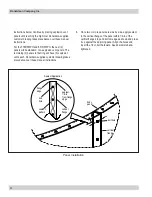
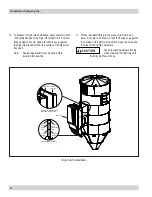
3. On the second half roof panel, apply sealant liberally to
the adjoining roof panel flange prior to lifting.
4. Lift the second half roof panel into position.
5. Insert hardware around the perimeter and hand-tighten.
6. Locate personnel to the inside and insert all hardware
joining the two half roof panels.
7. Once all the hardware is hand-tightened, begin final
tightening with the internal adjoining flanges between the
two half roof panels. Then move to the outside and tighten
the perimeter bolt hardware.
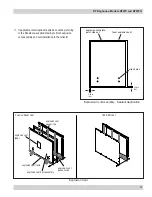
8. Prepare to set the top cap into the opening at the peak of
the roof. Apply a liberal ring of sealant to the inside of the
bolt hole pattern, and around each individual bolt hole.
Set the top cap into place as shown and bolt tight.
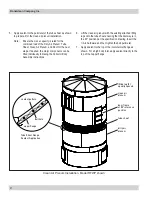
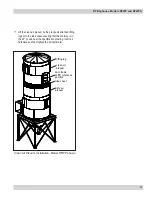
9. Properly attach and lift clean air plenum with the lifting
lugs per note with Bolt-On Lifting Lugs illustration on page
14.
10. Lift and relocate the clean air plenum with cleaning
mechanism and roof. Use standoffs to keep the collector
off of grade.
Do not lift assembly by roof lugs
or personal injury and/or property
damage may ensue. Use provided lift hardware.
Roof Top Cap Installation, 12-ft Bag Clean Air Plenum shown


