Dolby
Dolby Surround
Surround Mixing
Mixing Manual
Manual
Chapter
Chapter 3
3 -
- System
System Installation
Installation
3-10
3-10
Troubleshooting Tip:
Troubleshooting Tip:
If a Center speaker is not in use and left and right information can be heard, but center
If a Center speaker is not in use and left and right information can be heard, but center
information can’t be when in either the
information can’t be when in either the Dolby Surround mode or Mono mode, the Center
Dolby Surround mode or Mono mode, the Center
speaker switch is probably set to the yes position. This causes all of the center information
speaker switch is probably set to the yes position. This causes all of the center information
to be fed to the center output of the decoder (which, in this case, is an open unconnected
to be fed to the center output of the decoder (which, in this case, is an open unconnected
output). To correct this, remove the card and move the Center speaker switch to the no
output). To correct this, remove the card and move the Center speaker switch to the no
position or add a Center speaker and
position or add a Center speaker and amplifier.
amplifier.
3.5.3
3.5.3
Wake-up
Wake-up State
State
The unit is set at the factory to wake up in the Dolby Surround mode when power is applied. If
The unit is set at the factory to wake up in the Dolby Surround mode when power is applied. If
you want the unit to wa
you want the unit to wakeup in the stereo or mono
keup in the stereo or mono mode, remove the card and move the jumper
mode, remove the card and move the jumper
to the appropriate position, as shown in
to the appropriate position, as shown in
Figure 3-14
Figure 3-14
..
Figure 3-14 Wake-Up State Jumper
Figure 3-14 Wake-Up State Jumper Detail
Detail
3.5.4
3.5.4
Local/Remote
Local/Remote Fader
Fader
The master volume control on the front of
The master volume control on the front of the unit controls the decoder’s four outputs.
the unit controls the decoder’s four outputs.
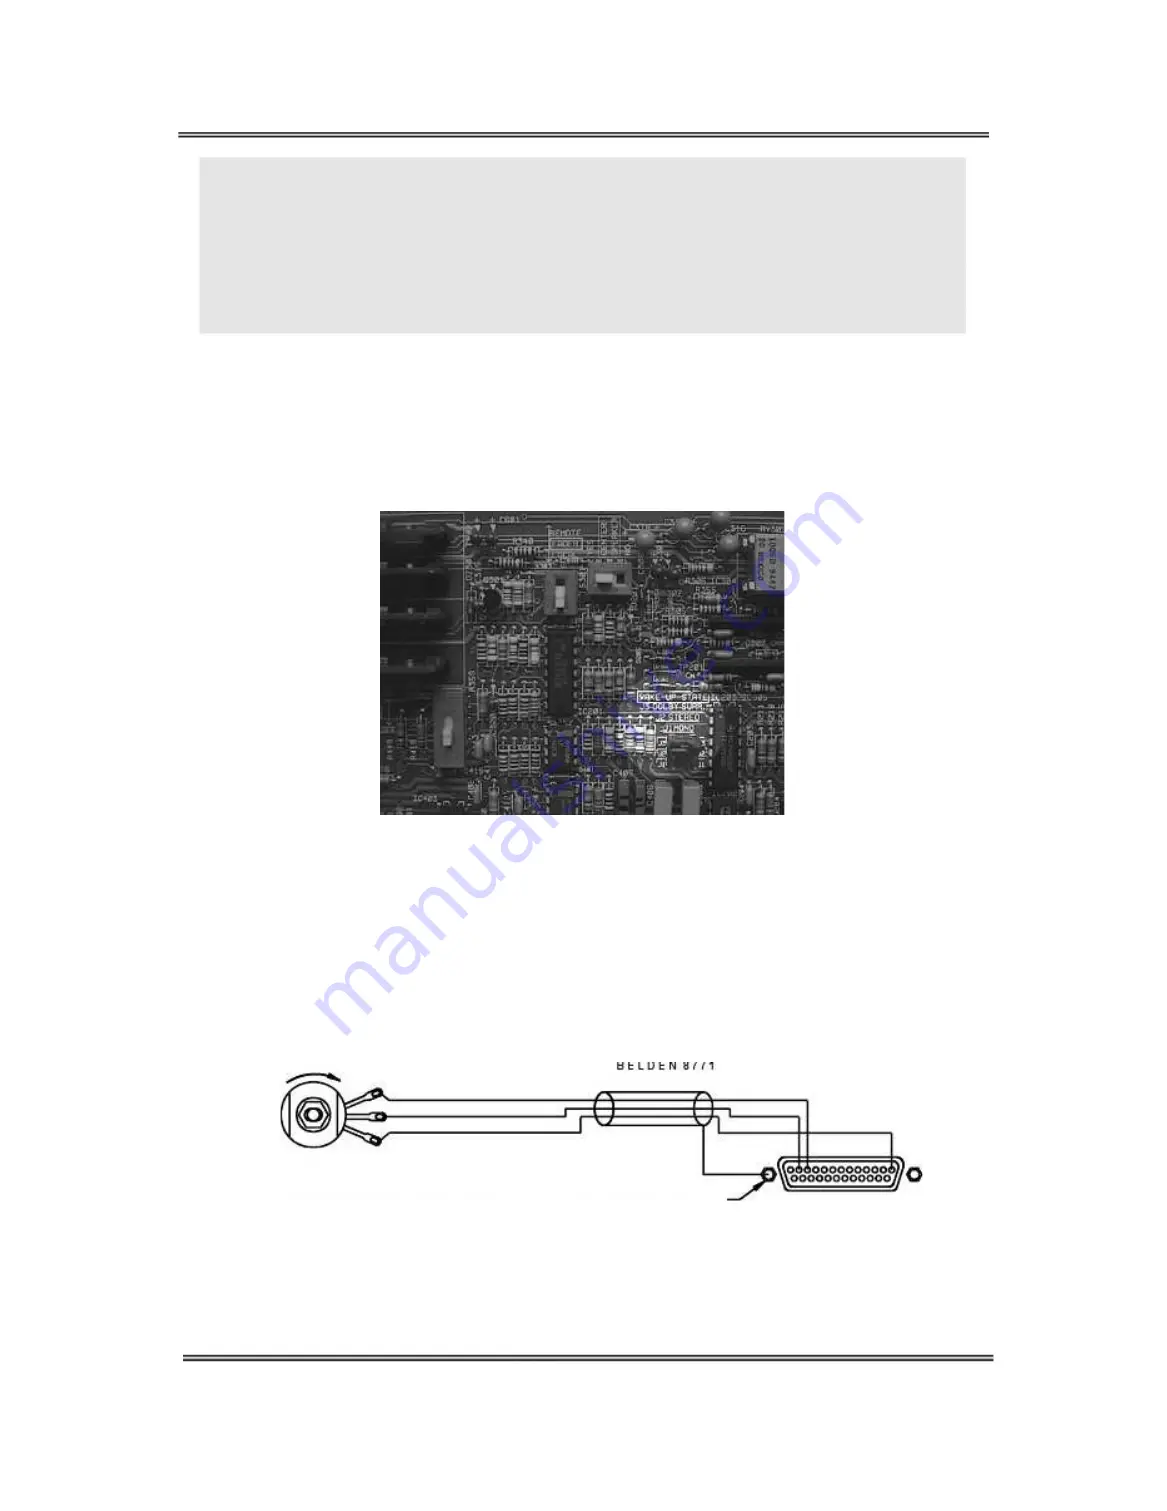
Alternately, you can add a fader in a remote location by connecting a 100 k
Alternately, you can add a fader in a remote location by connecting a 100 k
Ω
Ω
pot to the DB25
pot to the DB25
connector on the back, as shown in
connector on the back, as shown in
Figure 3-15
Figure 3-15
. To activate the remote fader, move the remote
. To activate the remote fader, move the remote
fader switch, as shown in
fader switch, as shown in
Figure 3-16
Figure 3-16
, to the
, to the
remote
remote
position.
position.
13
13
1
1
J 5 0 3
J 5 0 3
T O P I N 1
T O P I N 1
T O P I N 1 2
T O P I N 1 2
T O P I N 1 1
T O P I N 1 1
D C G N D
D C G N D
W I
W IP E
P E R
R
T
T O
O P
P
M
M O U N T I N G
O U N T I N G S C R E W
S C R E W
C O N N E C T O R
C O N N E C T O R
O R E Q
O R E Q U I V
U I VA L E N T
A L E N T
1 0 0 K L I N E A R T A P E R
1 0 0 K L I N E A R T A P E R
C
C W
W
F A D E R P O T E N T I O M E T E R
F A D E R P O T E N T I O M E T E R
Figure 3-15 Remote Fader and Connector
Figure 3-15 Remote Fader and Connector


