Chapter 3
Page 50
Using the System
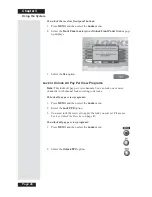
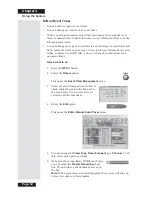
When an Event Timer Works
Only
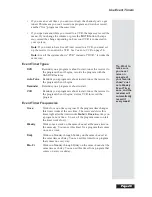
during the five minutes right before an event timer works, you’ll see a
small picture of a clock blinking on the TV screen. This clock goes away
when the program begins. While you see the clock, you can do
either
one of
the following:
•
Press the remote control
CANCEL
button to clear the clock from the
TV screen. This
doesn’t
change the timer; it will still work.
•
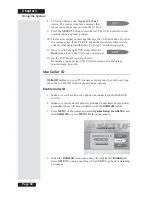
Press the remote control
INFO
button to see more information
on the event timer. If you do this, you’ll have these two choices:
•
Select the
OK
option to
continue
with the event
timer, or
•
Select the
Stop Timer
option to stop the event
timer.
Use Quick Record
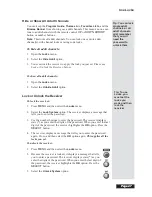
You can use
Quick Record
to very quickly set a one-time, one-program
DVR
Event Timer
or
VCR Event Timer
.
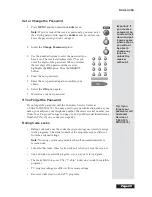
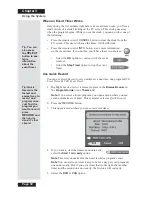
1. Highlight
but don’t select
a future program in the
Browse Banner
, in
the
Program Guide
or in a
Themes
list.
Note
: If you select a future program, you open a menu where you can
set an automatic event timer. This is almost as fast as
Quick Record
.
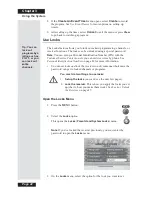
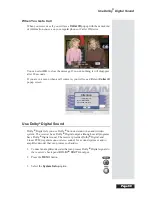
2. Press the
RECORD
button.
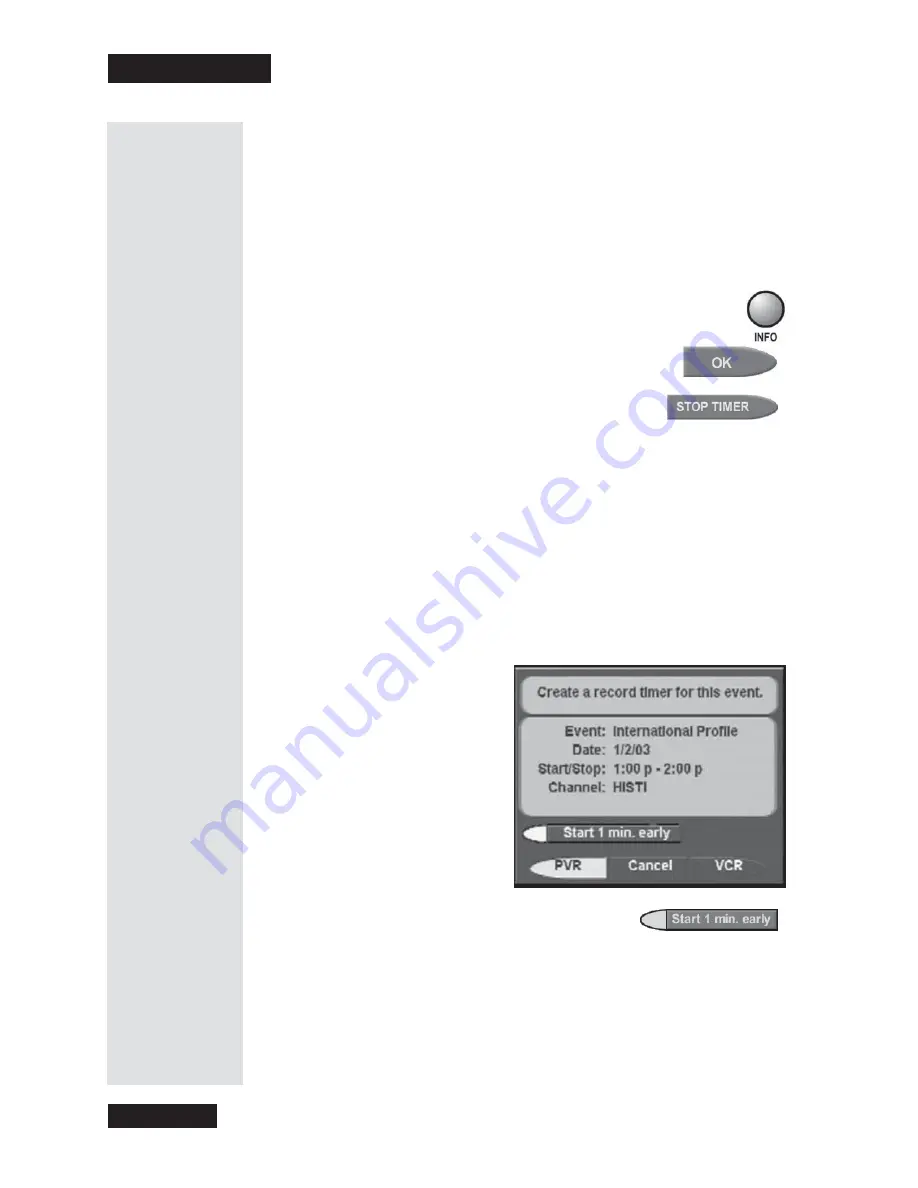
3. This opens a menu where you can set an event timer.
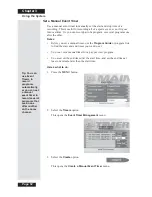
4. If you want to start the timer one minute early,
select the
Start 1 min. early
option.
Note
: This lets you make sure the timer records a program’s start.
Note
: You can start
any
timer (except one for a pay per view program)
one minute early. But, if you set a timer that works right after another
timer and the second one
starts
early, the first one will
end
early.
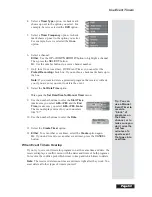
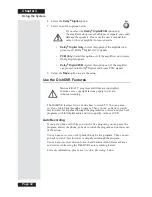
5. Select the
DVR
or
VCR
option.
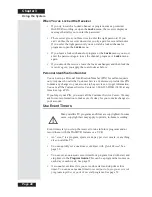
Tip: You can
also press
the
SELECT
button to see
more
information
about the
event timer.
Tip: Quick
Record is the
fastest and
easiest way to
record one
program once.
Just find the
program you
want to record,
press
RECORD
and
then you’re
done. It’s that
simple!
Содержание Platinum DishPVR 501
Страница 1: ...ATTENTION Be sure to review the Read Me First information on the first page ...
Страница 36: ...Chapter 2 Page 30 Parts of the System Notes ...
Страница 88: ...Chapter 3 Page 82 Using the System Notes ...
Страница 110: ...Page 104 Chapter 4 Installation Instructions Notes ...
Страница 130: ...Page 124 Chapter 5 Reference Notes ...
Страница 148: ......

