page 15
Digital Projection E-Vision Laser 7500, 8500 & 10K Series
Installation and Quick-Start Guide
OPERATING THE PROJECTOR
Rev D August 2017
Operating The Projector
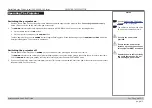
Switching the projector on
1.
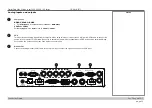
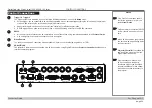
Ensure a lens is fitted. Connect the power cable between the mains supply and the projector. (See
Connecting the power supply
above.) Switch on at the switch next to the power connector.
2. The
POWER
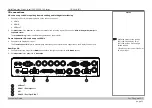
indicator lights red to signal that the projector is in STANDBY mode. Press one of the following buttons:
•
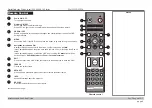
On the remote control, the
ON
button
•
On the projector control panel, the
POWER
button.
The fans begin working, then the
POWER
indicator begins flashing green. When the flashing stops, the
POWER
and
LIGHT
indicators
both light steady green. The projector is switched on.
Switching the projector off
1. Press
OFF
on the remote control or
POWER
on the control panel, then press again to confirm your choice.
The
POWER
indicator on the control panel will start flashing amber, the system will go out and the cooling fans will run for a short time
until the
POWER
indicator goes stready red to indicate that the projector has entered STANDBY mode.
2. If you need to switch the projector off completely, switch off at the mains power switch next to the power connector and then disconnect
the power cable from the projector.
Notes
See also
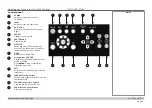
The self-test is running when all the
LEDs on the control panel are lit.
Use only the power cable
provided.
Ensure that the power outlet
includes a ground connection as
this equipment MUST be earthed.
Handle the power cable carefully
and avoid sharp bends. Do not
use a damaged power cable.
Содержание E-Vision Laser 10K Series
Страница 8: ...Digital Projection E Vision Laser 7500 8500 10K Series This page is intentionally left blank ...
Страница 84: ...Digital Projection E Vision Laser 7500 8500 10K Series Operating Guide This page is intentionally left blank ...
Страница 125: ...Digital Projection E Vision Laser 7500 8500 10K Series Reference Guide This page is intentionally left blank ...


