Upgrading a Model 30 (No Diskette)
43
3. Install the new bezel insert from the kit on the front bezel by
reversing steps 1 and 2.
4. Remove the VAXstation 3100 medallion from the system box cover.
5. Install the new VAXstation 3100 M 38 medallion from the kit in the
cover.
6. Reinstall the front bezel on the cover and reinstall the six screws.
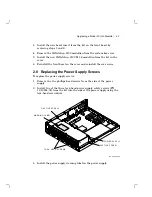
2.8 Replacing the Power Supply Screws
To replace the power supply screws:
1. Remove the two phillips-head screws from the side of the power
supply.
2. Install two of the three torx-head power supply safety screws (PN
12-30934-01) from the kit into the side of the power supply using the
torx-head screwdriver.
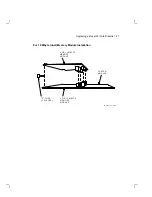
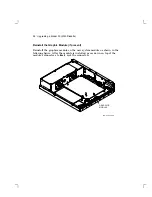
C A P T I V E S C R E W
C A P T I V E S C R E W
T O R X - H E A D S C R E W S
M A - X 0 8 0 8 - 8 8 A
P O W E R S U P P L Y
W
A R
N IN
G
F
D
G
S
V
X
C
W
E
R
A
D
S
F
X
G
H
T
Y
R
U
F
J G
H
I V
, D
H
S
H
G
U
T
K
D
H
C
B
V
N
F
H
G
D
W A R N I N G L A B E L
3. Install the power supply warning label on the power supply.
Содержание VAXstation 3100
Страница 5: ...Contents v Tables 1 Related Documents viii 3 1 RX23 SCSI ID Switch Settings 66 ...
Страница 105: ...Upgrade and Return Forms 97 ...
Страница 107: ...Upgrade and Return Forms 99 ...
Страница 109: ...Upgrade and Return Forms 101 ...
Страница 111: ...Upgrade and Return Forms 103 ...
Страница 113: ...Upgrade and Return Forms 105 ...

