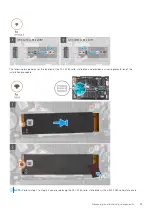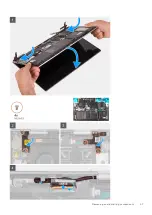
5. Lift the transparent flap and remove the two screws (M2x1.8) that secure the touchpad to the palm-rest and keyboard
assembly.
6. Slide and lift the touchpad off the palm-rest and keyboard assembly.
Installing the touchpad
Prerequisites
If you are replacing a component, remove the existing component before performing the installation procedure.
About this task
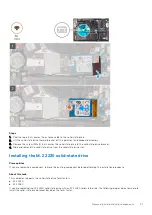
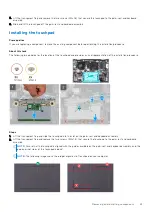
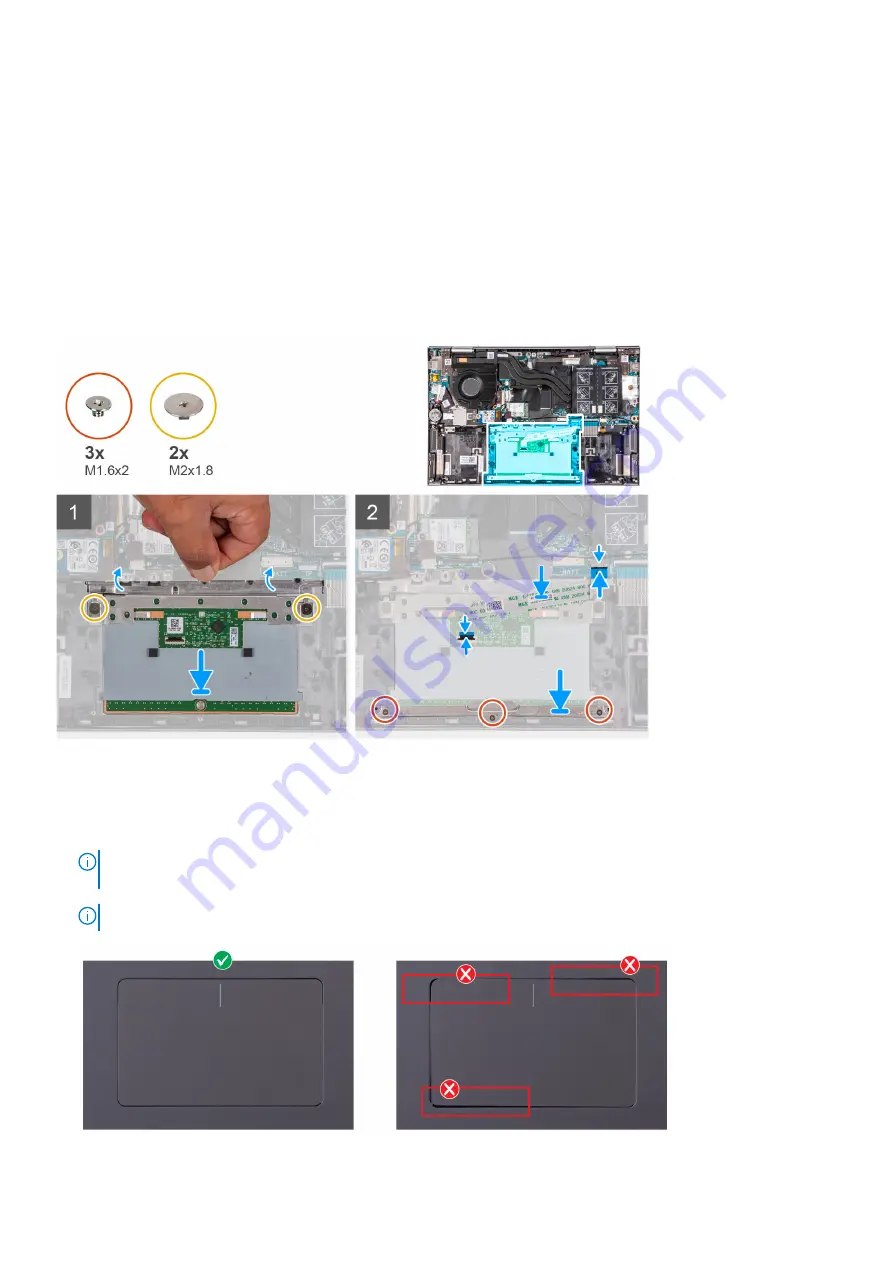
The following image indicates the location of the touchpad and provides a visual representation of the installation procedure.
Steps
1. Lift the transparent flap and slide the touchpad into the slot on the palm-rest and keyboard assembly.
2. Lift the transparent flap and replace the two screws (M2x1.8) that secure the touchpad to the palm-rest and keyboard
assembly.
NOTE:
Ensure that the touchpad is aligned with the guides available on the palm-rest and keyboard assembly, and the
gap on either sides of the touchpad is equal.
NOTE:
The following image shows the proper alignment of touchpad on your computer.
Removing and installing components
43
Содержание Inspiron 7415 2-in-1
Страница 1: ...Inspiron 7415 2 in 1 Service Manual Regulatory Model P147G Regulatory Type P147G001 May 2021 Rev A01 ...
Страница 5: ...Chapter 6 Getting help and contacting Dell 73 Contents 5 ...
Страница 39: ...Removing and installing components 39 ...
Страница 41: ...Removing and installing components 41 ...
Страница 53: ...Removing and installing components 53 ...
Страница 56: ...56 Removing and installing components ...

