Replacing the Trusted Platform Module
Prerequisites
1
Follow the safety guidelines listed in
2
Follow the procedure listed in
Before working inside your system
.
NOTE:
•
Ensure that your operating system supports the version of the TPM module being installed.
•
Ensure that you download and install the latest BIOS firmware on your system.
•
Ensure that the BIOS is configured to enable UEFI boot mode.
Steps
1
Locate the TPM connector on the system board.
NOTE:
To locate the TPM connector on the system board, see the System board jumpers and connectors section.
2
Press to hold the module down and remove the screw using the security Torx 8-bit shipped with the TPM module.
3
Slide the TPM module out from its connector.
4
Push the plastic rivet away from the TPM connector and rotate it 90° counterclockwise to release it from the system board.
5
Pull the plastic rivet out of its slot on the system board.
6
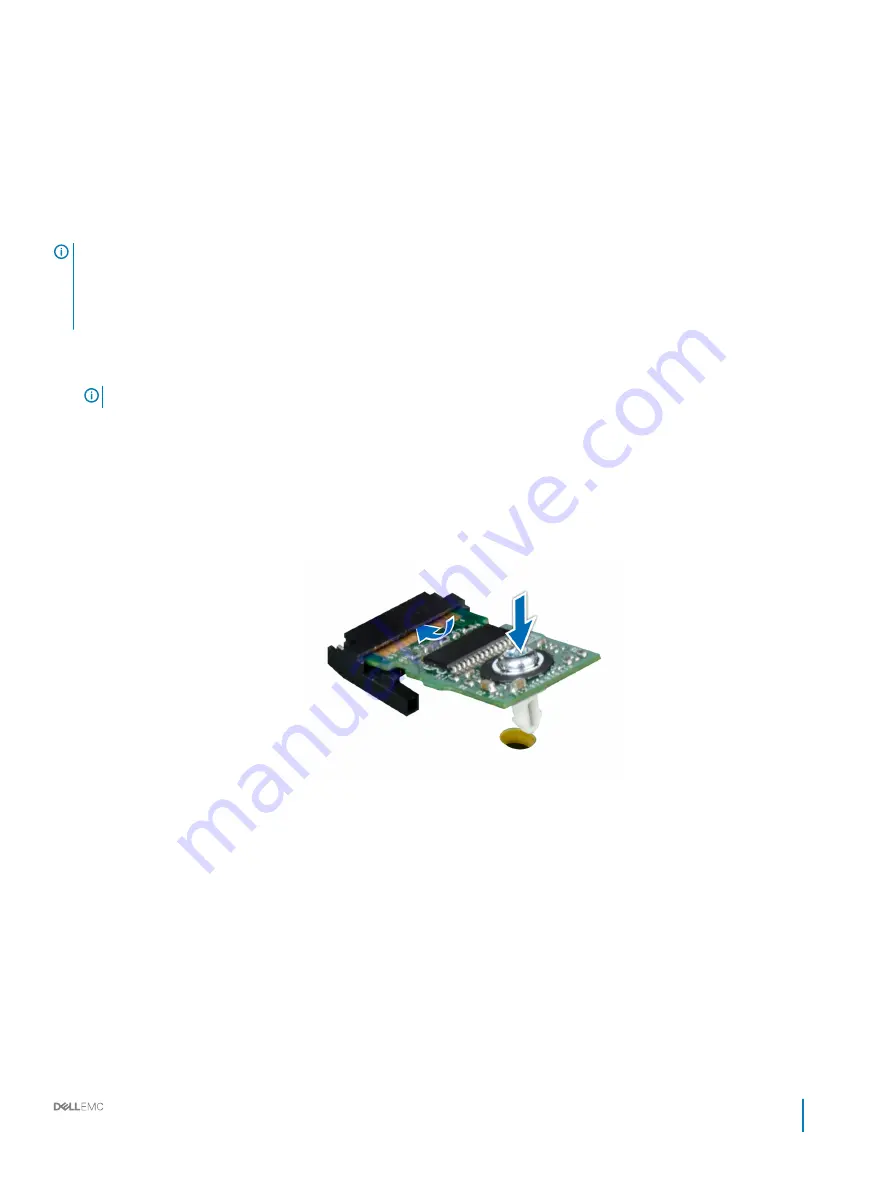
To install the TPM, align the edge connectors on the TPM with the slot on the TPM connector.
7
Insert the TPM into the TPM connector such that the plastic rivet aligns with the slot on the system board.
8
Press the plastic rivet until the rivet snaps into place.
Figure 87. Installing the TPM
Next steps
1
Install the system board.
2
Follow the procedure listed in
After working inside your system
.
Related links
Initializing TPM for BitLocker users
Initialize the TPM.
For more information, see
http://technet.microsoft.com/en-us/library/cc753140.aspx
Installation and Service Manual
Installing and removing system components
139


