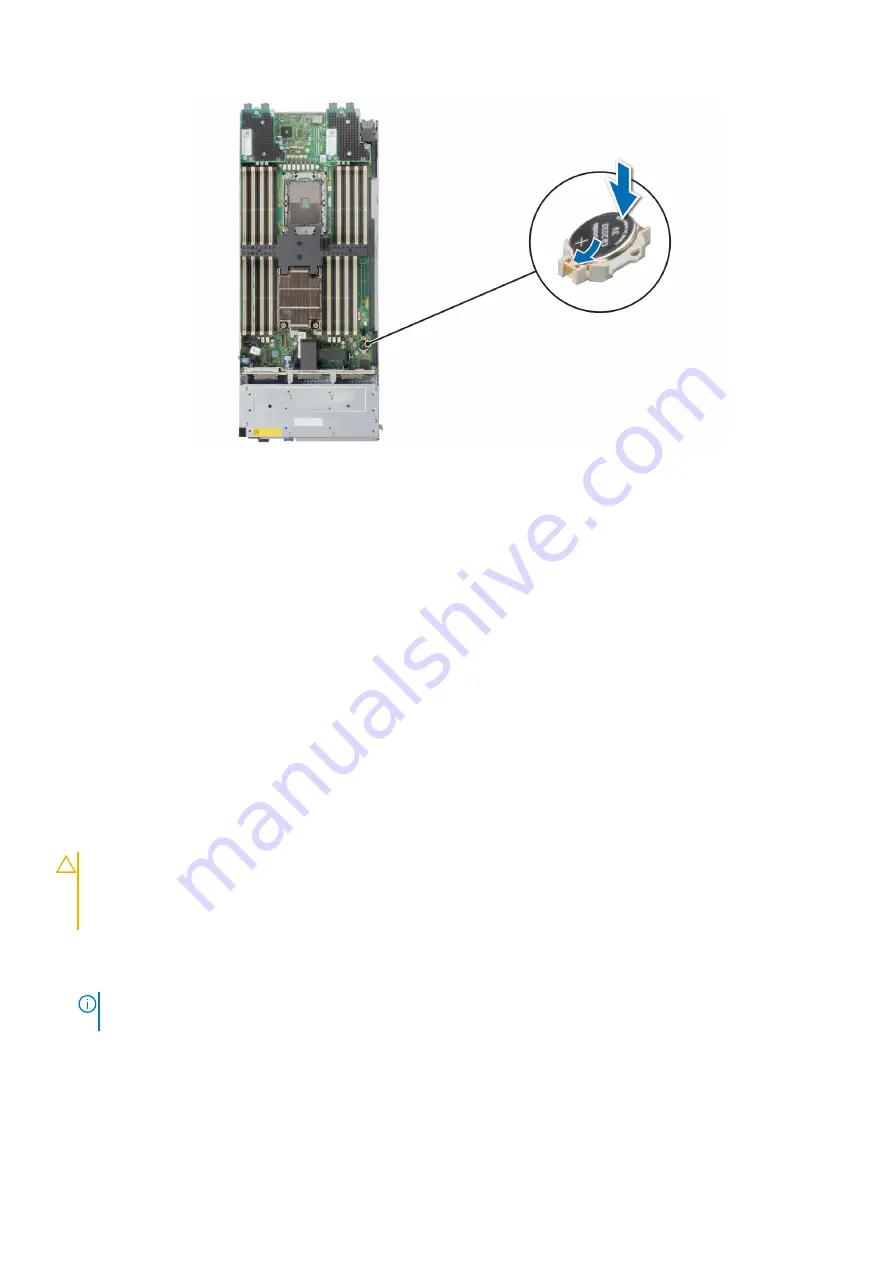
Figure 87. Installing the system battery
Next steps
1. Follow the procedure listed in
After working inside your system
.
2. Confirm that the battery is operating properly, by performing the following steps:
a. Enter the System Setup, while booting, by pressing F2.
b. Enter the correct time and date in the System Setup
Time
and
Date
fields.
c.
Exit
the System Setup.
d. To test the newly installed battery, remove the system from the enclosure for at least an hour.
e. Reinstall the system into the enclosure after an hour.
f. Enter the System Setup and if the time and date are still incorrect, see Getting help section.
System board
Removing the system board
Prerequisites
CAUTION:
If you are using the Trusted Platform Module (TPM) with an encryption key, you may be prompted
to create a recovery key during program or System Setup. Be sure to create and safely store this recovery key.
If you replace this system board, you must supply the recovery key when you restart your system or program
before you can access the encrypted data on your drives.
1. Follow the safety guidelines listed in the
.
2. Follow the procedure listed in the
Before working inside your system
3. Remove the following components:
NOTE:
Note the number of each drive and temporarily label them before you remove the drive so that you can reinstall
them in the same location.
a.
b.
c.
Processor and heat sink module
d.
e.
f.
Installing and removing system components
91
Содержание EMC PowerEdge MX750c
Страница 11: ...System information label Figure 5 Mechanical overview Dell EMC PowerEdge MX750c system overview 11 ...
Страница 12: ...Figure 6 Memory overview 12 Dell EMC PowerEdge MX750c system overview ...
Страница 13: ...Figure 7 System board Figure 8 Jumper settings Dell EMC PowerEdge MX750c system overview 13 ...
Страница 14: ...Figure 9 Quick Resource Locator Figure 10 System tasks 14 Dell EMC PowerEdge MX750c system overview ...


