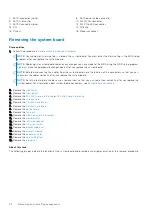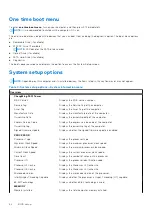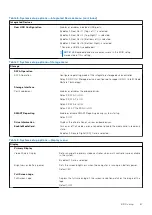
7. SATA connector (white)
8. SATA power cable connector
9. SATA1 connector
10. M.2 WLAN connector
11. SATA0 connector (blue)
12. M.2 PCIe SSD connector
13. PCI
14. PCIe x16
15. PCIe x1
16. Processor socket
Removing the system board
Prerequisites
Before working inside your computer
.
NOTE:
Your computer’s Service Tag is stored in the system board. You must enter the Service Tag in the BIOS setup
program after you replace the system board.
NOTE:
Replacing the system board removes any changes you have made to the BIOS using the BIOS setup program.
You must make the appropriate changes again after you replace the system board.
NOTE:
Before disconnecting the cables from the system board, note the location of the connectors so that you can
reconnect the cables correctly after you replace the system board.
NOTE:
Note the routing of all cables as you remove them so that you can route them correctly after you replace the
system board. For information about system-board connectors, see
.
2. Remove the
.
3. Remove the
.
4. Remove the
or
.
5. Remove the
.
6. Remove the
.
7. Remove the
.
8. Remove the
.
9. Remove the
10. Remove the
.
11. Remove the
.
12. Remove the
.
13. Remove the
.
14. Remove the
.
15. Remove the
.
16. Remove the
17. Remove the
.
18. Remove the
About this task
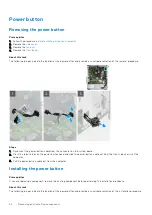
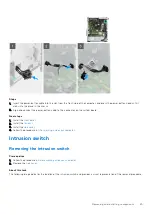
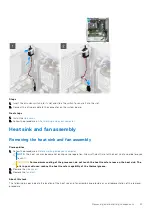
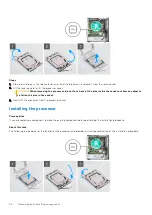
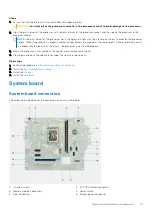
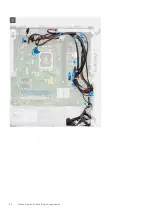
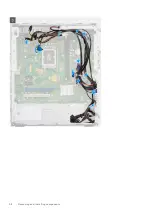
The following images indicate the location of the system board and provide a visual representation of the removal procedure.
52
Removing and installing components
Содержание ChengMing 3901 Tower
Страница 1: ...ChengMing 3901 Tower Service Manual Regulatory Model D32M Regulatory Type D32M002 April 2022 Rev A01 ...
Страница 53: ...Removing and installing components 53 ...
Страница 54: ...54 Removing and installing components ...
Страница 57: ...Removing and installing components 57 ...
Страница 58: ...58 Removing and installing components ...

