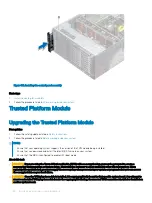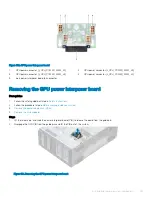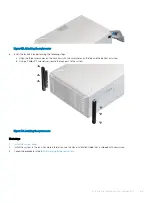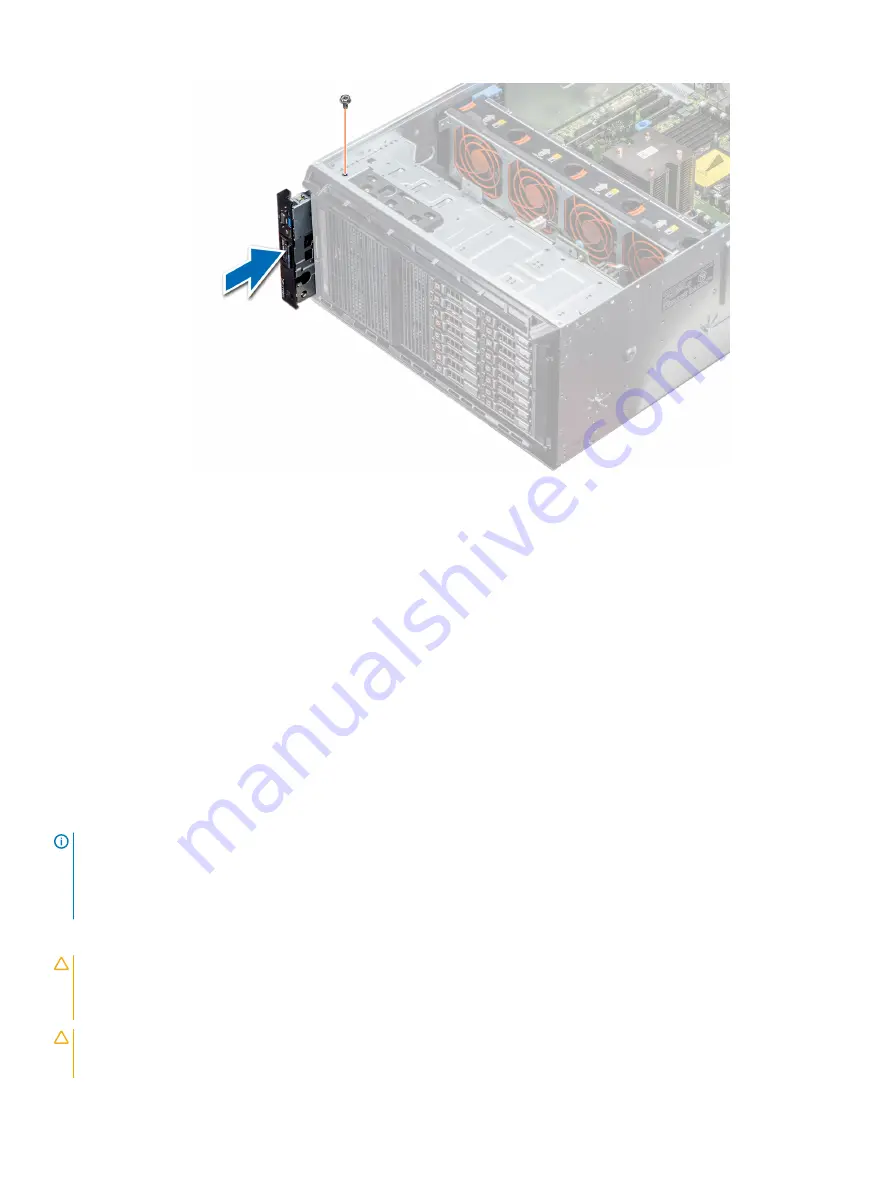
Figure 103. Installing the control panel assembly
Next steps
1
Install the cooling fan assembly
.
2
Follow the procedure listed in
After working inside your system
.
Trusted Platform Module
Upgrading the Trusted Platform Module
Prerequisites
1
Follow the safety guidelines listed in
2
Follow the procedure listed in
Before working inside your system
.
NOTE:
•
Ensure that your operating system supports the version of the TPM module being installed.
•
Ensure that you download and install the latest BIOS firmware on your system.
•
Ensure that the BIOS is configured to enable UEFI boot mode.
About this task
CAUTION:
If you are using the Trusted Platform Module (TPM) with an encryption key, you may be prompted to create a
recovery key during program or System Setup. Work with the customer to create and safely store this recovery key. When
replacing this system board, you must supply the recovery key when you restart your system or program before you can access
the encrypted data on your hard drives.
CAUTION:
Once the TPM plug-in module is installed, it is cryptographically bound to that specific system board. Any attempt to
remove an installed TPM plug-in module breaks the cryptographic binding, the removed TPM cannot be reinstalled or installed on
another system board.
154
Installing and removing system components
Содержание PowerEdge T640
Страница 23: ...Figure 16 Configuration and layout Dell EMC PowerEdge T640 overview 23 ...
Страница 24: ...Figure 17 Electrical overview 24 Dell EMC PowerEdge T640 overview ...
Страница 25: ...Figure 18 Memory information Dell EMC PowerEdge T640 overview 25 ...
Страница 26: ...26 Dell EMC PowerEdge T640 overview ...


