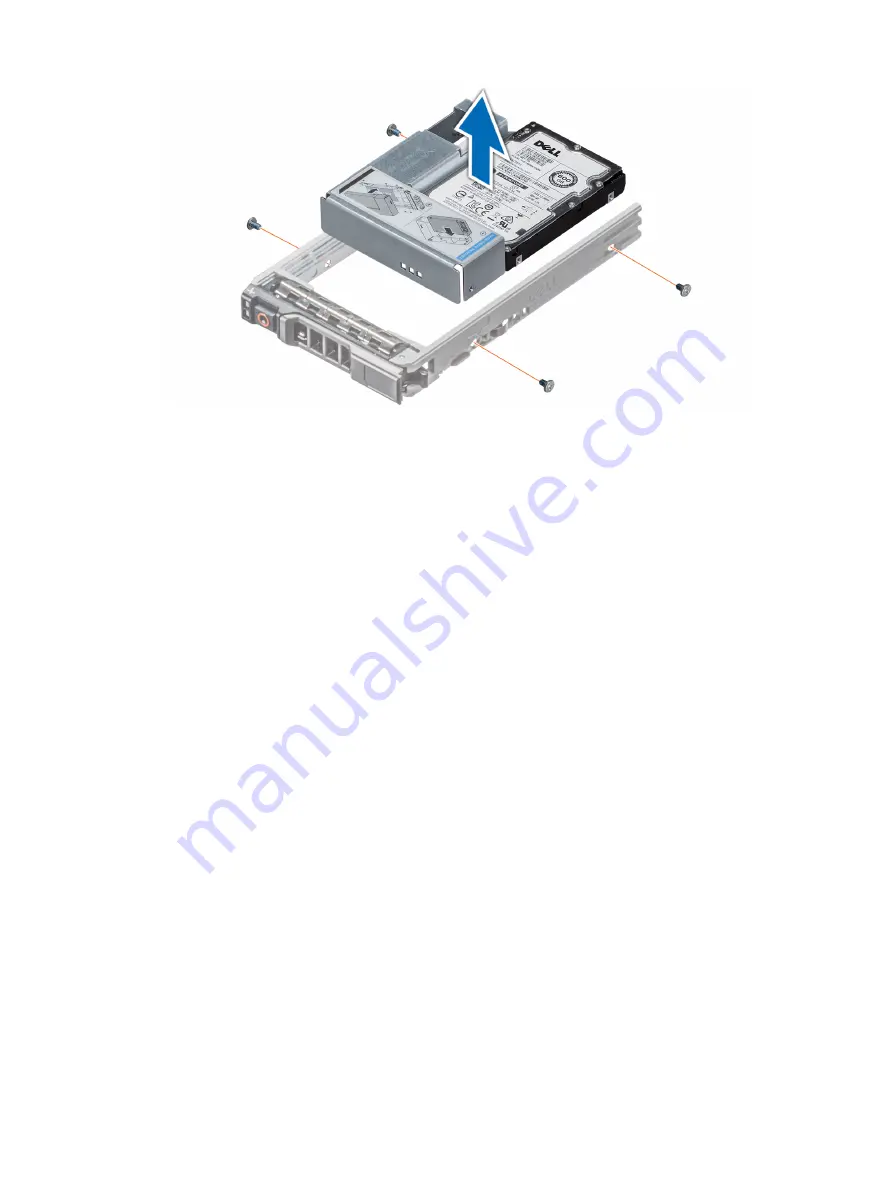
Figure 33. Removing a 3.5 inch drive adapter from a 3.5 inch drive carrier
Next step
1
Install the 3.5 inch drive adapter into the 3.5 inch drive carrier
Installing a 3.5 inch drive adapter into the 3.5 inch drive carrier
Prerequisites
1
Follow the safety guidelines listed in
2
Install the 2.5 inch drive into the 3.5 inch drive adapter.
Steps
1
Insert the 3.5 inch drive adapter into the 3.5 inch drive carrier with the connector end of the drive toward the back of the 3.5 inch
drive carrier.
2
Align the screw holes on the 3.5 inch drive adapter with the holes on the 3.5 inch drive carrier.
3
Using a Phillips #1 screwdriver, secure the 3.5 inch drive adapter to the 3.5 inch carrier.
Installing and removing system components
77
Содержание PowerEdge T640
Страница 23: ...Figure 16 Configuration and layout Dell EMC PowerEdge T640 overview 23 ...
Страница 24: ...Figure 17 Electrical overview 24 Dell EMC PowerEdge T640 overview ...
Страница 25: ...Figure 18 Memory information Dell EMC PowerEdge T640 overview 25 ...
Страница 26: ...26 Dell EMC PowerEdge T640 overview ...


