Option
Description
Refer ro:
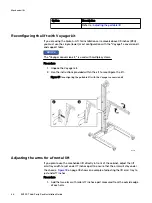
Reconfiguring the lift with Voyager kit
If you are using the Alum-A-Lift for installations or removals above 49 inches (28U),
you must use the single (lower) mast configuration with the "Voyager" conversion kit
and support table.
NOTICE
The "Voyager conversion kit," is used with multiple systems.
Procedure
1. Unpack the Voyager kit.
2. Use the instructions provided within the kit to reconfigure the lift.
Figure 17 Reconfiguring the portable lift with the Voyager conversion kit
CL5422
1
2
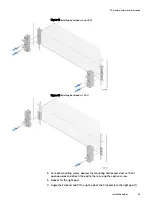
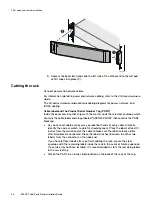
Adjusting the arms for a frontal lift
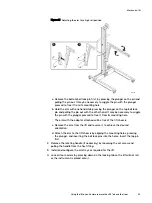
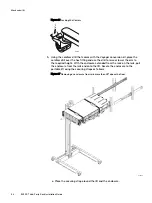
If you plan to use the mechanical lift directly in front of the cabinet, adjust the lift
arm/tray width to just under 17 inches apart to ensure that the arms will stay under
the chassis.
on page 49 shows an example of adjusting the lift arm/tray to
just under 17 inches.
Procedure
1. Add the two arms with rollers 17 inches apart measured from the outside edge
of each arm.
Mechanical lift
48
EX300
Third-Party Rack Installation Guide
Содержание ECS EX300
Страница 1: ...ECS EX300 Third Party Rack Installation Guide 302 005 206 02 ...
Страница 6: ...FIGURES 6 EX300 Third Party Rack Installation Guide ...
Страница 7: ...Planning your lift 46 1 TABLES EX300 Third Party Rack Installation Guide 7 ...
Страница 8: ...TABLES 8 EX300 Third Party Rack Installation Guide ...
Страница 13: ...Third Party Rack Installation Overview Components for EX300 systems 13 ...
Страница 14: ...Third Party Rack Installation Overview 14 EX300 Third Party Rack Installation Guide ...
Страница 17: ...Figure 1 PDU component location Rail Installation Dell EMC PDU rail and component location 17 ...
Страница 42: ...Bring the system online 42 EX300 Third Party Rack Installation Guide ...


