


Genesis MP
Chapter 3 – Connecting Additional Peripherals
◆
51
6. Locate the single large black SCSI rail and the two small Phillips head screws that
came with Genesis MP.
5.25" SCSI Rail & Screws
7. Facing the front of the SCSI device, install the rail onto the right side of the device,
making sure that the tapered end faces the rear of the device as shown below.
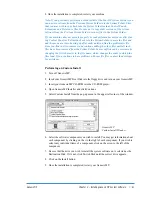
5.25" SCSI Rail Installed
8. Following the directions that came with SCSI drive, select a unique SCSI ID for the
device and disable termination.
Note: The last drive in the internal SCSI chain should be the only one providing
termination.
9. Position the drive in front of the machine’s 5.25" bay and with the right drive rail
between the metal flanges in the chassis, slide the new SCSI device completely into
the bay.
Inserting 5.25" Device
Tapered end of 5.25" drive rail