Appe n dix B – W ir e le ss a n d W ir e d LAN Se t u p
8 1
4. I n t he SSI D field t ype t he nam e of t he SSI D you w ish t o assign t o t he pr int er .
5. Under t he “ WI FI Secur it y and Aut hent icat ion” , set any secur it y/ aut hent icat ion set t ings
necessar y for your net w ork.
6. Scr oll dow n t o t he bot t om of t he page, ent er t he passw or d ( default is “ sysadm ” ) and click
Apply.
7. Click on t he “ Gener al Net w or k Set t ings” m enu it em on t he left side of t he scr een. Locat e and
set t he following it em s:
8. I n t he “ Net w or k I nt er face” , select t he “ Wir eless Et her net ” r adio but t on
9. Scr oll dow n t o t he bot t om of t he page, ent er t he passw or d ( default is “ sysadm ” ) and click
Apply.
10. Click on t he “ Rest or e Default s/ Rest ar t ” m enu it em on t he left side of t he scr een. Be sur e t hat
Rest ar t Pr int er is displayed in t he “ Act ion t o Execut e: ” dr op dow n box. Ent er t he passw or d at
t he t op of t he page ( default is “ sysadm ” ) and click Execut e t o r est ar t t he pr int er .
11. Once t he pr int er has r est ar t ed t he
icon w ill be displayed signifying t hat an w ir eless
connect ion has been obt ained. Allow up t o 90 seconds for t he pr int er t o m ake a connect ion.
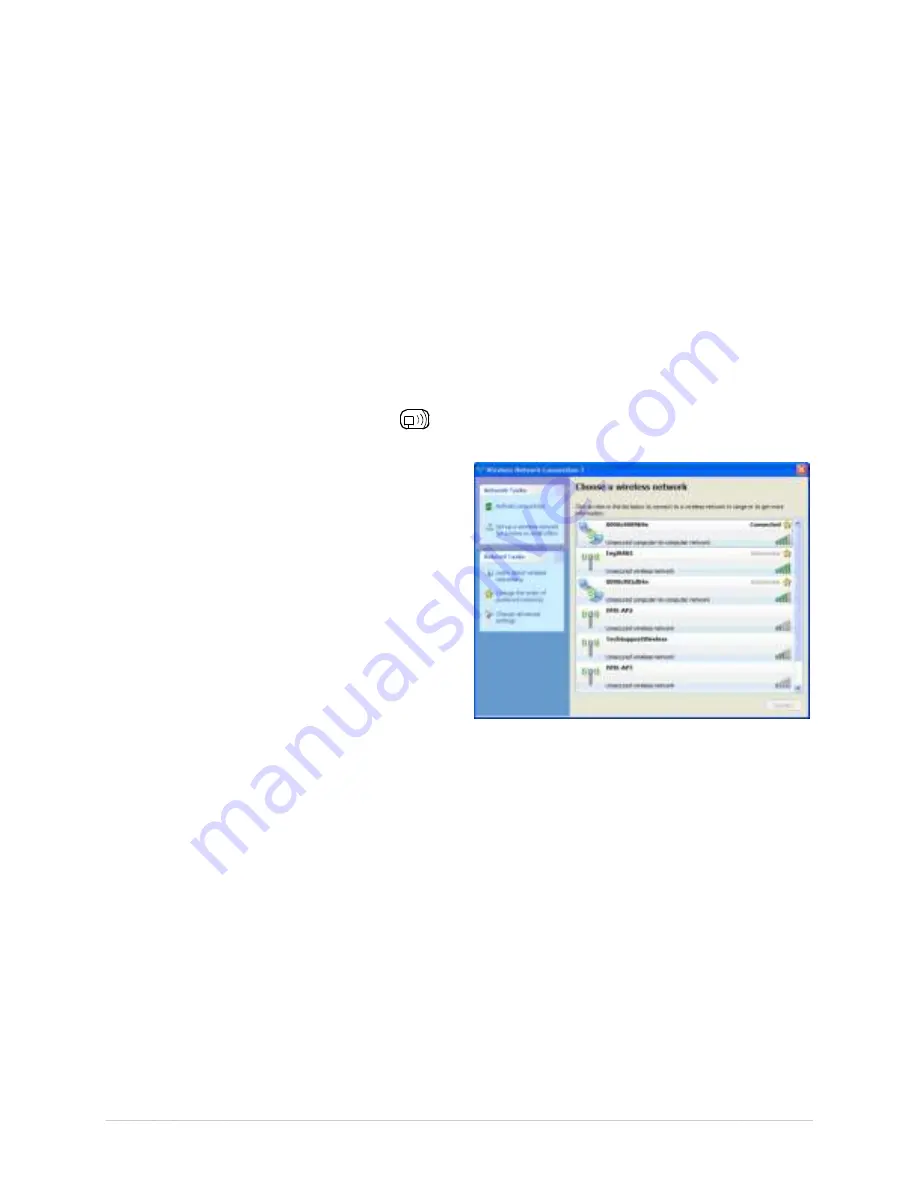
12. Fr om Window s, you m ay now “ View
Wir eless Net w or ks” . Fr om t he list of
available w ireless net w or ks select t he
pr int er t hat you w ish t o connect t o and
t hen click on t he Connect but t on.
I f you do not see your pr int er list ed be
sur e you have t he host com put er
configur ed for Ad- hoc w ir eless net w or ks.
This process will vary depending on your wireless device installed in your
host computer and your operating system version.
Once t he pr ev ious st eps have been successfully com plet ed you m ay now use t he I P Addr ess
assigned t o t he pr int er t o inst all a pr int er dr iv er , and st ar t pr int ing fr om your Window s
applicat ions. See sect ion B.3, I nst alling t he Pr int er Dr iv er .
Содержание I-Class Mark II
Страница 1: ...Operator s Manual ...
Страница 2: ......
Страница 8: ...Chapter 1 Getting Started 2 ...
Страница 24: ...Chapter 2 Printer Setup 1 8 ...
Страница 64: ...Chapter 4 Menu System 5 8 ...
Страница 78: ...Chapter 6 Troubleshooting 7 2 ...
Страница 82: ...Appendix A Specifications 7 6 ...
Страница 90: ...Appendix B W ireless and W ired LAN Setup 8 4 ...
Страница 96: ......


