Xtium-CL PX4 User's Manual
Installing Xtium-CL PX4
•
15
Note: There is a 32-bit and 64-bit version of CorAppLauncher.exe. When installing the driver, only
the version related to the OS is installed. However, the 32-bit version is usable on either 32-bit or
64-bit Windows.
Custom Driver Installation using install.ini
Customize the driver installation by parameters defined in the file “install.ini”. By using this file, the
user can:
Select the user default configuration.
Select different configurations for systems with multiple boards.
Assign a standard Serial COM port to board.
Creating the install.ini File
Install the driver in the target computer. All Xtium-CL PX4 boards required in the system must
be installed.
Configure each board’s acquisition firmware using the Teledyne DALSA Device Manager tool
(see Device Manager – Board Viewer).
If a standard Serial COM port is required for any board, use the Sapera Configuration tool (see
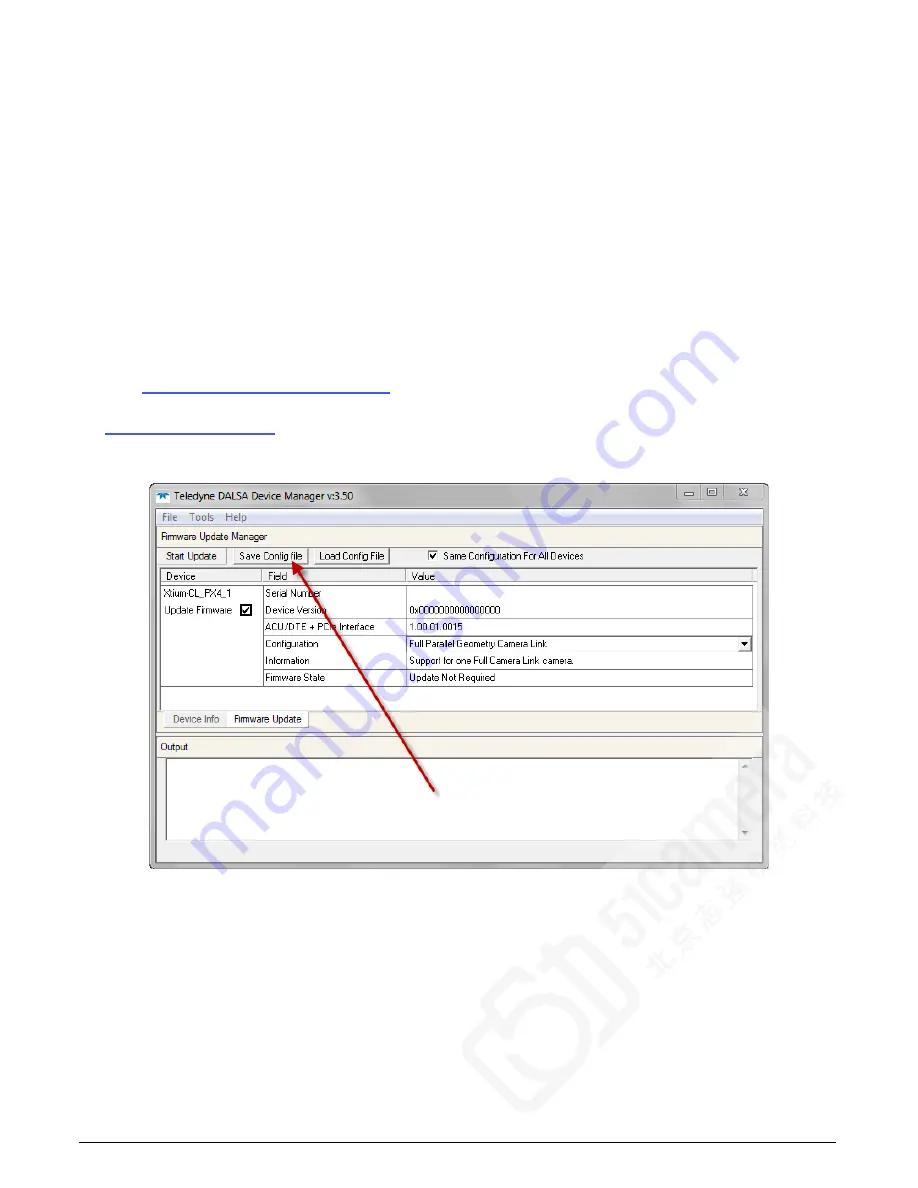
When each board setup is complete, using the Teledyne DALSA Device Manager tool, click on
the Save Config File button. This will create the “install.ini” file.
Figure 3: Create an install.ini File
Run the Installation using install.ini
Copy the install.ini file into the same directory as the setup installation file. Run the setup
installation as normal. The installation will automatically check for an install.ini file and if found, use
the configuration defined in it.


