Main Application Screen
7
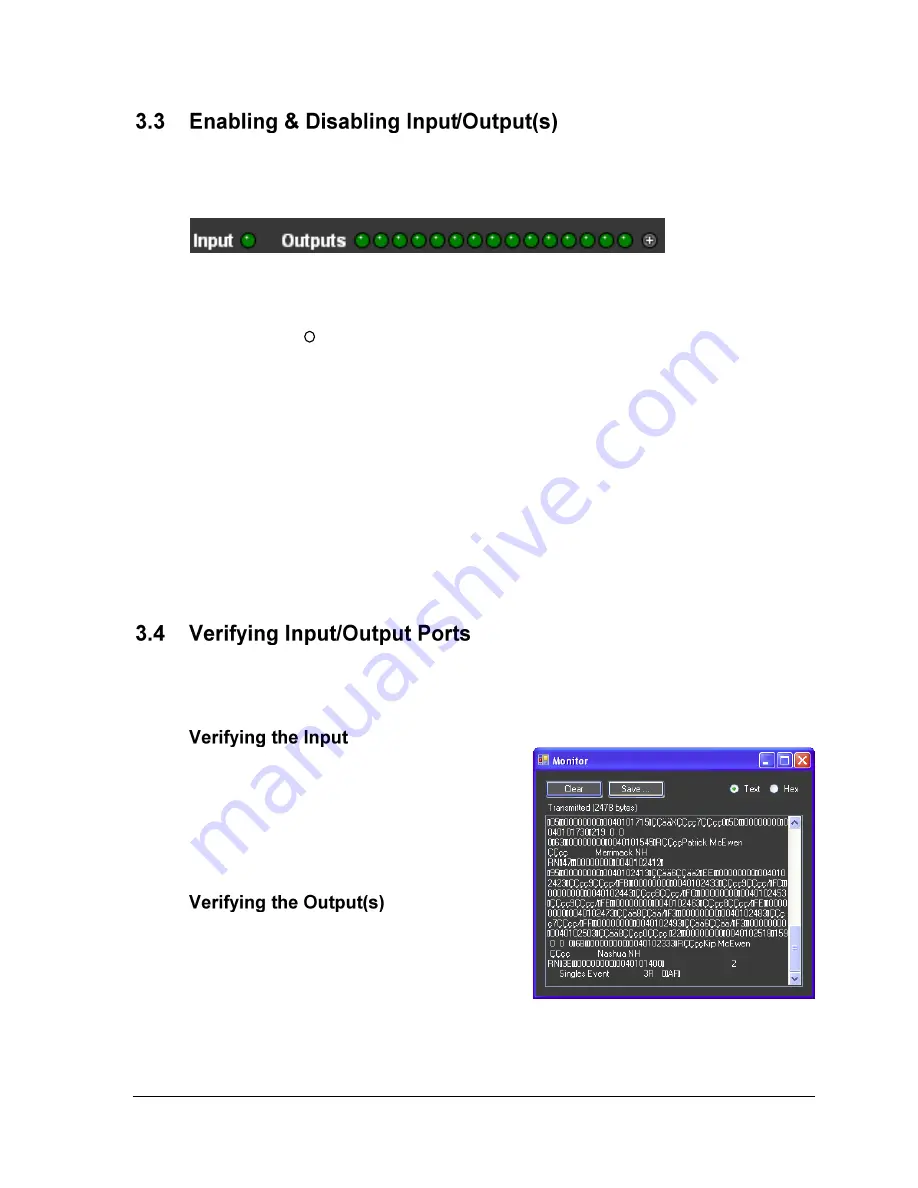
After the input and output(s) have been created, they appear as green indicators in the lower-
left hand corner of the main application screen (
). Use these indicators to perform the
following actions:
Click the input/output indicators to disable and enable the port.
Hold the mouse over the indicator to display the current configuration for that port.
Click the + button to open the
Output Configuration
window (
) to create
additional output ports.
For additional options:
Right-click the Input icon to
Configure
or
Monitor
.
Right-click the Output icon(s) to
Remove
,
Configure Output/Configure Port
,
Monitor
, or
Refresh
(resend all data).
The port indicators are colored as follows:
Green – Enabled
Red – Disabled
Bright Green – Sending/Receiving
Blue – Establishing connection
Orange – Error reading input file
The USBC Scoring Interface lets users monitor the data going in and out of the program.
This is helpful for diagnosing connection problems.
1.
Go to
Ports > Input > Monitor
.
2.
In the
Monitor
window, data should be
visible (
).
3.
If no data appears, check the input port
settings to make sure the correct folder
has been configured.
1.
Go to
Ports
>
Outputs
>
Monitor
, and
then select the port to verify.
2.
In the
Monitor
window, data should be
visible (
3.
If no data appears, check the output port
settings to make sure the output port
settings match the input settings on the
display controller.
Figure 7:
Input/Output Indicators
Figure 8:
Monitor Window


