39
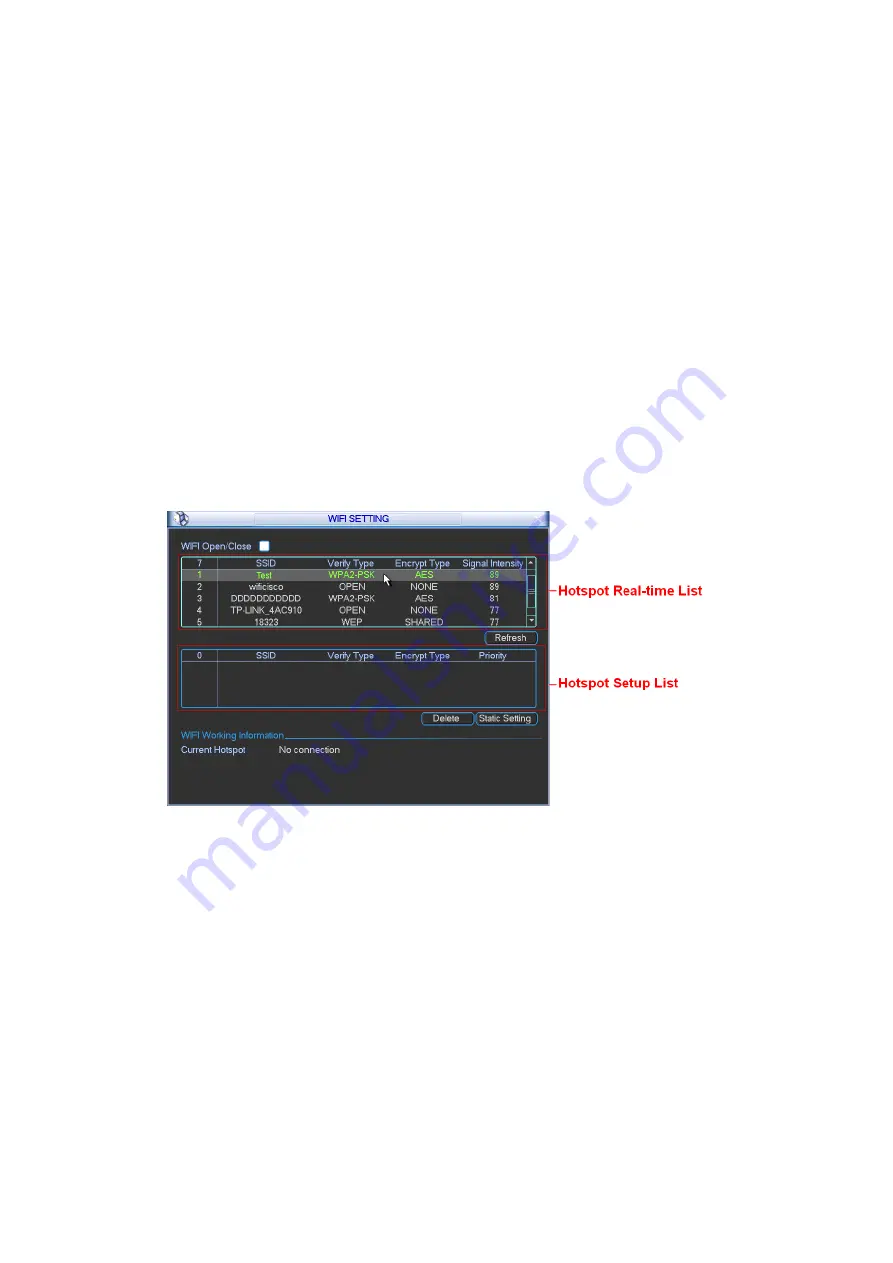
b) In Figure 4-26, click Refresh button to view the entire WIFI signals available.
c) Double click a WIFI signal on the list, you can see the WIFI connection dialogue box.
d) Select the corresponding verification type. Please contact your network administrator if you
do not know how to select the type here. The WIFI connection shall set proper password.
Usually we recommend the verification type as WPA2-PSK instead of WEP..
e) Input WIFI connection password.
f) Please select DHCP if your WIFI is to auto allocate IP address. Please set the
corresponding IP/subnet mask/gateway if your WIFI needs a specified IP.
g) Please note you must set WIFI priority when you set. The priority ranges from 1 to 5 and the
5 has the highest priority. When there are several WIFI signals available, system can try to
connect one by one according to the priority setup.
h) Please click Save button to save the setup and then click Connect button to connect
manually.
i) After you save WIFI hotspot setup, you can view it on the static setup interface. After device
booted up, system can auto connect to the hotspot you set at the static setup interface once
the Auto connect WIFI box is checked.
j) Please disconnect WIFI connection before you modify WIFI network parameter. Do not
modify WIFI setup when it is online.
Figure 4-26
WIFI Connection and Disconnection
Double click one hotspot; system goes to WIFI connection interface. See Figure 4-27. Please
input password and click Connect button. System needs to turn off current connection and then
connect to a new hotspot, if there is a connection.


