


DGS-3312SR Gigabit Layer 3 Switch
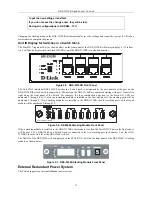
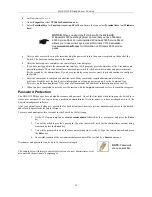
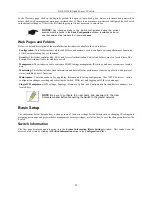
Figure 2-8. DPS-200 with DGS-3312SR
NOTE:
See the DPS-200 documentation for more information.
CAUTION:
Do not use the Switch with any redundant power system other
than the DPS-200 or DPS-500.
Connecting the Console Port
The Switch provides an RS-232 serial port that enables a connection to a computer or terminal for monitoring and
configuring the Switch. This port is a male DB-9 connector, implemented as a data terminal equipment (DTE) connection.
To use the console port, you need the following equipment:
•
A terminal or a computer with both a serial port and the ability to emulate a terminal
•
A null modem or crossover RS-232 cable with a female DB-9 connector for the console port on the Switch
To connect a terminal to the console port:
1. Connect the female connector of the RS-232 cable directly to the console port on the Switch, and tighten the
captive retaining screws.
2. Connect the other end of the cable to a terminal or to the serial connector of a computer running terminal
emulation software. Set the terminal emulation software as follows:
a. Select the appropriate serial port (COM port 1 or COM port 2).
b. Set the data rate to 9600 baud.
c. Set the data format to 8 data bits, 1 stop bit, and no parity.
14
Содержание DGS-3312SR
Страница 13: ...DGS 3312SR Gigabit Layer 3 Switch xii...
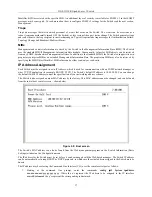
Страница 46: ...DGS 3312SR Gigabit Layer 3 Switch Figure 3 14 Stack Information web page 33...
Страница 53: ...DGS 3312SR Gigabit Layer 3 Switch 40...
Страница 165: ...DGS 3312SR Gigabit Layer 3 Switch Figure 6 22 Enter Network Password dialog box 152...
Страница 228: ...DGS 3312SR Gigabit Layer 3 Switch 215...
Страница 244: ......


