9 - ENG
D20396
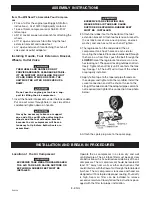
Permanent Installation
BOLTING LEGS TO A STIFF SURFACE CAN
CAUSE TANK RUPTURE RESULTING IN
SERIOUS INJURY OR DAMAGE. DO NOT
PERMANENTLY MOUNT COMPRESSOR TO
ANY SURFACE WITHOUT USING THE
VIBRATION MOUNT KIT.
This compressor may be permanently mounted in a
loaction such as a truck bed, it desired. A vibration
mount kit is included for this purpose.
1. In order to maintain adequate ventilation for com-
pressor cooling and to avoid contact with pick-up
truck bed, always mount the outfit at least 8" from
any vertical wall. Using the holes in the air tank legs
as a guide, mark and drill four 5/16" diameter holes
in the mounting surface.
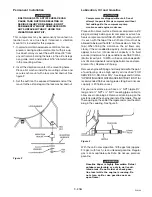
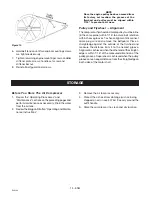
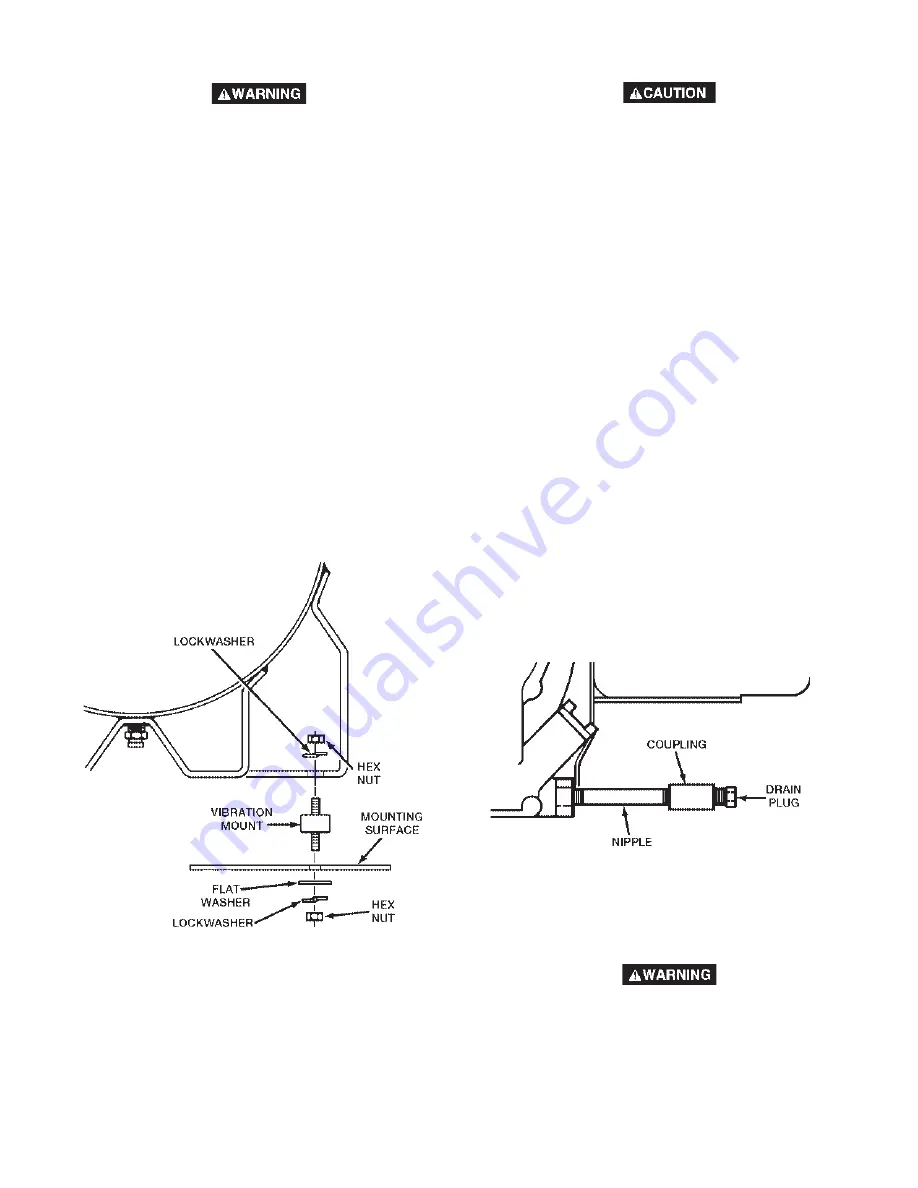
2. Insert the vibration mounts in the mounting holes.
Place a flat washer under the mounting surface and
secure each mount with a lock washer and nut. See
figure 2.
3. Set the outfit on the exposed threaded ends of the
mount to the air tank legs with a lock washer and nut.
Figure 2
Lubrication, Oil and Gasoline
Compressors are shipped without oil. Do not
attempt to operate this air compressor without
first adding oil to the compressor pump
crankcase and engine crankcase.
Place unit on a level surface. Remove compressor oil fill
plug and slowly add a special compressor oil such as
Sears compressor oil or SAE-20-20W SF motor oil until
it is even with the top of the oil fill hole. (It must not be
allowed to be lower than 3/8" - 6 threads down - from the
top.) When filling the crankcase, the oil flows very
slowly. If the oil is added too quickly, it will overflow and
appear to be full. (Crankcase oil capacity is 16 fluid
ounces.) Under winter-type conditions use SAE 10W oil.
(Multi-viscosity oil - 10W30 - will leave carbon deposits
on critical components reducing performance and com-
pressor life.) Replace oil fill plug.
Remove engine oil fill plug and slowly add oil to the point
of overflowing. Use a high quality oil classified "FOR
SERVICE SC, SD, SE or MS,". See Briggs and Stratton
"OPERATING AND MAINTENANCE INSTRUCTIONS" for
recommended SAE viscosity grades. (Engine crankcase
capacity is 20 fluid ounces.)
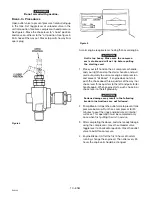
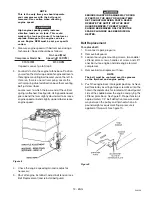
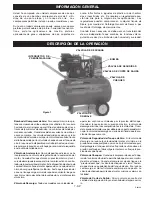
For your convenience, purchase a ¼" NPT nipple 2½"
long, and a ¼" NPT x ¼" NPT coupling (pipe collar) to
allow ease in draining oil. Remove oil drain plug on the
gas tank side of the engine and install the nipple. Thread
the coupling on the end of the nipple and screw the drain
plug in the coupling. See figure 3.
With the unit in a level position, fill the gas tank (approx.
3/4 gal.) with fresh, clean unleaded gasoline. Regular
gas is an acceptable substitute. Do not use premium
gasoline.
Gasoline Vapor is highly flammable. Refuel
outdoors preferably, or only in well venti-
lated areas. Do not refuel or check gaso-
line level while the engine is running. Do
not store, spill or use gasoline near an
open flame.
Figure 3

