88
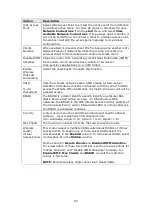
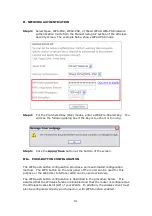
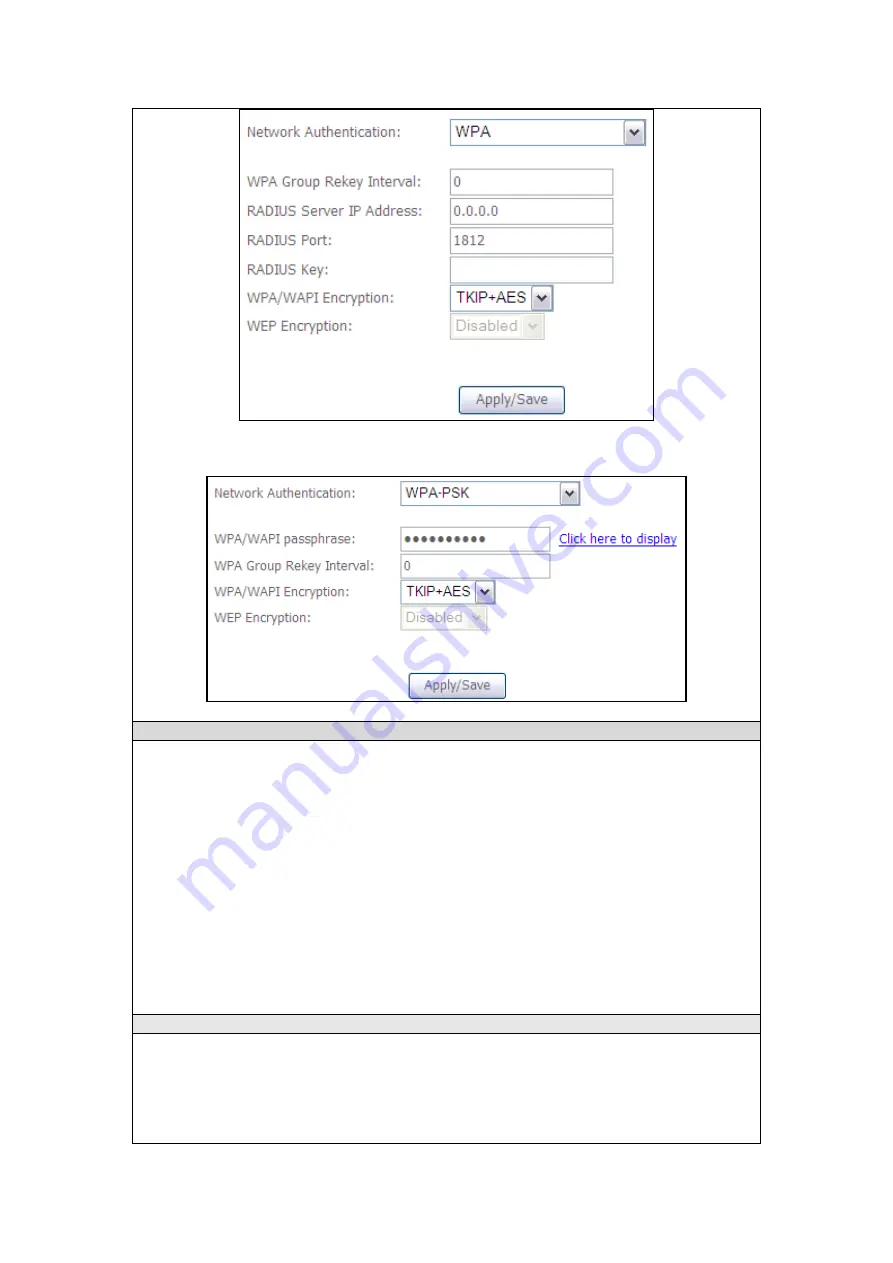
The settings for WPA-PSK authentication are shown next.
WEP Encryption
This option specifies whether data sent over the network is encrypted. The same
network key is used for data encryption and network authentication. Four network
keys can be defined although only one can be used at any one time. Use the Current
Network Key list box to select the appropriate network key.
Security options include authentication and encryption services based on the wired
equivalent privacy (WEP) algorithm. WEP is a set of security services used to
protect 802.11 networks from unauthorized access, such as eavesdropping; in this
case, the capture of wireless network traffic. When data encryption is enabled,
secret shared encryption keys are generated and used by the source station and the
destination station to alter frame bits, thus avoiding disclosure to eavesdroppers.
Under shared key authentication, each wireless station is assumed to have received
a secret shared key over a secure channel that is independent from the 802.11
wireless network communications channel.
Encryption Strength
This drop-down list box will display when WEP Encryption is enabled. The key
strength is proportional to the number of binary bits comprising the key. This
means that keys with a greater number of bits have a greater degree of security and
are considerably more difficult to crack. Encryption strength can be set to either
64-bit or 128-bit. A 64-bit key is equivalent to 5 ASCII characters or 10
hexadecimal numbers. A 128-bit key contains 13 ASCII characters or 26
Содержание VI-3223u
Страница 1: ...VI 3223u Multi DSL WLAN IAD User Manual Version B1 0 July 19 2013 261099 020...
Страница 7: ...6 1 2 Application The following diagram depicts a typical application of the VI 3223u...
Страница 16: ...15 STEP 3 After successfully logging in for the first time you will reach this screen...
Страница 26: ...25...
Страница 32: ...31 Chapter 5 Advanced Setup The following screen shows the advanced menu options...
Страница 67: ...66 5 11 UPnP Select the checkbox provided and click Apply Save to enable UPnP protocol...
Страница 72: ...71 5 15 1 Storage Device Info Display after storage device attached for your reference...
Страница 74: ...73 Automatically Add Clients With Following DHCP Vendor IDs...
Страница 98: ...97 Click Apply Save to set new advanced wireless options...
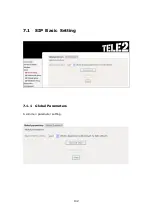
Страница 103: ...102 7 1 SIP Basic Setting 7 1 1 Global Parameters A common parameter setting...
Страница 104: ...103 7 1 2 Service Provider This screen contains basic SIP configuration settings...
Страница 106: ...105 7 2 SIP Advanced This screen contains the advanced SIP configuration settings...
Страница 107: ...106 7 2 1 Global Parameters A common parameter setting...
Страница 144: ...143 STEP 6 Click Have Disk and insert the printer driver CD STEP 7 Select driver file directory on CD ROM and click OK...
Страница 146: ...145 STEP 11 Check the status of printer from Windows Control Panel printer window Status should show as Ready...
Страница 172: ...171 Click Next to continue or click Back to return to the previous step...


