installation. Before following the steps listed below, you must first make sure that
your Windows PC can access USB MFP server via TCP/IP. The simplest way to do this
is using “Control Center” to search for the USB MFP server on the network and change
its IP address to be the same subnet as the Windows PC.
A.
Turn on NFPS2 / WFPS2 and the printer.
B.
Connect the printer to NFPS2. The LED of the USB port will light-on.
C.
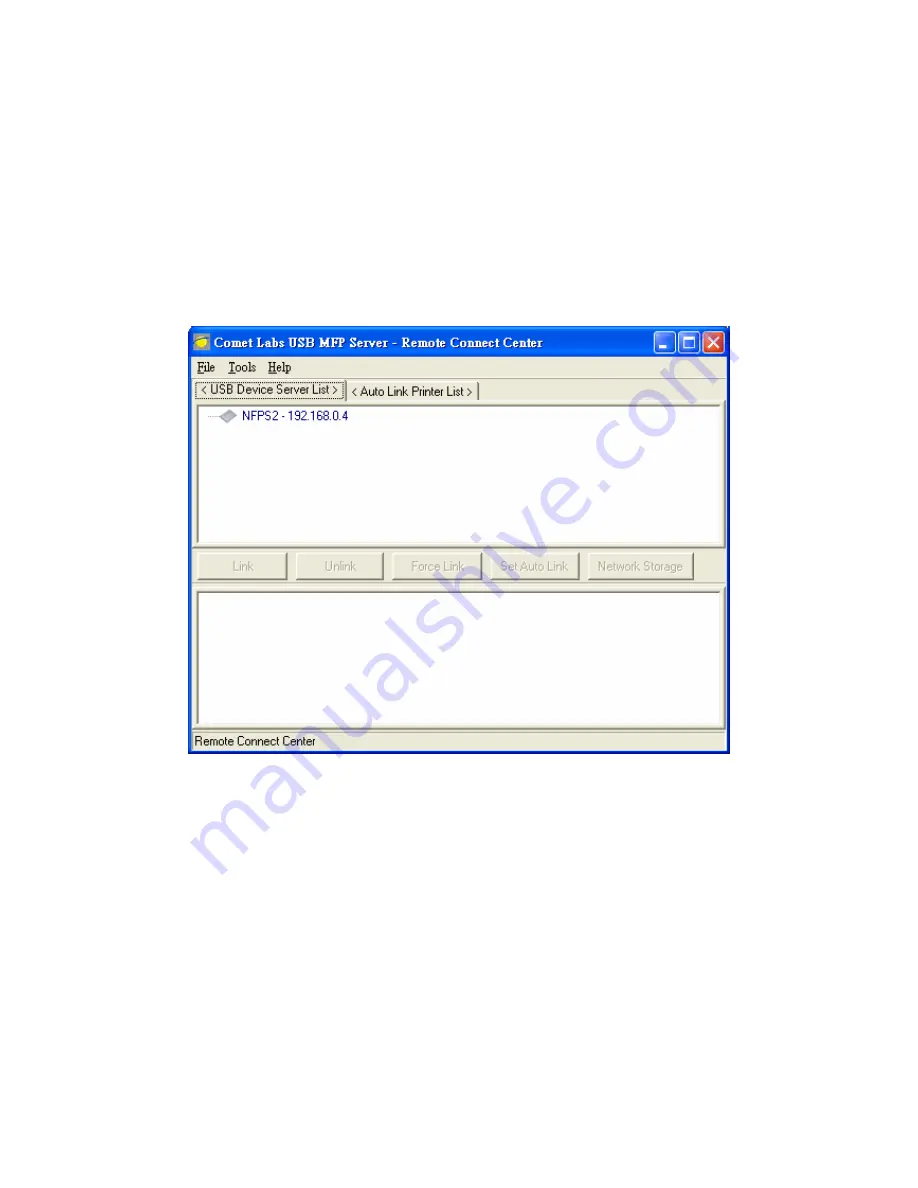
Run the “Remote Connect Center” program. In the “USB Device Server List”
window, you can see the host names and IP addresses all of the NFPS2 /
WFPS2 servers on the network, as the following figure.
D.
In the “Remote Connect Center”, in order to connect the USB MFP server on
which the printer is attached, please click the server.
E.
If there is any printer or MFP attached on the server, then you can see the
USB device tree as the following figure. The window at the bottom will show
some additional information of the server.
73
Содержание NFPS2
Страница 1: ...Comet Labs NFPS2 WFPS2 2 USB 2 0 Hi Speed Port MFP Server User s Manual Version 1 21 1...
Страница 12: ...8 If the wireless network is secured by WPA PSK TKIP the shared key must be set correctly 12...
Страница 16: ...7 If the wireless network is secured by WPA PSK TKIP the shared key must be set correctly 16...
Страница 30: ...9 Click Finish 30...
Страница 33: ...9 Click Finish 33...
Страница 40: ...5 Click Next and then continue Windows Add Printer Wizard 40...
Страница 48: ...8 Click Finish button 48...
Страница 63: ...63...
Страница 70: ...70...


