


InteliVision 8
12
Terminal address
Red colour - the address is occupied
Grey colour - the address can be used (IGS-NT has 4 addresses; ID-DCU has 5 addresses)
NT terminal address
Red colour - address is occupied
Green colour - free address
For other information on how to connect IV8 display to a controller,
3.3 How to enter a password?
There are two ways how to enter a password:
Use USB stick as a “login key” –
see USB as “login key” on page 61
Insert a password manually
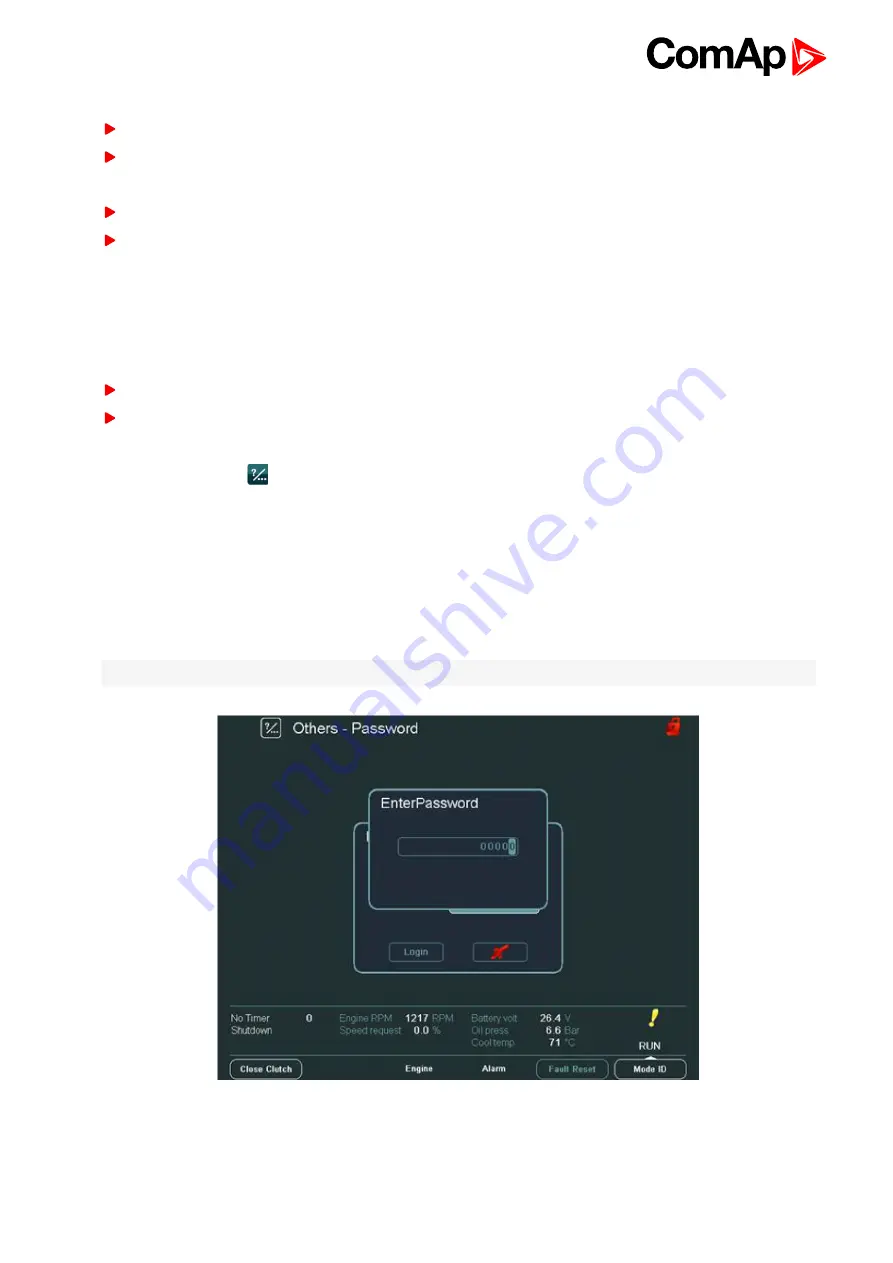
To enter a password manually:
1. Press
Help/Others
button
2. Press
Users/Password
button
3. Use ↑ ↓ to go to
Users
field and press
Enter
4. Use ↑ ↓ to choose a user and press
Enter
5. Use ↑ ↓ to go to
EnterPassword
field and press
Enter
6. Enter password and press
Enter
7. Use ↑ ↓ and confirm the password by pressing
Login
button
Note:
When you try to edit a locked setpoint the login dialog appears automatically.
Image 3.4 Password dialog
Содержание InteliVision 8
Страница 27: ...InteliVision 8 27 Image 4 7 Power screen Image 4 8 Main screen ...
Страница 28: ...InteliVision 8 28 Image 4 9 Gen screen Image 4 10 Synchroscope screen ...
Страница 29: ...InteliVision 8 29 Image 4 11 Statistics screen Image 4 12 Analog Inputs screen ...
Страница 31: ...InteliVision 8 31 Image 4 15 Analog inputs screen Image 4 16 Binary 1 0 screen ...
Страница 32: ...InteliVision 8 32 Image 4 17 Statistics screen ...
Страница 49: ...InteliVision 8 49 Image 4 36 Help Others screen part 1 Image 4 37 Help Others screen part 2 ...
Страница 72: ...InteliVision 8 72 9 2 Mounting system Image 9 2 Mounting system 9 3 Recommended wiring Image 9 3 IG NT wiring ...
Страница 73: ...InteliVision 8 73 Image 9 4 IS NT wiring Image 9 5 InteliDrive DCU wiring ...


