Page
12
of
73
VastraJet K2
Step 15:
Move the belt continuously in the forward direction using the arrow key from the keyboard (at least 10-15
mins) to check for obstacles and belt shifting.
Step 16:
Check and verify the belt shifting.
Step 17:
Check and fill fresh water in the water tank.
Step 18:
Prepare print files and keep ready.
Step 19:
Stop the belt movement by pressing the down arrow key.
Step 20:
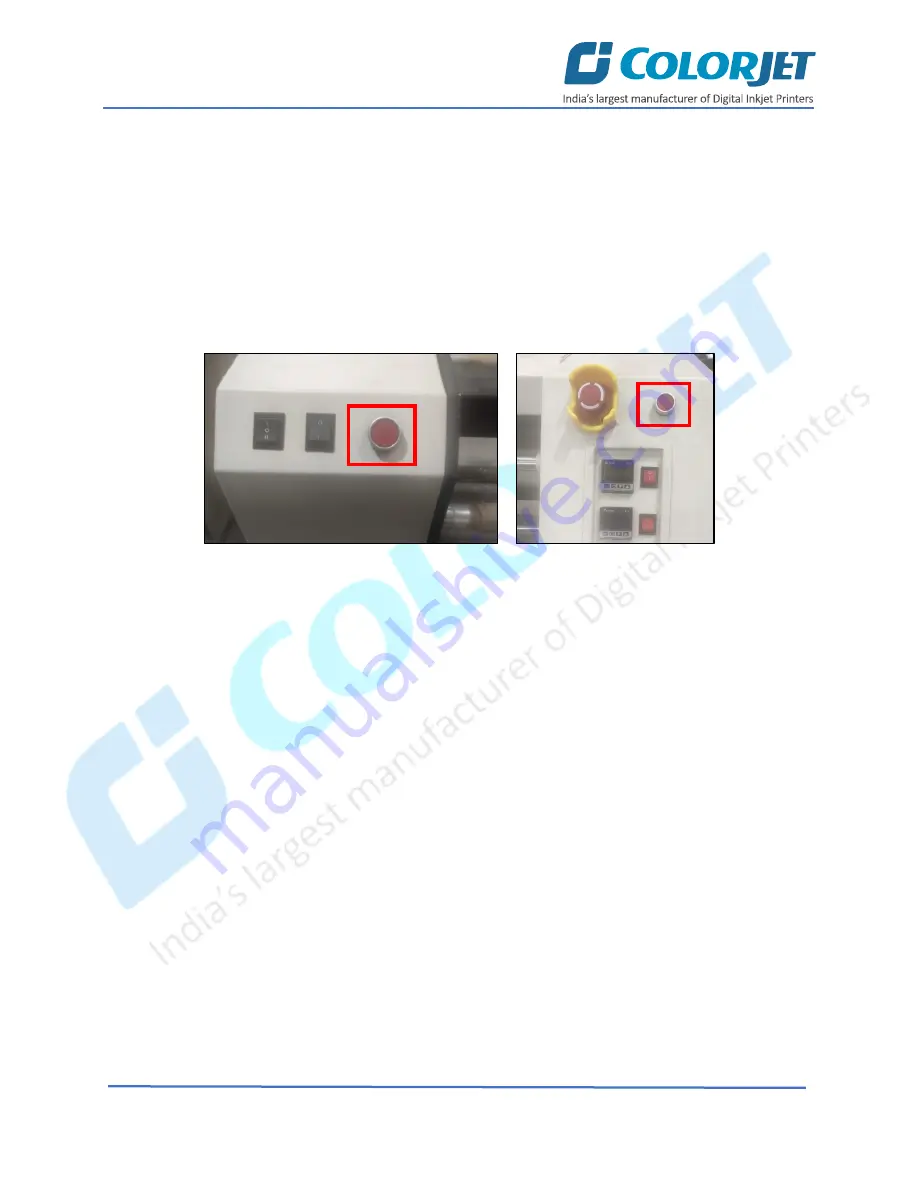
Switch ON the Feeder and Dryer units by pressing the Power ON switch, as shown below:
Fig 12: Switch ON Feeder and Dryer Units
Note:
Kindly make sure that all the necessary dryer and feeder settings are done.
Step 21:
Load the fabric and engage the press roller (Refer to the Loading Fabric section).
Note
: Please be careful while loading the fabric as there are chances of serious injuries (like pinching finger or hand).
Step 22:
Take care about the fabric handling from supply (in the feeder) and take up (in the dryer) sides.
Step 23:
Set print origin to specify the printing starting position using the printer manager.
Step 24:
If fabric thickness is changed, check head height and adjust it accordingly (min 3mm gap).
Step 25:
After adjusting the head height, its recommended to check bi-direction and step calibration.
Step 26:
Hold fabric till it reaches the take up (care it should not go into washing tub).
Step 27:
Wind the fabric into take up and set take up power.
Step 28:
Start printing.
Now, the printer is ready for printing.
Feeder
Dryer


