15
Chapter 6: Manual Installation and Setup
Windows 95
EtherFast 10/100 LAN Card
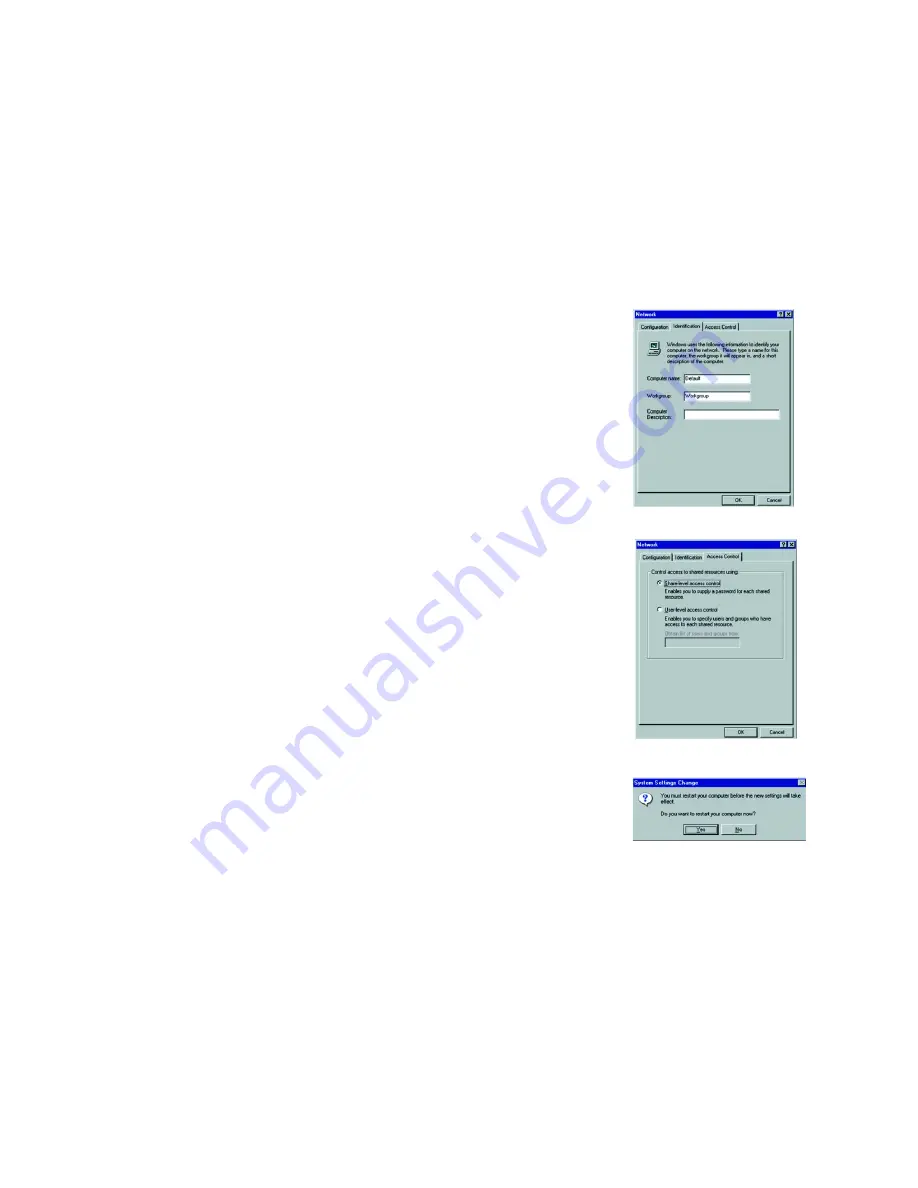
6. Click on the Identification tab, shown in Figure 6-9. Type the name of your computer in the
Computer Name
box. Choose a name that is unique from the other computer names on the network.
7. Type the name of your workgroup in the
Workgroup
box. The Workgroup name should be the same Workgroup
Name in use by all of the other PCs on the network. Use the same Workgroup Name that is in use on your
other computers.
8. (Optional) Enter a description of your computer in the Computer Description box. This box may be left blank.
9. Click the
Access Control
tab, shown in Figure 6-10. Make sure that Shared-level access control is selected.
If the setting is on User-Level access control and you can’t change it, refer to the Troubleshooting section.
10. Click the
OK
button. Your system may or may not ask you for your Windows 95 CD-ROM or the location of the
Windows 95 installation files. Direct Windows to D:\win95 (where D: is your CD-ROM Drive), making sure your
Windows CD-ROM is in the CD-ROM drive.
11. Once Windows has copied the necessary files, the System Settings Change window appears. Remove all
disks from your PC and click the
Yes
button to restart your PC. If you don't see the screen shown in Figure 6-
11, shut down Windows 95 and restart your PC. Remember to remove the Setup Utility CD, if necessary, prior
to rebooting.
12. A Logon window will appear, requiring you to enter a username and password. Make up a username and
password and click the
OK
button.
Do not press the ESC key or click the Cancel button
, or you won't be
able to log onto the network. If the a logon screen does not appear or if it does not allow you to log on, refer to
the Troubleshooting section.
13. Once you are at the Windows 95 desktop, double-click on the Network Neighborhood icon. You should see an
icon for the entire network and the names of the other PCs on the network. Open the Entire Network icon.
If you can see your computer along with all the other computers on the network in Network
Neighborhood, then the Windows 95 network configuration is complete.
Continue with Appendix B: Sharing Your Files and Printers if you want data from your PC to be available
to others on the network
or you may stop here, if you wish to configure File and Printer Sharing at a later time.
Figure 6-9: Filter Tab
Figure 6-10: Access Control
Figure 6-11: Restart your Computer


