3-8
Cisco Content Delivery Engine Hardware Installation Guide
OL-13478-01
Chapter 3 Installing the Software and Initially Configuring a CDE
Running the BIOS Setup Utility
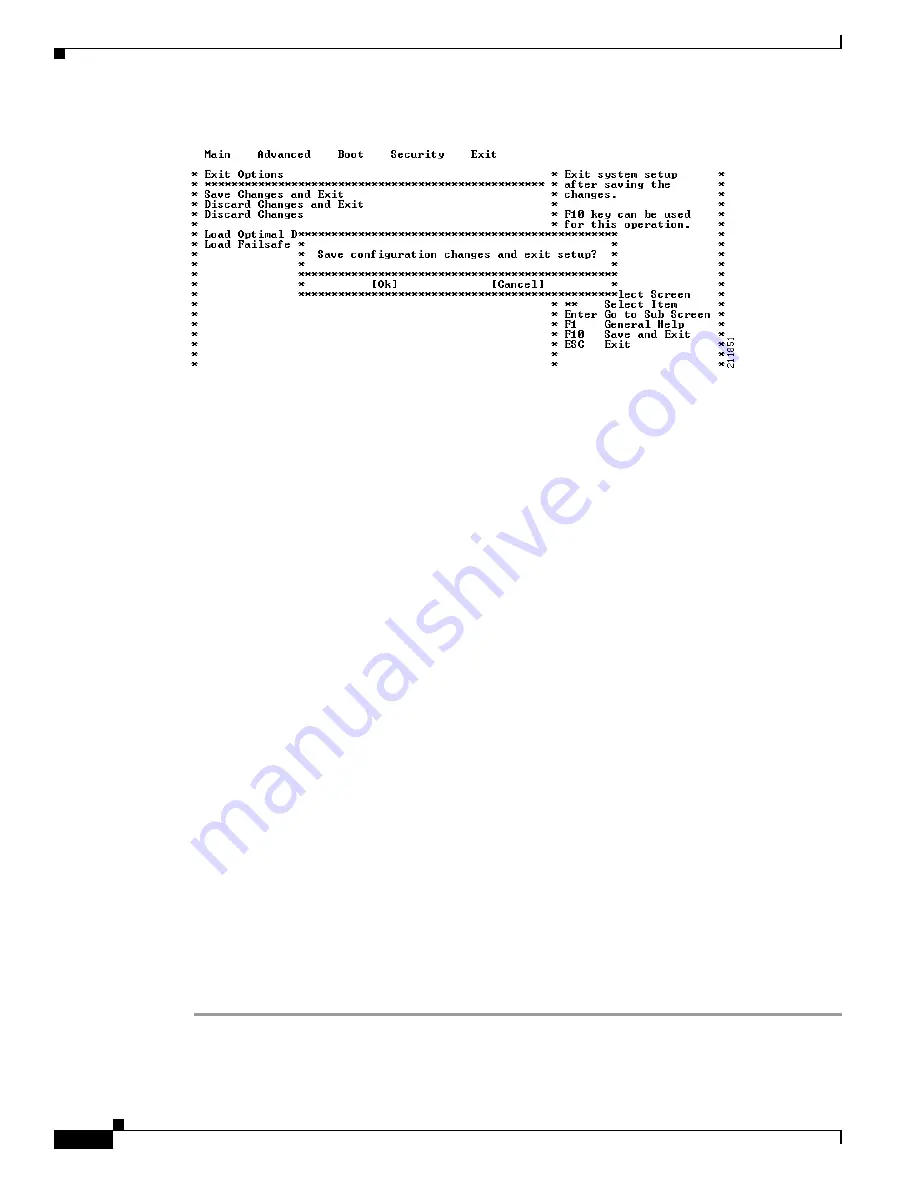
Figure 3-12
Exit Options Screen
Step 15
Ensure that the CD with the CDS image is in the internal CD-ROM drive and press
Enter
to confirm and
reboot the system. Your configuration is saved, the BIOS Setup menu is exited, and the system reboots.
The system boots from the image on the CD. This requires a terminal server to be hooked up to the serial
port of the CDE-100. All communication is done through the serial port (see the
for terminal server settings).
Once the CD starts booting, it displays a spinning “|” symbol for approximately five minutes. Allow the
booting to proceed and monitor the sequence from a remote terminal provided by the terminal server.
The CD boot menu is displayed at the conclusion of this boot sequence:
Welcome to the installer. The installer enables installation of a new software image onto
your system, or recovers a previous image in the event that the hardware was changed.
MODEL: CDE100
FLASH: found, directory validated
COOKIE: valid
IMAGE: DEVELOPMENT[jbohach-lnx02:/data/jbohach/ws/ipvideo/refact-dev-1
FLASHDEV: /dev/hdX
Installer Main Menu:
1. Configure Network
2. Manufacture flash
3. Install flash cookie
4. Install flash image from network
5. Install flash image from cdrom
6. Install flash image from disk
7. Wipe out disks and install.bin image
8. Exit (and reboot)
9. Force manufacturing flash
Choice [0]:
Step 16
Confirm that the FLASHDEV: line near the top of the menu displays something similar to “/dev/hdX”,
where “X” can be any letter.
a.
If no flash device is found, choose Option
8 to exit and reboot, and enter the BIOS Setup menu again.
Confirm that the BIOS detected the flash device.
b.
If the BIOS detects the CD-ROM drive but the CD installation menu is not displayed, this is an
abnormal condition. Contact Cisco Technical Support.


