4-11
Cisco ASA 5585-X Adaptive Security Appliance Hardware Installation Guide
OL-22567-02
Chapter 4 Maintenance and Upgrade Procedures
Removing and Installing the Power Supply Module
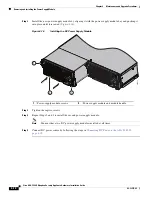
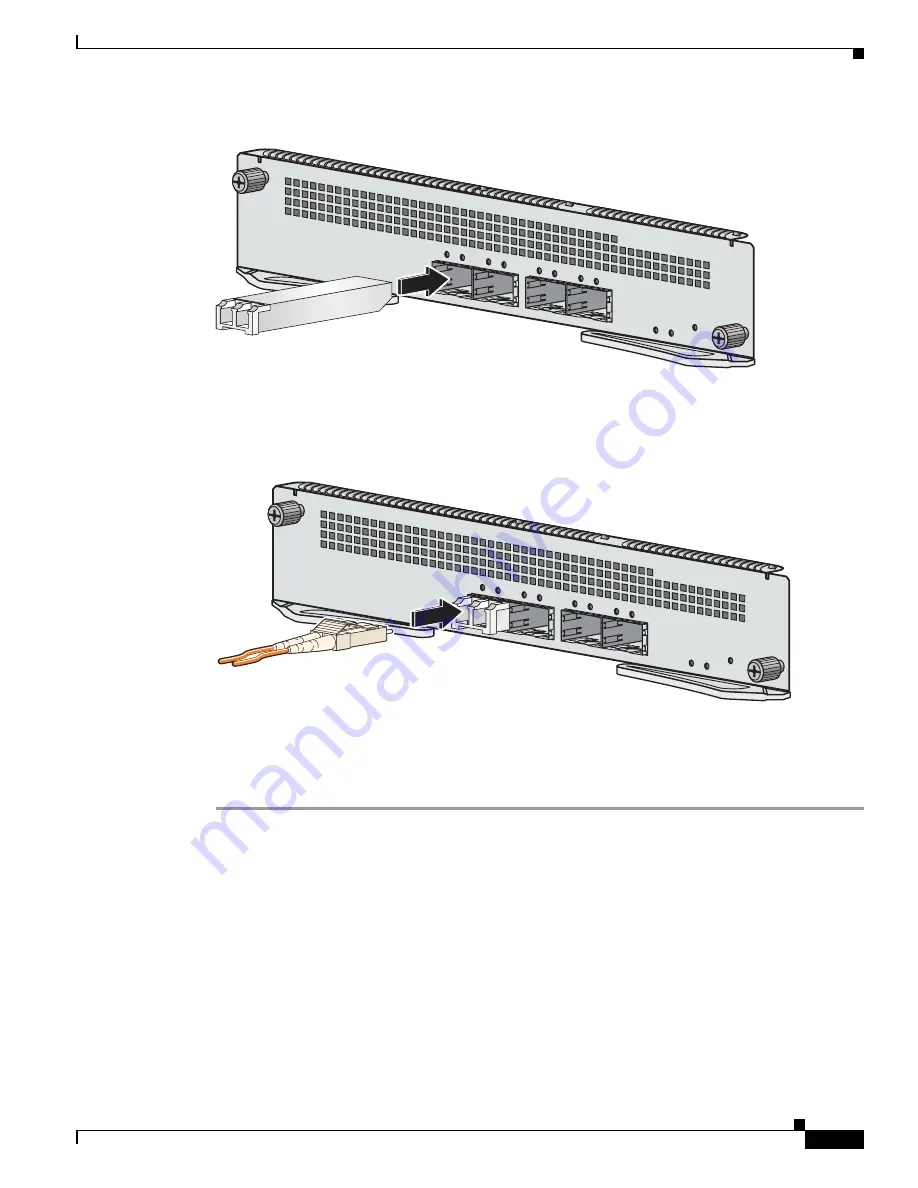
Figure 4-9
Installing the SFP/SFP+ Transceiver
Step 10
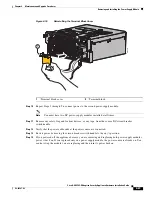
Remove the optical port plug, and then connect one end of an LC cable to the SFP/SFP+ transceiver
module (
Figure 4-10
).
Figure 4-10
Connecting the LC Cable
Step 11
Connect the other end of the LC cable to a network device, such as a router or a switch.
Step 12
After connecting all necessary cables, power on the security appliance.
Step 13
Verify that the PWR indicator on the front panel is green.
Removing and Installing the Power Supply Module
This section describes how to remove and install power supply modules in the ASA 5585-X, and
includes the following topics:
•
AC/DC Power Supply Module Configurations, page 4-12
•
AC Power Supply Module, page 4-12
•
Removing and Installing an AC Power Supply Module, page 4-13
•
DC Power Supply Module, page 4-16
•
Installing the DC Power Supply Module, page 4-17
331653
331654


