5. OPERATING THE PORTASPEC
5-3
.5
10
3
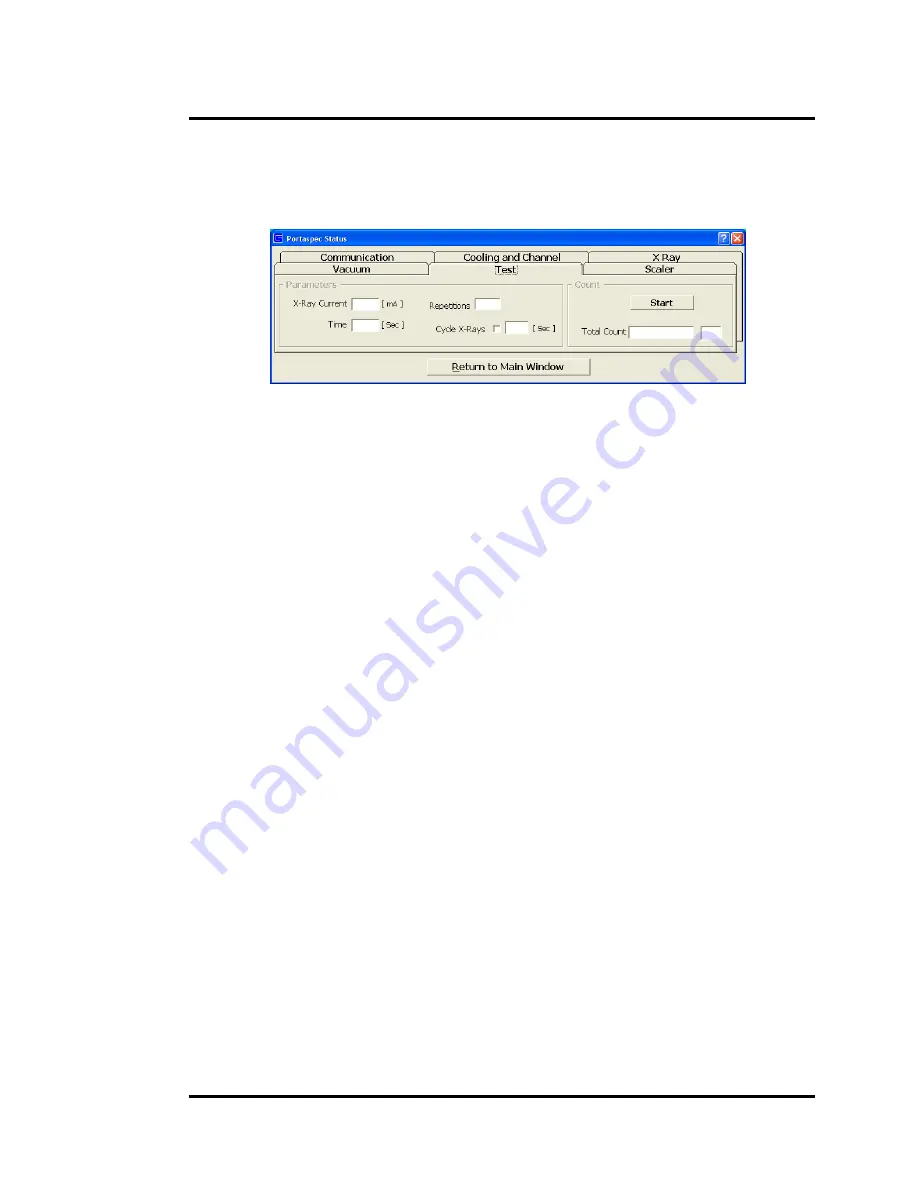
Setup Menu, Test Tab
Image 5-3
5.3.2. Analyzing for the first time on all X Series models
, using the calibration
sample shipped with the Portaspec.
a.
Press the “Setup” button on the Main Menu window.
b.
Now select the “Test” tab on the Setup form.
c. Find the Portaspec calibration sample that was included with your Portaspec.
Setup information is in with the calibration sample.
d. Enter the mA and count time listed on the setup information, on to the Test
form.
e.
Enter a “3” for the number of repetitions.
f. Place the calibration sample in the Portaspec Sample Holder, completely
covering the x-ray port and close the sample holder.
g. Turn the x-
ray interlock key to “On”.
Note:
This action alone will not and can not turn x-rays on. It must be combined
with an associ
ated “Start” or “Analyze” software command to generate x-
rays.
h.
Now press the “Start” button on the Test form.
i. Three readings will be collected one after another, at the settings that you
entered. The resulting counts will be momentarily displayed in a count
window with the associated trial number.
j. When complete, x-rays will turn off and the results will be written to a text file
and named for the current date with a text (.txt) file extension.
k. To access this file, hold down the Windows key while pressing
the “D” key to
display the computer desktop. Look for the folder icon titled “Portaspec
Control and Analysis Program” and double open it. The folder contains files
with the most recently created file on top. Open the file named
“
today’s date.txt”.
l. Basic statistics, including mean count will be displayed. The mean count
displayed should match the count recorded with the Portaspec Calibration
Sample, within 3 sigma of the mean count.
Now compare the results in the text file to that displayed on the label of the
calibration sample bag. The line marked “Count/Sec X-ray on” can be compared to
Содержание 2501XBT
Страница 38: ...9 X SERIES TECHNICAL DATA 9 1 ...
Страница 40: ...APPENDIX ...


