Chapter 2
such as pressing a key on the keyboard or moving the mouse will bring the system back
to Full-On. Pushing the button while in Full-On mode for more than [4 seconds] will
switch the system completely off. See Over-ride Power Button Operation diagram.
2.
P-LED
(Power LED Connector)
The power indicator LED shows the system's power status. It is important to pay
attention to the correct cable and pin orientation (i.e. Remember not to reverse the order
of these two connectors.)
3.
G-BTN/G-LED
(Green Button Switch/LED Connector)
Some ATX cases provide a Green button switch, which is used to put the system in
Suspend mode. In Suspend mode, the power supply to the system is reduced to a trickle,
the CPU clock is stopped, and the CPU core is in its minimum power state. The system
is activated whenever the keyboard or mouse is touched. The system can be resumed in
different ways as defined by Power Management Setup screen in BIOS.
4.
RESET
(System Reset Switch Connector)
This connector should be connected to the reset switch on the front-panel of the system
case. The reset switch allows you to restart the system without turning the power off.
5.
SPEAKER
(Speaker Connector)
This 4-pin connector connects to the case-mounted speaker.
6.
HD-LED
(IDE Activity LED Connector)
The IDE activity LED lights up whenever the system reads/writes to the IDE devices.
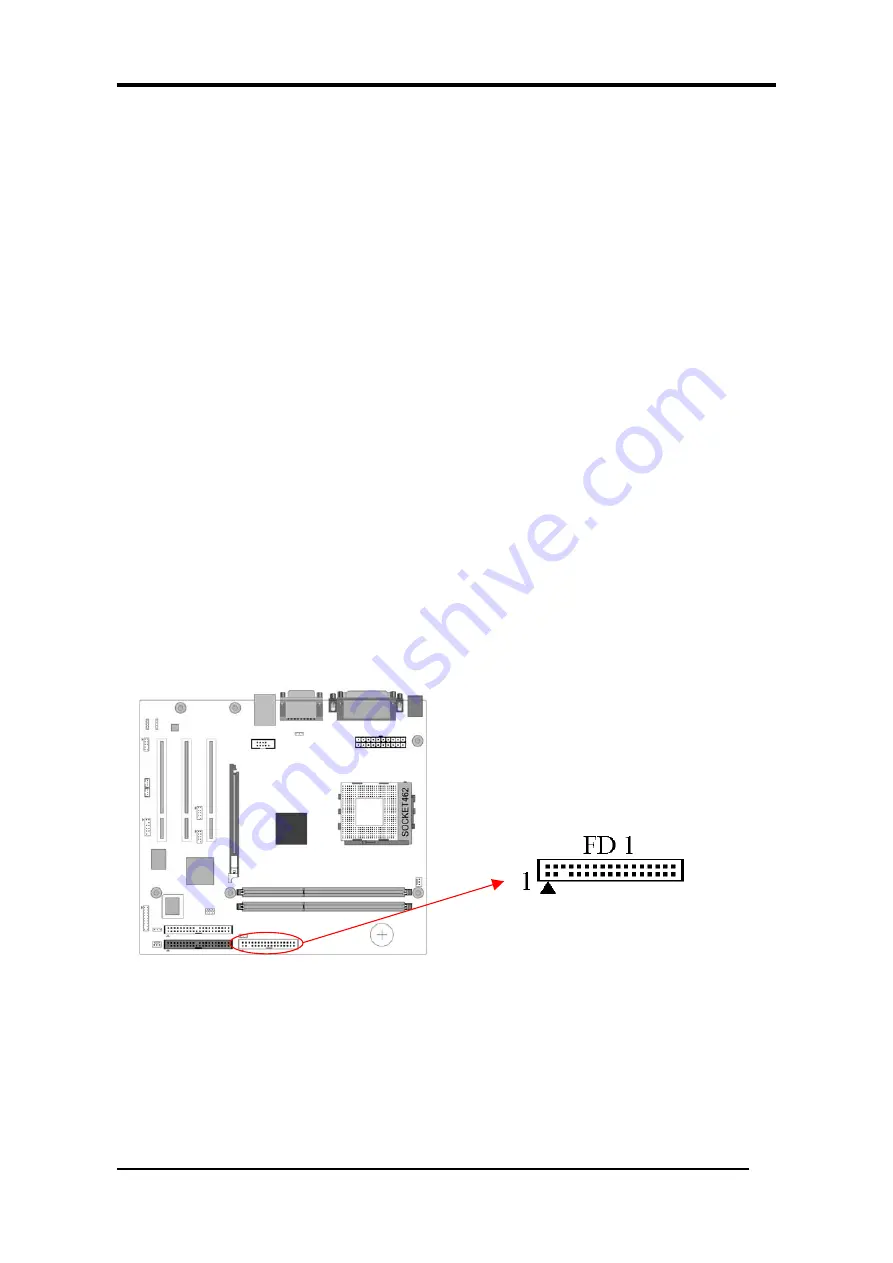
FD1 (Floppy Connector)
The motherboard provides a standard floppy disk drive connector that supports 360K,
720K, 1.2M, 1.44M and 2.88M floppy disk types. Use this connector to connect to a
floppy disk drive of 34 pins.
10
Содержание 7VIF3
Страница 1: ...7VIF3 7VIF4 AMD Socket A VIA KM266 KM400 VT8235 u ATX Motherboard User s Guide Version 1 0...
Страница 7: ...Chapter 1 1 3 7VIF3 7VIF4 Motherboard Layout 3...
Страница 41: ...Chapter 4 3 Please select Yes to accept the license agreement 4 Please select Next to continue 37...
Страница 43: ...Chapter 4 7 Please select Next to continue installing AGP Driver 8 Please select OK to restart your computer 39...
Страница 44: ...Chapter 4 4 2 Audio Driver Setup 1 Click Audio Driver 2 Click Next to start software installation 40...
Страница 47: ...Chapter 4 7 Please select OK to complete the setup process 4 3 LAN Driver Setup 1 Click LAN Driver 43...
Страница 48: ...Chapter 4 2 Please select Next to continue 3 Please click Finish to complete the setup process 44...
Страница 49: ...Chapter 4 4 4 USB 2 0 Driver 1 Click USB 2 0 Driver 2 Please select Next to continue 45...
Страница 50: ...Chapter 4 3 Please select Next to continue 4 Please select Yes to accept the license agreement 46...


