


169
EDITING IMAGES
Use the follo
w
ing proced
u
re to adj
u
st the
b
rightness of
snapshots.
1.
In the PLAY mode, use [
W
] and [
X
] to scroll
through images and display the one whose
brightness you want to adjust.
2.
Press [MENU].
3.
Select the “PLAY” tab, select “Brightness”,
and then press [
X
].
•
Note that the a
b
o
v
e step is possi
b
le only
w
hen there is a
snapshot displayed on the monitor screen.
4.
Use [
S
] and [
T
] to select the setting you want,
and then press [SET].
•
To cancel the
b
rightness adj
u
stment operation, press [
W
]
or [MENU].
IMPORTANT!
•
Adj
u
sting the
b
rightness of an image creates a ne
w
image
w
ith the ne
w
b
rightness le
v
el. The original image also
remains in memory.
•
W
hen yo
u
display a
b
rightness adj
u
sted image on the
camera’s monitor screen, the date and time indicates
w
hen
the image
w
as originally recorded, not
w
hen the
b
rightness
w
as adj
u
sted.
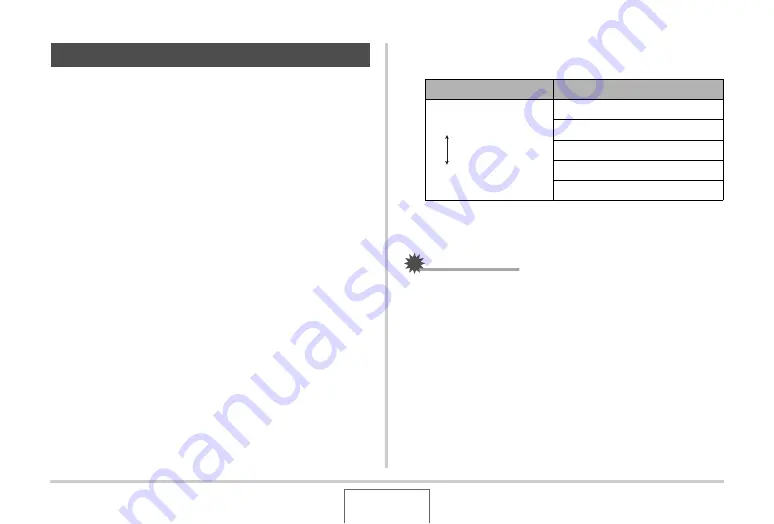
Adjusting Image Brightness
To get this:
Select this setting:
Brighter
Darker
+2
+1
0
–1
–2


