background image

CloudMesh Satellite – NS-01 

11 of 19 

UG01221   v1.0   May 2020 

© NetComm Wireless 2020 

Connect client devices 

You can connect any number of WiFi enabled client devices to the internet via the NS-01 
CloudMesh Satellite using the WPS (WiFi Protected Setup™) functionality of each device. 

In addition, you can connect two peripheral client devices using the ethernet points on the back 
of the NS-01 CloudMesh Satellite. 

Connect a client via WPS 

The NS-01 provides two methods to establish a connection with client devices: 

WPS (WiFi Protected Setup™) functionality 

Connection via Ethernet  

Connect a device using the WPS button (default setting) 

1


Bring a WPS enabled device within WiFi range and press the WPS button on the back of 
the CloudMesh Satellite. 

2


The LED on the front of the CloudMesh Satellite will flash purple for up to two minutes. 

Note – You can also connect a client device using the WPS button on the CloudMesh 
Gateway (or another CloudMesh Satellite on your wireless mesh).  
Once it is connected using one device, it will be connected to all the gateways and satellites 
on your CloudMesh network. 

3


Once the device is connected, the WPS LED will remain illuminated. 

Connect a client via Ethernet cable 

Alternatively, you can directly connect a device, for example a printer, to the CloudMesh 
Satellite using an ethernet cable. 

1


2


Connect the yellow Ethernet cable provided to one of the yellow ports marked 
‘Ethernet’ at the back of the NS-01. 

Connect the other end of the yellow Ethernet cable to your client device. 

Turn off the LED light 

In some locations, for example a bedroom, the LED light may become an unwanted distraction. 

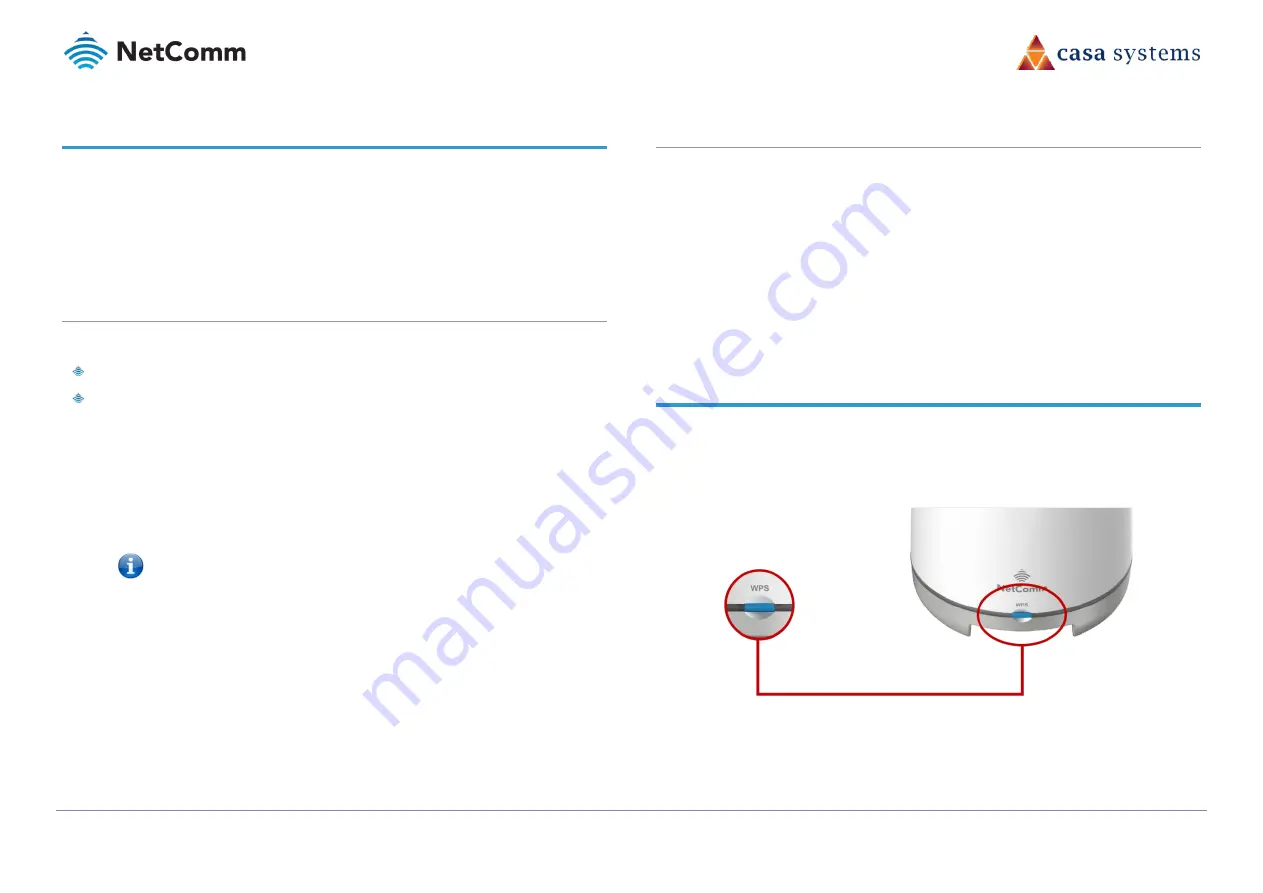
To control the display of the CloudMesh Satellite’s LED light, press and hold the WPS button 
for 7 seconds to switch the light’s display between ON or OFF. 

Figure 5 – Turn off LED display 

Содержание NetComm CloudMesh Satellite NS-01

Страница 1: ...CloudMesh Satellite NS 01 1 of 19 UG01221 v1 0 May 2020 NetComm Wireless 2020 Doc No UG01221 NS 01 USER GUIDE CloudMesh Satellite...

Страница 2: ...t may be translated transcribed reproduced in any form or by any means without prior written consent of Casa Systems Inc Trademarks and registered trademarks are the property of NetComm Wireless Limit...

Страница 3: ...s 8 Avoiding obstacles and interference 8 Pair the CloudMesh Satellite with your CloudMesh Gateway 9 Preconfigured already paired 9 Normal operation of paired devices 9 Paired via WPS 9 Pair via Ether...

Страница 4: ...ess 802 11a b g n ac capability and the TCP IP Protocol installed A smartphone or tablet with the Android or iOS operating system A current version of a web browser such as Mozilla Firefox or Google C...

Страница 5: ...k solution to improve WiFi coverage ISPs looking to provide a cost effective fully integrated WiFi Mesh solution with full control and visibility of all access points to their new and existing custome...

Страница 6: ...faces Rear view Figure 2 Rear view interfaces N O I N T E R F A C E D E S C R I P T I O N 1 Ethernet ports Gigabit Ethernet LAN ports Can be used to connect clients in bridge mode 2 USB C power adapte...

Страница 7: ...tellite insert a straightened paper clip or similarly shaped object into the small hole marked with the reset icon and hold for ten 10 seconds Table 3 Bottom view interface Physical dimensions and wei...

Страница 8: ...to five metres from the CloudMesh Satellite or CloudMesh Gateway to see if distance is the problem Note While some of the items listed below can affect network performance they will not prohibit your...

Страница 9: ...CloudMesh Satellite location section of this guide above 8 The CloudMesh Satellite is now ready to use Paired via WPS If the CloudMesh Satellite and the CloudMesh Gateway have not been setup by your i...

Страница 10: ...2 minutes for the CloudMesh Satellite to download information from CloudMesh Gateway the LED will turn solid white 7 When the satellite has been paired with the gateway the LED will be solid white or...

Страница 11: ...rple for up to two minutes Note You can also connect a client device using the WPS button on the CloudMesh Gateway or another CloudMesh Satellite on your wireless mesh Once it is connected using one d...

Страница 12: ...esh Satellite s serial number can be found on the label affixed to its bottom Figure 6 Serial number on label on bottom of NS 01 If the device is not paired please first follow Appendix B Set NS 01 IP...

Страница 13: ...toolbar of the screen Figure 9 Check current firmware version 8 From the Flash Operations screen select the Actions tab and in the Flash new firmware image section make the following settings a Desel...

Страница 14: ...drop down menu Figure 13 System Log Each log entry has a date and timestamp and a short description of the event CloudMesh Satellite reset To reset the CloudMesh Satellite insert a straightened paper...

Страница 15: ...t place this device in any wet or humid areas such as kitchen bathroom or laundry rooms POWER SUPPLY Always use only the power supply unit that came with the device You should immediately stop using t...

Страница 16: ...ems placed on them Appendix B Set NS 01 IP connectivity to access Web UI If your CloudMesh Satellite NS 01 is currently not paired to a CloudMesh Gateway you will have to access the Satellite directly...

Страница 17: ...t of Network Connections 5 Select Properties from the popup menu Figure 18 Select Properties for current connection 6 In the Networking tab of the Ethernet Properties dialog box go to the list of This...

Страница 18: ...ult gateway text box enter the IP address of the CloudMesh Satellite 192 168 1 1 10 Click the OK button to close the Internet the Ethernet Properties dialog box 11 Click the close button to close the...

Страница 19: ...CloudMesh Satellite NS 01 19 of 19 UG01221 v1 0 May 2020 NetComm Wireless 2020...

Отзывы: