CloudMesh Satellite – NS-01
10 of 19
UG01221 v1.0 May 2020
© NetComm Wireless 2020
Pair via Ethernet cable
An alternative pairing method to using WPS (see page 9) is to use the yellow RJ45 Ethernet
cable (supplied with the satellite) connected to the Ethernet port of each device to pair the
CloudMesh Satellite with a CloudMesh Gateway.
1
Place the CloudMesh Satellite next to your CloudMesh Gateway.
2
Connect to power, switch both on and wait for both devices to power on.
3
If the CloudMesh Satellite LED light is still flashing blue after ten minutes, this confirms
that you will need to pair it with the CloudMesh Gateway.
4
Ensure that the CloudMesh Gateway is connected to the Internet.
5
Plug the yellow RJ45 Ethernet cable (supplied with the satellite) into any of the Ethernet
ports on the back of each device.
6
Allow 2 minutes for the CloudMesh Satellite to download information from CloudMesh
Gateway, the LED will turn solid white.
7
When the satellite has been paired with the gateway the LED will be solid white or blue,
depending on the signal strength.
8
Unplug the ethernet cable from between the two devices and wait 10 minutes as
CloudMesh Satellite attempts to pair with the CloudMesh Gateway, the LED will flash
blue.
9
Position the CloudMesh Satellite in a satisfactory location in your premises.
10
Power on the CloudMesh Satellite and begin using your new mesh.
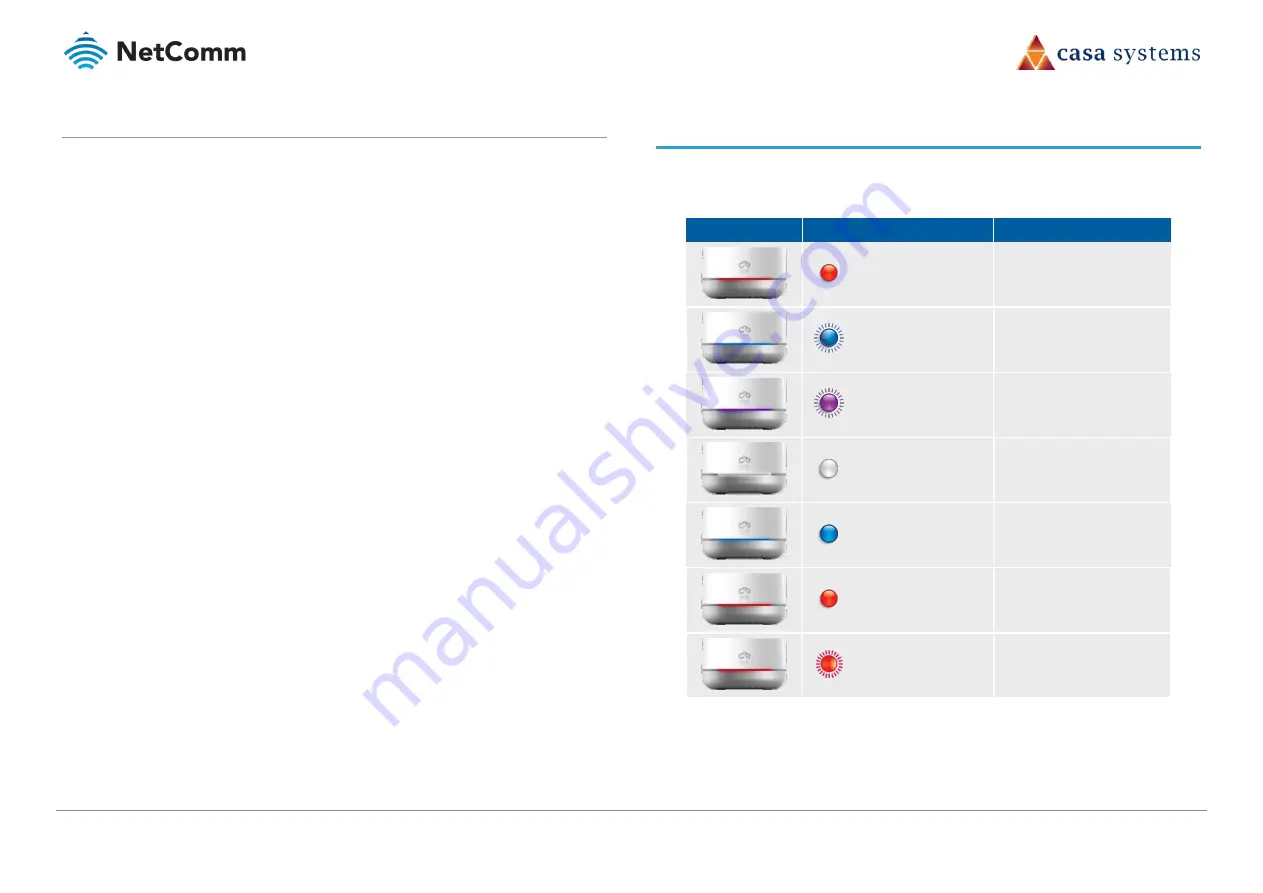
LED indicators
The following table explains the meaning of the different coloured LED indicator lights and
actions.
L E D
L E D A C T I V I T Y
M E A N I N G
Briefly flashes red
Powering on
Flashing blue
Pairing in progress
Flashing purple
WPS pairing window
Solid white
Pairing successful:
Good signal
Solid blue
Pairing successful:
Medium signal
Solid red
Pairing successful:
Poor signal
Flashing red
Firmware upgrade
in progress
Table 5 – LED indicator meanings


