_________________________________________________________________________________________________________________________
Card Access Sensor Bridge
Page 8 of 12
Quick Start & Installation Guide
Card Access, Inc.
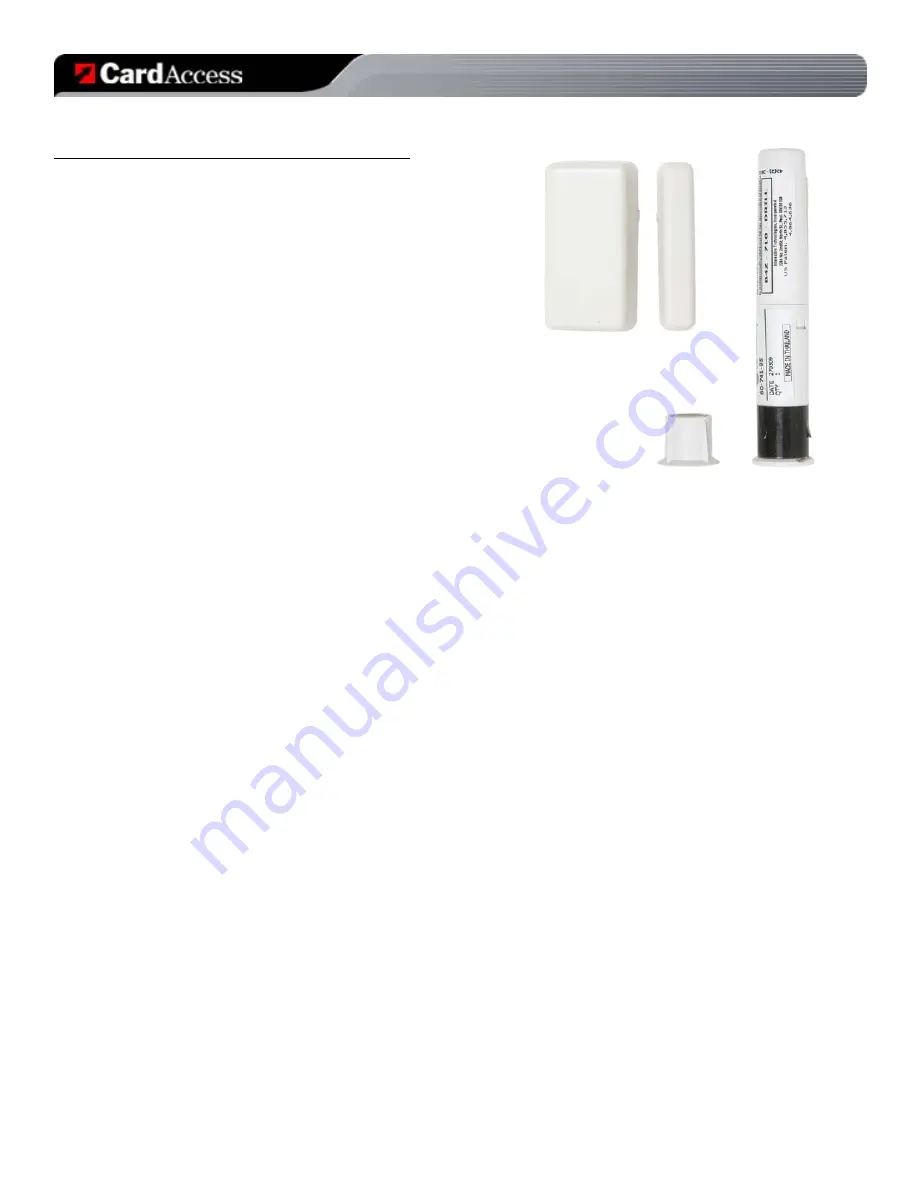
Micro Door/Window Sensor Driver Details
•
Supported Devices:
o
GE Micro Door/Window Sensor
-
Card Access Model Number: GMS10A
-
GE Model Number: NX-454
o
GE Recessed Micro Door/Window Sensor
-
Card Access Model Number: GRS10A
-
GE Model Number: 60-741-95
NOTE:
This driver MUST be used in conjunction with the Card Access Sensor
Bridge hardware and DriverWorks driver. GE Wireless Sensors do NOT need to
be associated in any way with a specific Sensor Bridge in Composer.
•
Properties Page Help
:
o
Sensor TxID:
Enter the TxID printed on the Sensor Label. The TxID
is a 6 or 7-digit alphanumeric address.
o
Sensor Name:
An optional descriptive name may be entered here. This name is displayed on the property
page of the Bridge when data for this sensor is received.
o
Sensor Contact State:
shows the current state of the contact as "Opened" or "Closed."
o
Sensor Status:
shows whether the sensor as "Online" or "Offline." This status is affected by the connection
state of the Sensor Bridge(s).
o
Last Sensor Event
: shows the date and time of the last event received, as well as the contact status and low-
battery status.
o
Last Signal Level:
shows the approximate signal level of the last received event. Use this level to aid in proper
positioning of sensors.
o
Supervisory Timeout
: sets the number of supervisory periods which must be missed before the “Supervisory
Lost” event is triggered. Supervisory periods for these sensors are every 64 minutes.
o
Supervisory State:
shows current state of the supervisory signal monitor.
o
Statistics:
shows the number of events and RX success of the sensor.
•
Actions Page Help:
•
Identify Sensor:
Click this button to allow the driver to automatically 'learn' the TxID of the sensor. After clicking
the button, activate the 'Tamper' switch on the sensor as follows:
o
Micro/Door Window Sensor:
Remove the sensor cover and slide the battery about half-way out of the battery
holder. When finished, slide the battery back in. When the sensor has been successfully identified, the TxID
will appear in the Sensor TxID field of the Driver Properties page.
o
Recessed /Door Window Sensor:
Insert the blade of a standard screwdriver into the slot at the top of the
sensor. Press in firmly while slowly rotating the top 1/8 turn counter-clockwise, then rotate it back. When the
sensor has been successfully identified, the TxID will appear in the Sensor TxID field of the Driver Properties
page.
•
Cancel Identify
: Click this button to abort the sensor identify process. Note that clicking this button is not
necessary if you have successfully identified a sensor.


