19
20
1
2
3
4
7
5
6
8
TOP
K
P20
P19
2017.01月
初
版
Mac
Illustrator
CS6
DC3000
Using
this Product
Safely
Preparation
Installation
Capturing
Images/V
ideo
V
iewing/Deleting
Media
Changing
Camera Settings
T
roubleshooting
*The memory LED will
also light up.
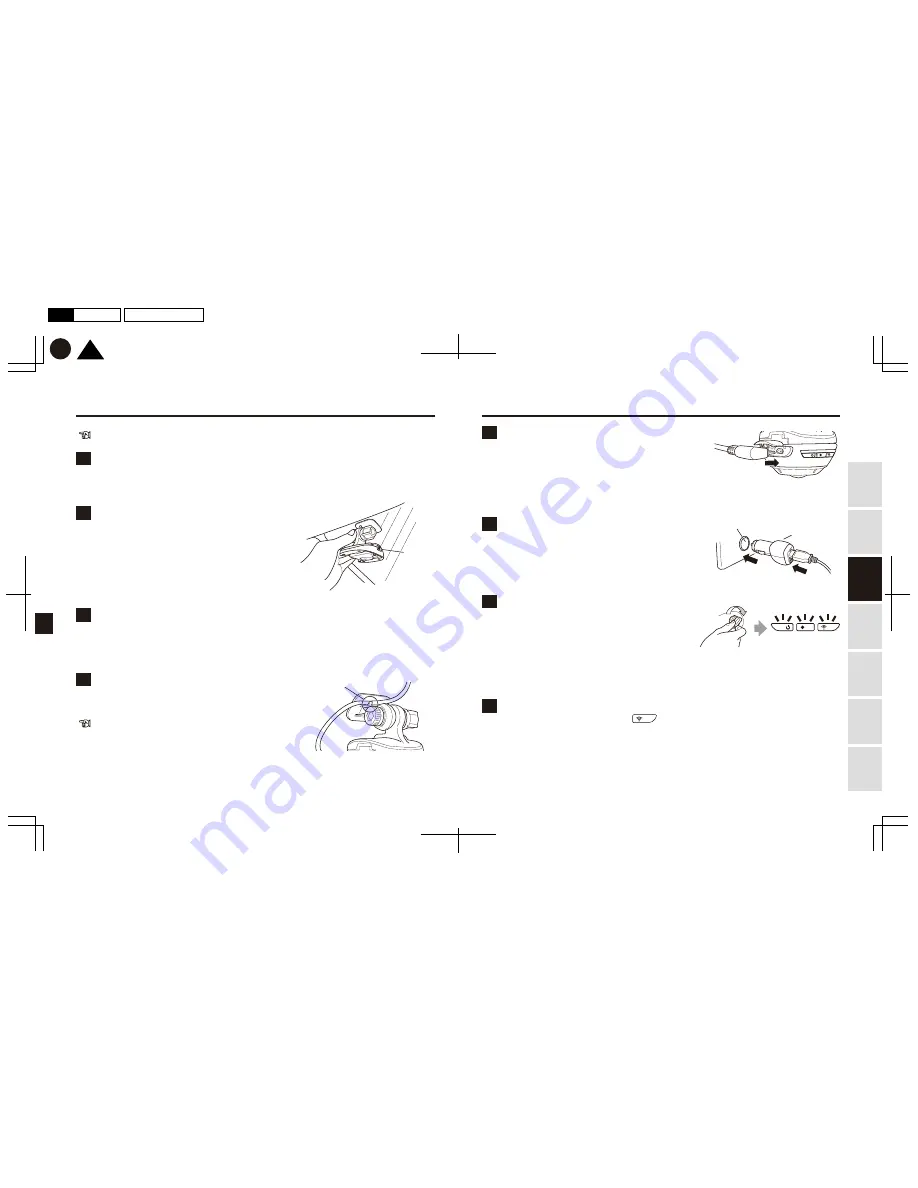
Install the Product outdoors where GPS signals can be easily received.
For a neater arrangement, keep the power cable
running through the cable hook located on the upper
portion of the mount. Ensure to have some extra length
of the power cable available in advance.
Wipe the mounting surface clean with mild detergent. Wipe again with a water-soaked
cloth, and then again using a dry cloth.
Peel the release paper off the mount. Orient the mount
so the release lever faces to the right. Tape the mount
firmly onto the front windshield.
Match the convex portion of the camera body with the concave
portion of the slide rail portion of the mount. Slide them together
until they click.
Arrange the power cable neatly using the cable clips
included in the Product.
*To stabilize the tape adhesion, leave the mount for at least
24 hours without the camera attached. Do not peel off and
re-tape the mount, as doing so will lower the adhesiveness
of the tape.
*Do not drive your car until the camera body is attached to
the mount.
Release lever
Cigarette lighter receptacle
Cable hook
Cleaning the mounting area
Open the cover to ensure the memory card is inserted.
Insert the microUSB connector of the power cable into
the USB power socket.
Checking the memory card is inserted and
connecting the power cable
Connecting to a smartphone
Turn on your car engine (turn on the ignition) and
ensure all LEDs light up after a few seconds.
In order to set the date and time, the camera must
receive GPS signals. Keep the engine running for
at least 40 seconds.
Turning on the engine
After inserting the microUSB connector of
the power cable into the USB power socket,
insert the USB power socket into your car’s
cigarette lighter receptacle.
Inserting the power cable into
the cigarette lighter receptacle
Attaching the mount
Attaching the camera body to the mount
Arranging the power cable
Installation
After ensuring the communication LED is on,
connect the camera and your smartphone wirelessly.
Open the d’Action app.


