


83
Before Use
Basic Guide
Advanced Guide
1
Camera Basics
2
Creative Shot Mode
3
Auto Mode / Hybrid Auto
Mode
4
Other Shooting Modes
6
Playback Mode
7
Wi-Fi Functions
8
Setting Menu
9
Accessories
10
Appendix
Index
5
P Mode
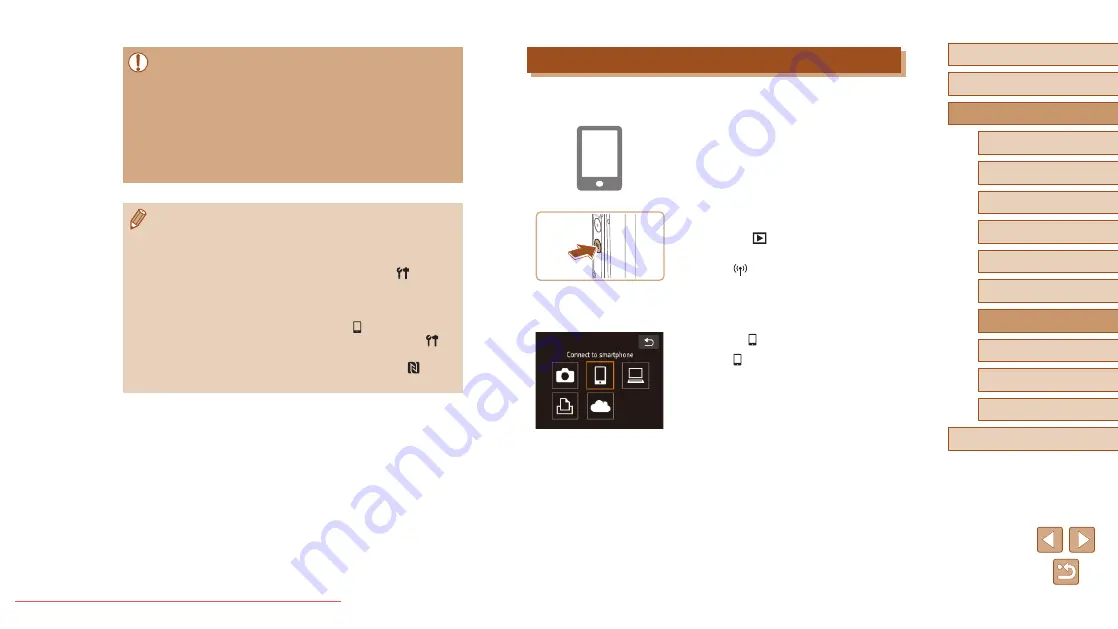
Adding a Smartphone Using the Wi-Fi Menu
These steps show how to use the camera as an access point, but you can
also use an existing access point (
1
Install CameraWindow.
●
Install CameraWindow on your
smartphone by step 1 of “Sending to
a Smartphone Assigned to the Button”
(
2
Access the Wi-Fi menu.
●
Press the [
] button to turn the camera
on.
●
Touch [
].
●
If a screen requesting the device
nickname is displayed, enter the
nickname (
3
Choose [ ].
●
Touch [ ].
●
When using NFC, keep the following points in mind.
-
Avoid strong impact between the camera and smartphone. This
may damage the devices.
-
Depending on the smartphone, the devices may not recognize
each other immediately. In this case, try holding the devices
together in slightly different positions.
-
Do not place other objects between the camera and
smartphone. Also, note that camera or smartphone covers or
similar accessories may block communication.
●
Connections require that a memory card be in the camera.
●
A message is displayed if the nickname you enter begins with a
symbol or space. Touch [OK] and enter a different nickname.
●
For better security, you can require password input on the screen
] tab >
[Wi-Fi Settings] > [Password] > [On]. In this case, in the password
field on the smartphone in step 4, enter the password displayed
on the camera.
●
One smartphone can be registered to the [ ] button. To assign a
different one, first clear the current one in MENU (
]
tab > [Mobile Device Connect Button].
●
Not all NFC-compatible smartphones have an N-Mark (
). For
details, refer to the smartphone user manual.


