


Preparation (Installation, Connection, Launch, Activation)
1-8
Connecting the Camcorder
Connecting the Camcorder to the Computer
1
Turn the camcorder’s power on and activate the DV CONTROL
function.
2
Set the camcorder’s recording program to EXT.CONT. or Camera
mode.
• When the camcorder is set to EXT.CONT. mode, only the following functions of the
camcorder can be used.
-
Camcorder’s start/stop button
-
Handle and grip zoom lever
-
ZOOM SPEED switch and dial
-
EJECT switch
-
All audio related adjustments except for AUDIO MONITOR button
3
Connect the camcorder to the computer using the IEEE1394 (DV)
cable.
• You do not need to turn off the computer.
• Do not deactivate the DV CONTROL function while the camcorder is connected to the
computer.
• Refer to the computer manual for the location of the computer’s IEEE1394 (DV) port.
HDV/DV terminal
on the camcorder
DV cable
IEEE1394 port
on the computer
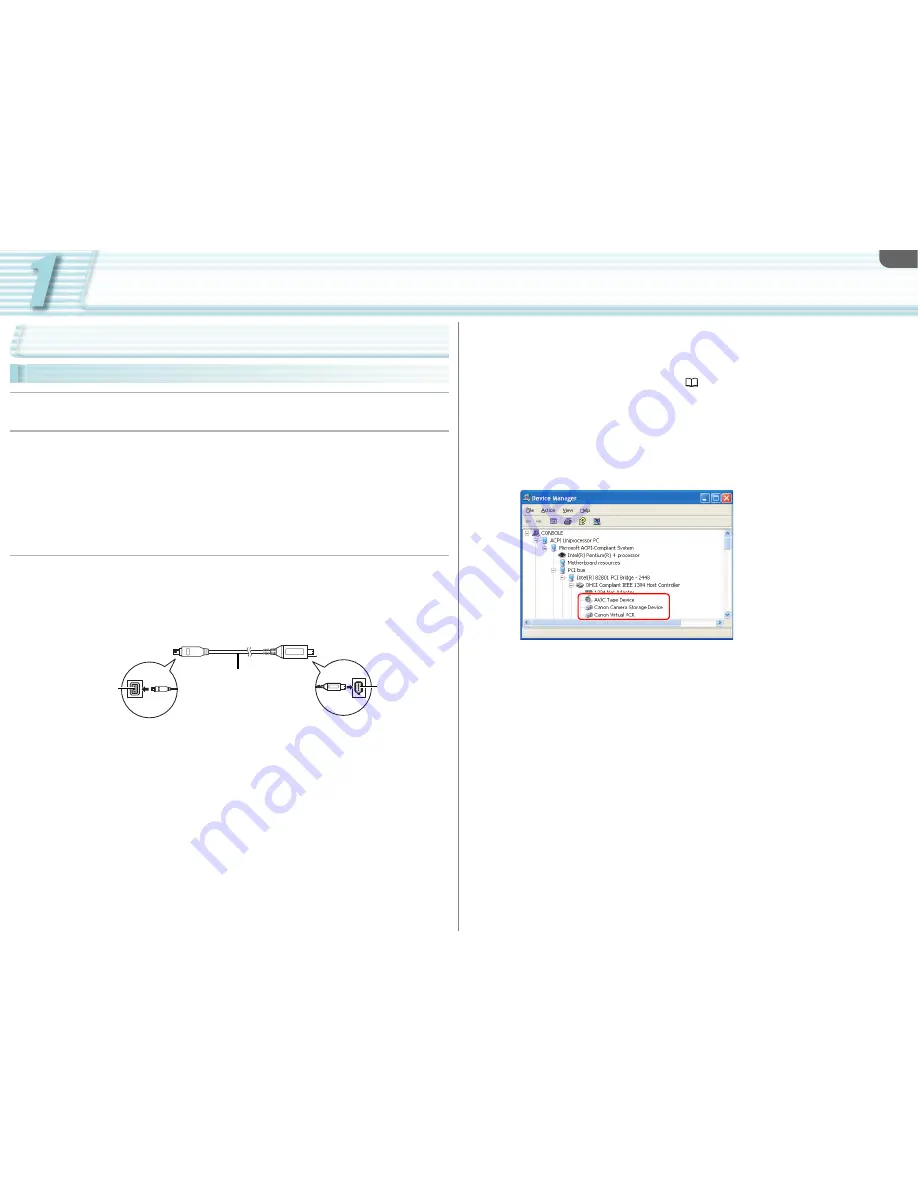
• Follow the procedure below to confirm if the camcorder is properly connected. Your
camcorder is correctly connected if you see items described in step 4 in the [Device
Manager] window.
1) Set the camcorder to EXT.CONT. and connect to the computer.
2) Open the [Device Manager] window. (
7-56)
3) Select [Devices by connection] from the [View] menu.
4) Confirm that the following names are shown under IEEE1394 controller.
• When connecting to a computer in HD mode:
[AV/C Tape Device], [Canon Camera Storage Device] and [Canon Virtual VCR] are
shown.
• When connecting to a computer in SD mode:
[Canon DV camcorder], [Canon Camera Storage Device] and [Canon Virtual VCR] are
shown.


