Chapter 13: Configuring Security on the SSR
238
CoreWatch User’s Manual
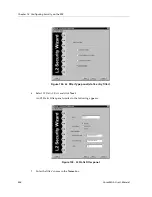
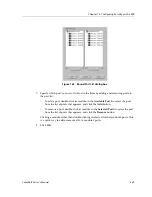
11. Click
Next
. In the second Bind to Port panel that appears, specify the ports to which
you are allowing, disallowing, or forcing packets. Then click
Finish
.
Configuration Expert adds the filter to those found in the L2 Static Entries object. The
ports to which the filter applies are included in that filter’s Bound Port List object. The
ports to which you are allowing, disallowing, or forcing packets are included in the filter’s
Out Port List object.
Configuring Layer-2 Secure Port Filters
Secure port filters block access to a specified port. You can use a secure port filter by itself
to secure unused ports. Secure port filters can be configured as source or destination port
filters. A secure port filter applied to a source port forces all incoming packets to be
dropped on a port. A secure port filter applied to a destination port prevents packets from
going out a certain port.
You can combine this secure port filters with static entries in the following ways:
•
Combine a source secure port filter with a source static entry to drop all received traffic
but allow any frame coming from a specific source MAC address to go through.
•
Combine a source secure port filter with a flow static entry to drop all received traffic
but allow any frame coming from a specific source MAC address that is destined to a
specific destination MAC address to go through.
•
Combine a destination secure port with a destination static entry to drop all received
traffic but allow any frame destined to a specific destination MAC address to go
through.
•
Combine a destination secure port filter with a flow static entry to drop all received
traffic but allow any frame coming from a specific source MAC address that is destined
to a specific destination MAC address to go through.
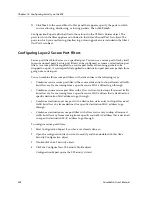
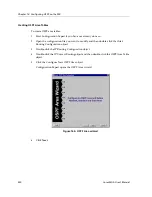
To configure secure port filters:
1.
Start Configuration Expert if you have not already done so.
2.
Open the configuration file you want to modify and then double-click that file’s
Security Configuration object.
3.
Double-click the L2 Security object.
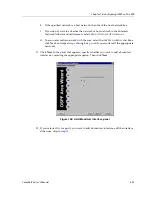
4.
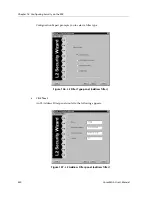
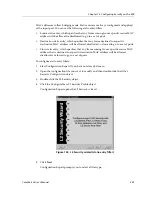
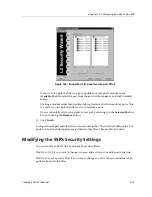
Click the Configure New L2 Security Profile object.
Configuration Expert opens the L2 Security wizard.
Содержание SSR-GLX19-02
Страница 1: ...CoreWatch User s Manual 9032564 04...
Страница 2: ...Notice 2 CoreWatch User s Manual...
Страница 20: ...Preface 20 CoreWatch User s Manual...
Страница 64: ...Chapter 5 Changing System Settings 64 CoreWatch User s Manual...
Страница 86: ...Chapter 6 Configuring SSR Bridging 86 CoreWatch User s Manual...
Страница 106: ...Chapter 7 Configuring VLANs on the SSR 106 CoreWatch User s Manual...
Страница 206: ...Chapter 12 Configuring QoS on the SSR 206 CoreWatch User s Manual...
Страница 246: ...Chapter 13 Configuring Security on the SSR 246 CoreWatch User s Manual...
Страница 274: ...Chapter 15 Configuring BGP on the SSR 274 CoreWatch User s Manual Figure 184 BGP Peer Group Definition panel Options tab...
Страница 363: ...CoreWatch User s Manual 363 Chapter 16 Configuring Routing Policies on the SSR 9 Click OK...
Страница 364: ...Chapter 16 Configuring Routing Policies on the SSR 364 CoreWatch User s Manual...
Страница 370: ...Chapter 17 Checking System Status 370 CoreWatch User s Manual...
Страница 390: ...Chapter 18 Monitoring Real Time Performance 390 CoreWatch User s Manual...
Страница 396: ...Chapter 19 Checking the Status of Bridge Tables 396 CoreWatch User s Manual...
Страница 430: ...Chapter 20 Checking the Status of Routing Tables 430 CoreWatch User s Manual...
Страница 442: ...Chapter 22 Obtaining Reports 442 CoreWatch User s Manual...
Страница 456: ...Appendix B CoreWatch Menus 456 CoreWatch User s Manual...

