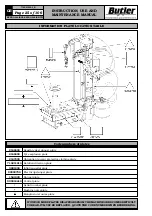


Page 35 of 106
INSTRUCTION, USE AND
MAINTENANCE MANUAL
GB
KENDO.30LIGHT-KENDO.30LIGHTFI
7105-M002-0_B
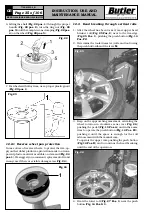
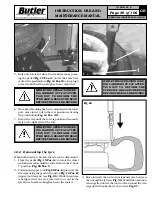
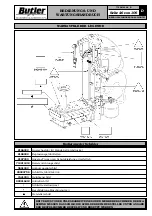
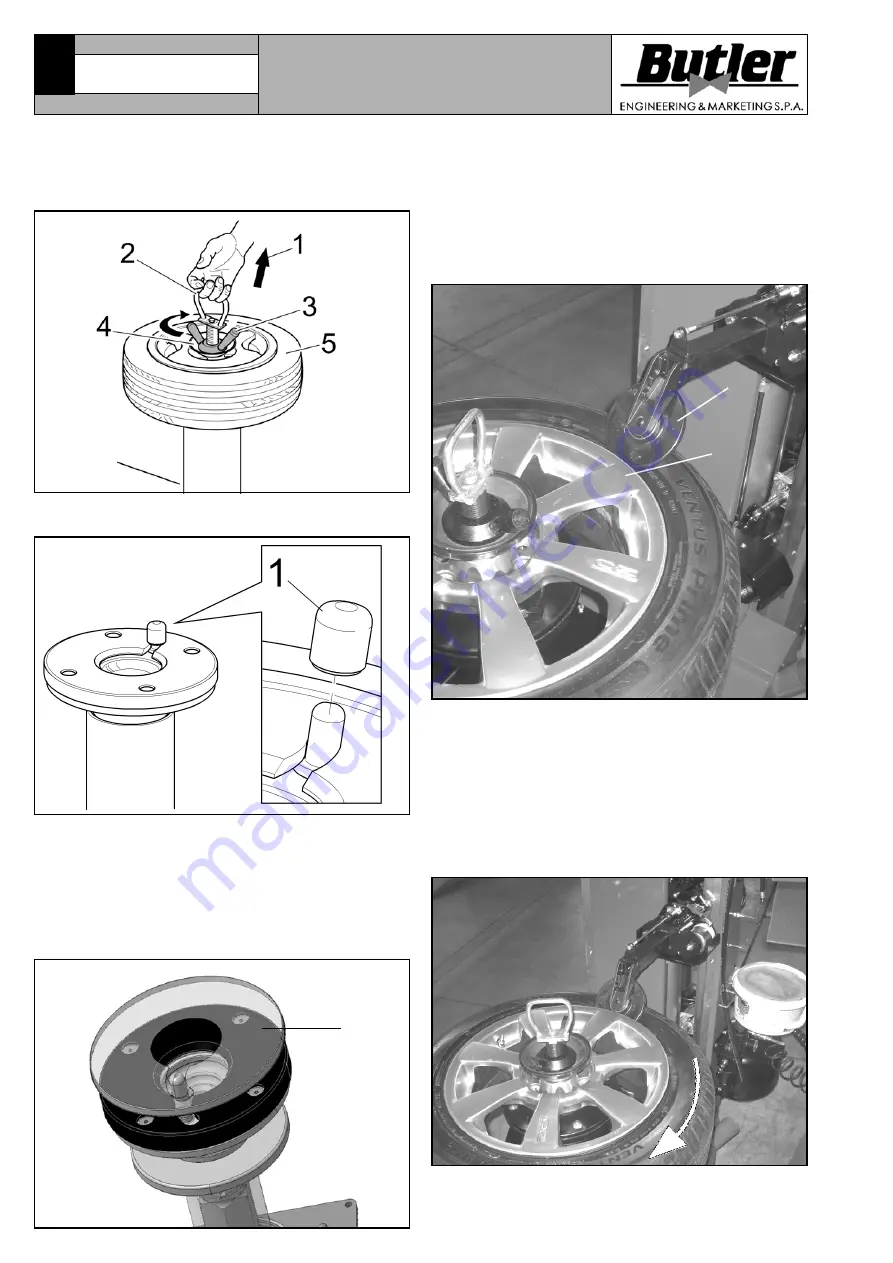
3. Keep on the approaching movement, activating the
wheel rotation in clockwise sense (see
Fig. 26
)
pushing the pedal (
Fig. 15 Pos. A
) and in the same
time to operate the push button (
Fig. 14 Pos. F2
),
pushing it until the space is enough for the roll
advancement with the manual cam.
To operate the upper cam pushing the push button
(
Fig. 14 Pos. D
) and to continue the bead breaking
until the end of the operation.
Fig. 25
2
Fig. 26
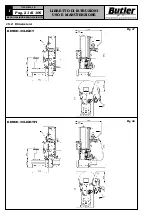
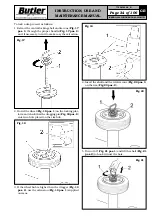
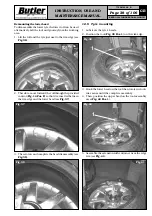
12.3 Bead breaking through vertical rolls
1. After the wheel has been locked, move upper bead
breaker roll (
Fig. 25 Pos. 2
) near to the rim edge
(
Fig. 25 Pos. 1
), pushing the push button (
Fig. 14
Pos. F2
).
2. Determine the tools diameter (rolls and tool) using
the push button
L
and the lever
M
.
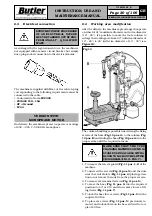
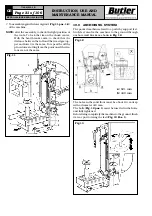
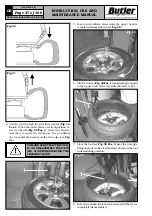
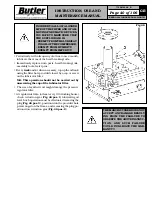
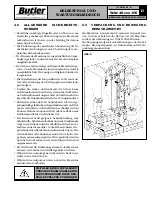
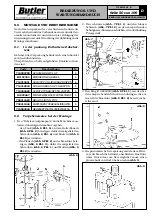
12.2.1 Reverse wheel pan protection
In case of use of reverse wheels, to protect the rim, ap-
ply on the rubber platform a protection made to a trans-
parent plastic material available on demand (
Fig. 24
pos. 1
). We suggest you a constant replacement of it and
in any case if there are visible damages (see
Fig. 24
).
Fig. 24
1
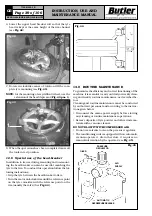
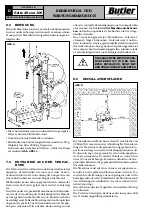
Fig. 22
Fig. 23
1
4. Draw the lower roll (
Fig. 27 Pos. 1
) near the push
button (
Fig. 14 Pos. G1
).
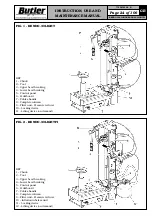
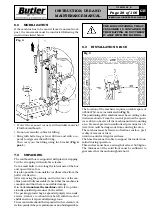
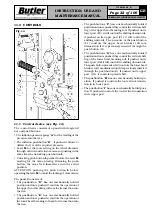
6. Lifting the shaft (
Fig. 22 pos. 1
) through the proper
handle (
Fig. 22 pos. 2
), turn the ring nut (
Fig. 22
pos. 3
) until the complete cone clamping (
Fig. 22 pos.
4
) on the wheel (
Fig. 22 pos. 5
).
7. For wheels with alloy rims, use a proper plastic guard
(
Fig. 23 pos. 1
).


