272
Creating Custom Stitch Patterns (Programmable Stitch Creator)
Saving Stitch Patterns
Overwriting
Once the stitch pattern has been saved, changes
can easily be saved so that the latest version can be
retrieved later.
Toolbar button:
1.
Click
, or click
File
, then
Save
.
→
If the pattern has already been saved at
least once, the file is saved immediately.
→
If no file name has been specified or if the
file cannot be found, the
Save As
dialog
box appears.
c
“Saving with a new name” on this page
Saving with a new name
The current file can be saved with a different file
name in order to keep the original unchanged or to
keep various versions of the same image or pattern.
The files are saved as.pas files in Fill/Stamp mode,
and as .pmf files in Motif mode.
1.
Click
File
, then
Save As
.
→
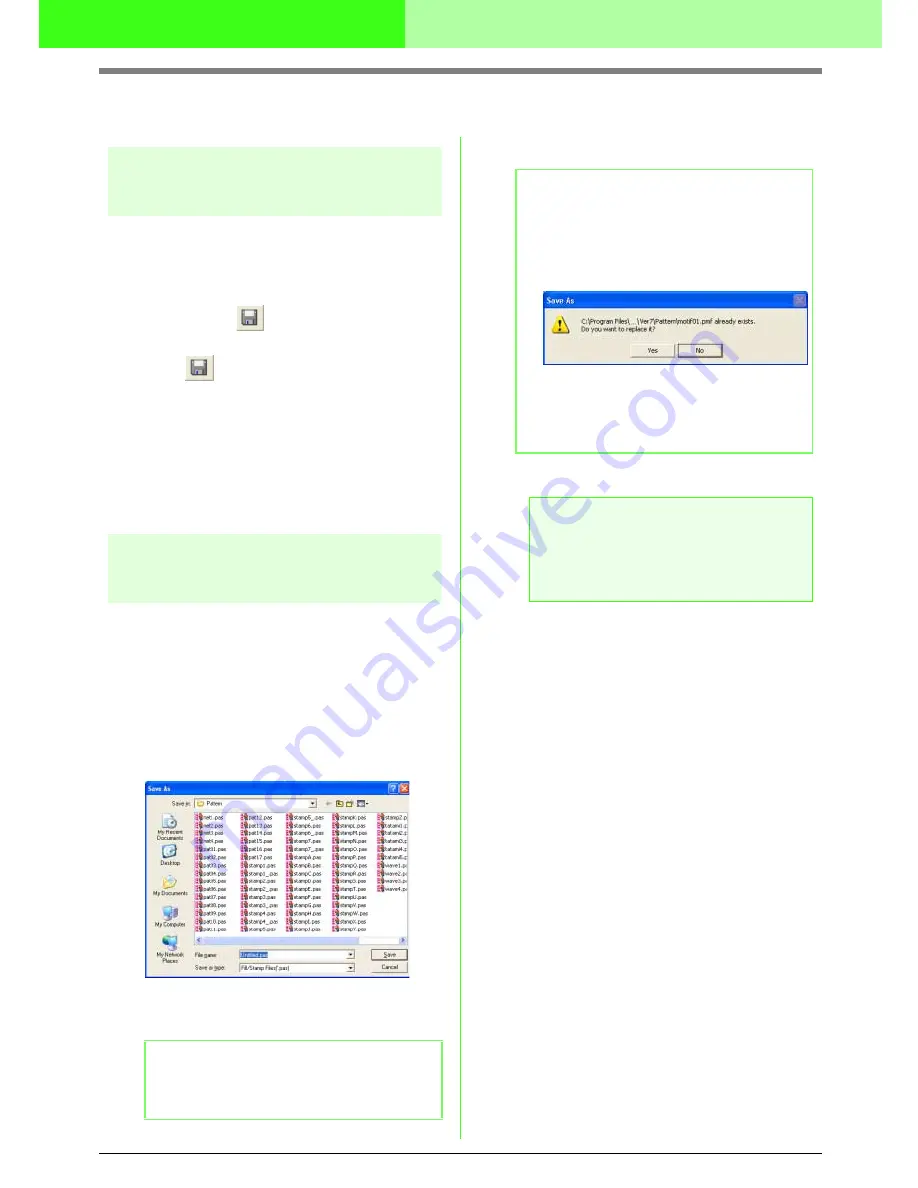
A
Save As
dialog box similar to the one
shown below appears.
2.
Select the drive and the folder, and then type
in the file name.
3.
Click
Save
to save the pattern.
c
“Overwriting” on this page
b
Memo:
The correct extension is automatically
selected.
b
Memo:
• To quit the operation, click
Cancel
.
• If a file already exists with the name
specified in the
Save As
dialog box, the
following message appears.
• To overwrite the file, click
Yes
.
• If you do not want to overwrite the
existing file, click
No
. You can then
enter a different file name.
a
Note:
Stamp files cannot be used with versions of
the software earlier than version 6, but .pas
files created with an earlier version can be
used as a base to create stamp files.
Содержание PE-DESIGN V7
Страница 1: ...Personal Embroidery Design Software System Ver 7 Instruction Manual ...
Страница 14: ...8 Basic Operation Map ...
Страница 50: ...44 Tutorial Quit Design Center Display the Design Center window Click File then Exit 5 ...
Страница 361: ...English ...


