The setting procedure is as follows:
1)
Move the joystick up and down to select dome camera (1-
128). Each page will display 8 dome s. When moving the
cursor to the top o r end of the page , use r can move the
joystick up or down to turn the pages.
2)
After selecting the dome camera, turn the joystick clockwise
to select the protocol.
3)
Repeat the above steps to complete the protocol settings of
all dome cameras.
4)
If there is no other item to be set, move the joystick left to return
to the higher level menu.
4. Dome camera phase setting
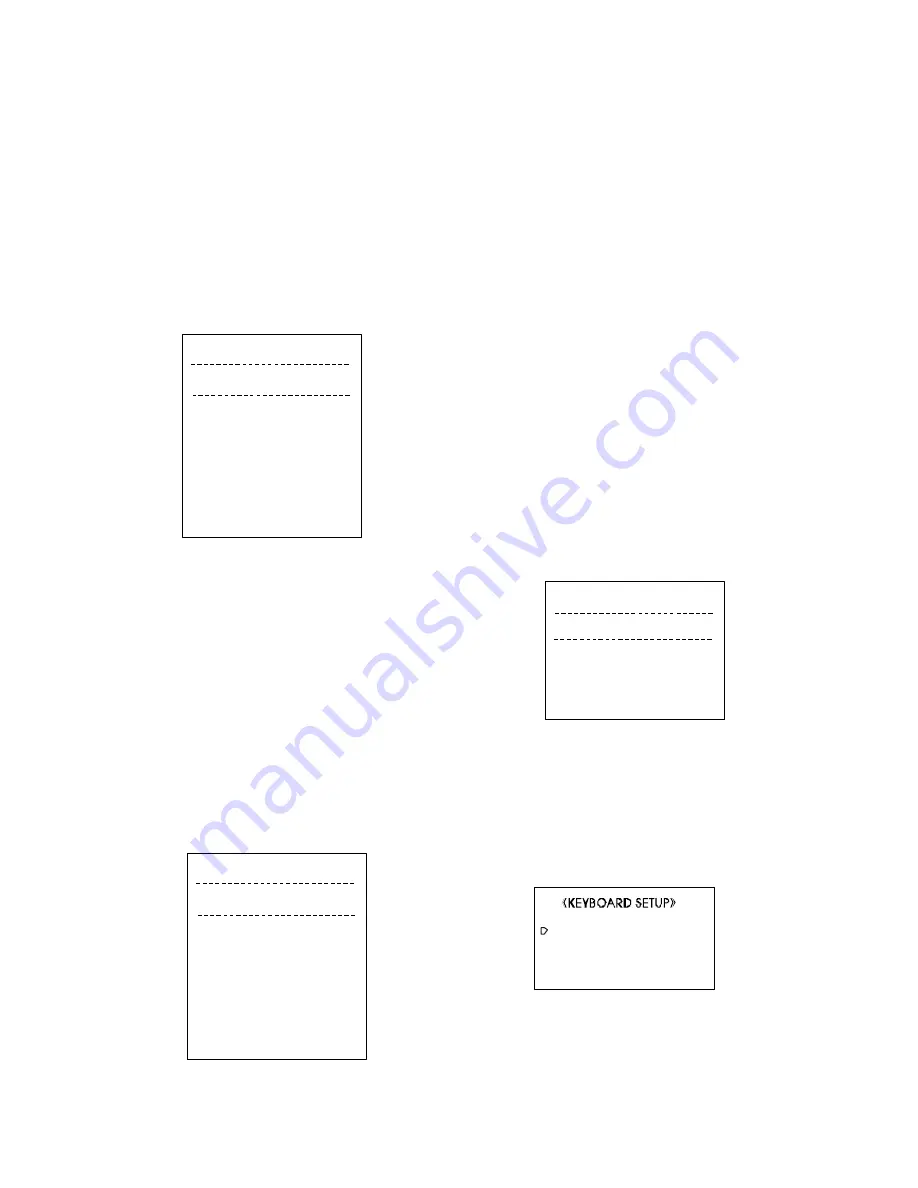
Enter the CAMERA PHASE menu as Picture 9-3-5 shows.
1)
Move the joystick up and down to select between domes (1-
128). Each page will display 8 domes. Move the joystick up
and down further to turn the pages when the cursor is at the
top or bottom of the page;
2)
After selecting a dome, turn the joystick clockwise to set the
phase of the dome;
3)
Repeat the above steps to complete the phase settingsof all
the domes;
4)
If there is not any other item to be changed, move the joystick
left to return to the higher lever menu.
5. Macro Function Setting
Refer to Picture 9-3-6for enteringMACRO FUNCTIONmenu. A
group of domes can run designated operations at the same
time through MACRO FUNCTION setting.
Set it as following steps:
1.
Move the joystick up and down to select MACRO #, and then
rotate the joystick right or press the TELE key on the keyboard
to enter the setting of MACRO FUNCTION.
2.
Move the joystick up and down to select the camera, and
then mo ve the joy stick right and le ft to se le ct diffe re nt
functions. The MACRO FUNCTION can set as TOUR, AUTO PAN,
PATTERN, NO_A CT or END_ACT. Their me anings define as
follows:
TOUR—run Tour No. 1
AUTO PAN—run Auto Pan
PATTERN—run Pattern No. 1
NO_ACT—no action
END_ACT—stop running MACRO FUNCTION
The actions run by TOUR, AUTO PAN, or PATTERN should be set
previously and run at le ast one time. The speed of running
TOUR or AUTO PAN is same as the speed of the latest time of
running this function.
3.
Repeat the above steps to set all the MACRO FUNCTIONs.( 8
MACRO FUNCTIONs can be set at most)
4.
If there isn’t any item needed to be modifie d, m ove the
joystick left to back to previous menu.
9.4 Monitor Setup
Enter MONITOR SETUP submenu as picture 9-4-1 shows. It is to
set the monitor title. Refer to camera title setting section for
similar setting operation.
9.5 Keyboard Setup
Refer to picture 9-5-1. The menuitems include KEY/COMCON-
TROL (keyboard to control dome camera), KEY/MON CON-
TROL (keyboard to control mo nitor) and KEYBOARD PRIORITY
(keyboard priority setting).
The setting procedure is as follows:
1)
Move the joystick up and down to let the flashing cursor point
at the desired item. Move the joystick right to enter the set-
ting or just input the item number by using the numeric key-
《
》
CAMERA PHASE ANGLE
CAMERA PHASE/ANGLE
001 Free Switch
002 0 DEGREE
003 60 DEGREE
004 120 DEGREE
005 180 DEGREE
006 240 DEGREE
007 300 DEGREE
008 Free Switch
Picture 9-3-5
1. KEY/MON CONTROL
2. KEY/CAM CONTROL
3. KEYBOARD PRIORITY
0. EXIT
Picture 9-5-1
------------------------------
《
》
MONITOR SETUP
001 Monitor-001
002 Monitor-002
003 Monitor-003
004 Monitor-004
Picture 9-4-1
MONITOR MONITORTITEL
《
》
MACRO FUNCTION
MACRO NO:01
001 AUTO PAN
002 TOUR
003 AUTO PAN
004 NO ACT
005 TOUR
006 PATTERN
007 END_ACT
008 NO_ACT
Picture 9-3-6


