31
CHAPTER 6: Initial Power-Up and Configuration
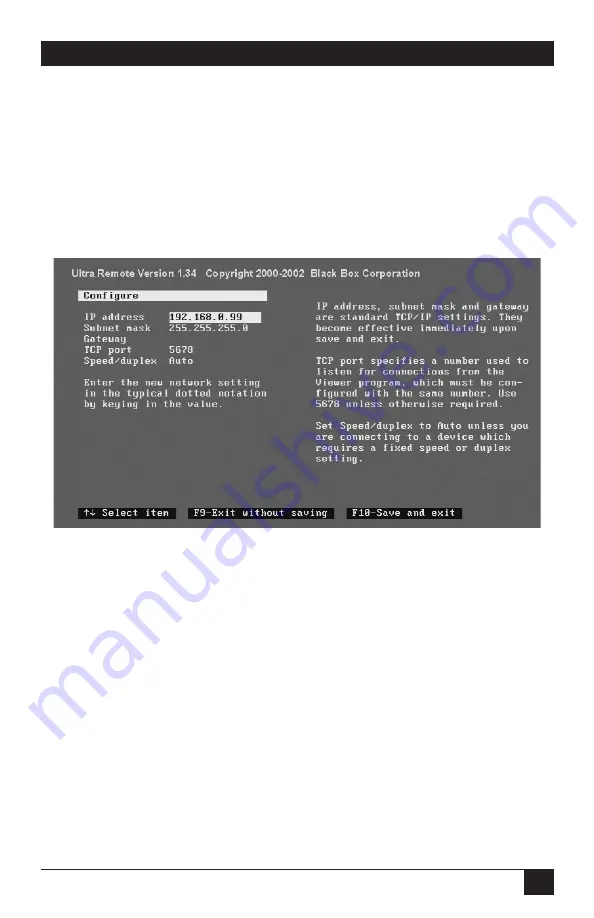
6.5 The Configure Screen
After you login at the configure-login screen (see
Section 6.4
), the configure
screen should appear, as shown in Figure 6-4. Move between fields on the
configure screen by pressing the up- and down-arrow keys. As you move from one
field to another, values are validated. If you enter an invalid value, the arrow keys
do not function until you either correct the value or press the [Esc] key. If you
press the [Esc] key, the original value is restored in the field. Edit within a field by
using left- and right-arrow keys, the [Del] key, and the backspace key.
Figure 6-4. The configure screen.
IP address
The Ultra Remote uses a fixed IP address. Change the default address to permit
remote access by the Ultra Remote’s Viewer program. Enter a valid IP address in
the standard dotted-decimal format (for example, 192.168.1.71).
Subnet mask
Enter a valid subnet mask in the subnet mask field (for example, 255.255.255.0).
The Ultra Remote does not apply an invalid subnet mask; it reverts to the last
known good subnet mask instead.
Gateway (optional)
If necessary, enter a gateway address to allow access to the Ultra Remote from
networks other than the one defined by the IP address and subnet mask. Enter a
valid IP address in the standard dotted-decimal format (for example, 192.168.1.1).
Содержание ServSwitch ACR9000A
Страница 73: ...72 SERVSWITCH ULTRA REMOTE Figure 13 3 Key codes are editable for custom switches...
Страница 78: ...NOTES...
Страница 79: ...NOTES...


