26
Biotage
®
Selekt Enkel User Manual | © Biotage 2022
Configure Network Share and E-mail Functionality
Configure Network Share and E-mail Functionality
Note:
The Network Upgrade Kit (P/N 417501SP) is required for
the network share and e-mail functionality.
Configure a Network Connection
N
To enable network share and/or e-mail functionality, start
by setting up a network connection for your system as
described below.
Note:
Only users with system owner privilege can configure a
network connection, network share, and e-mail functionality.
1. Connect a shielded category 5 TP cable between the
ETH
port at the rear of the system and your network.
Note:
Do not connect the network cable to the
AUX
port.
2. Log in to the system settings view (see Figure 49 on
page 24) by pressing
Menu
and then
System Settings
.
3. Press the
Settings
button next to the
Network
option in
the
Network
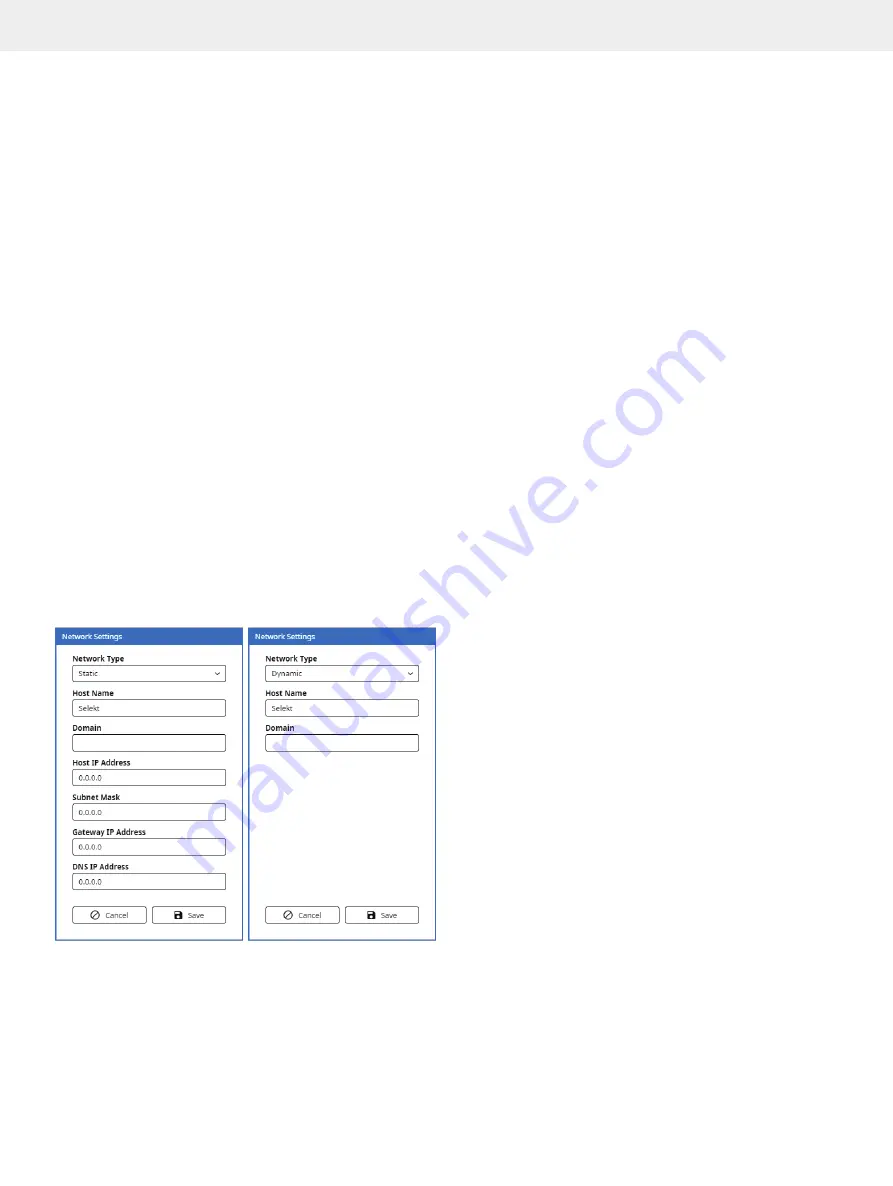
field and enter the required network settings;
see Figure 51. Please contact your IT department for help
with entering the correct settings for your network.
Note:
The
Host Name
will be used to identify the system on
your network.
4. When done, press
Save.
5. Enable the
Network
option in the
Network
field.
Figure 51.
The Network Settings dialog using a static (left) or dynamic
(right) setup.
6. In the
Restart Required
dialog, press
Shut Down
.
Note:
The system has to be restarted for the new network
settings to take effect.
7. When the message saying that it is safe to turn off the
system appears on the screen, turn off the system.
The power switch is located on the left side of the system.
8. Turn on the system.
Note:
When the system is connected to your network, the used
IP address is displayed in the
About
view.
Note:
If you disable the
Network
option, the latest network
settings are saved until enabled again.
Configure Network Share
N
With the system connected to the network, it is possible to give
the system access to a network share folder. The share folder
can be used for:
»
Backup and restore of the system’s database.
»
Export of reports and system logs.
»
Automatic export of the report each time a run
is completed, i.e. the reports are saved both on
the system and in the network share folder.
Example on How to Create a Share Folder
Using a Windows 10 Computer
Note:
This procedure requires administrator permission on the
Windows 10 computer.
1. Create or select a folder that you want to share. The folder
can be located anywhere on the computer.
2. Right-click the folder and select
Properties
from the right-
click menu.
3. In the
Properties
dialog, select the
Sharing
tab (see
4. In the
Sharing
tab, click
Advanced Sharing
(see Figure 52).
5. In the
Advanced Sharing
dialog, select the
Share this folder
check box and click
Permissions
(see Figure 52).
6. Add the users that you want to give access to the folder and
give them at least the permission to
Change
and
Read
.
7. When done, click
OK
twice to close the
Permissions
and
Advanced Sharing
dialogs.
8. In the
Properties
dialog, make a note of the
Network Path
.
This is the network path that you must enter when giving the
system access to the share folder; see below.
9. Click
Close
in the
Properties
dialog.
Содержание Selekt Enkel
Страница 1: ...Biotage Selekt Enkel User Manual...
Страница 42: ...40 Biotage Selekt Enkel User Manual Biotage 2022 Notes Notes...
Страница 43: ......


