136
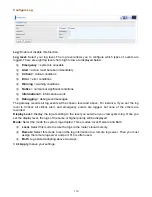
Configure Log
Log:
Enable or disable this function.
Log level:
Select your log level. The log level allows you to configure which types of events are
logged. There are eight log levels from high to low are displayed below:
Emergency
= system is unusable
Alert
= action must be taken immediately
Critical
= critical conditions
Error
= error conditions
Warning
= warning conditions
Notice
= normal but significant conditions
Informational
= information events
Debugging
= debug-level messages
The gateway records all log events at the chosen level and above. For instance, if you set the log
level to Critical, all critical, alert, and emergency events are logged, but none of the others are
recorded
Display Level:
Display the log according to the level you set when you view system log. Once you
set the display level, the logs of the same or higher priority will be displayed.
Mode:
Select the mode the system log adopted. Three modes: local, Remote and Both.
Local
: Select this mode to store the logs in the router’s local memory.
Remote
: Select this mode to send the log information to a remote log server. Then you must
assign the remote log server and port, 514 is often used.
Both
: Logs stored adopting above two ways.
Click
Apply
to save your settings.
Содержание BiPAC 6900AX(L)-2400
Страница 20: ...15 3G LTE Router mode ...
Страница 66: ...61 7 Success ...
Страница 94: ...89 Configure AP as Enrollee Add Registrar with PIN Method 1 Set AP to Unconfigured Mode ...
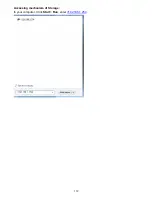
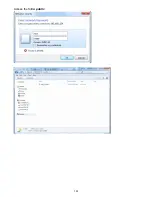
Страница 144: ...139 Accessing mechanism of Storage In your computer Click Start Run enter 192 168 1 254 ...
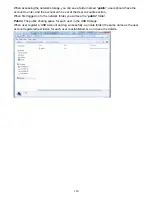
Страница 146: ...141 Access the folder public ...
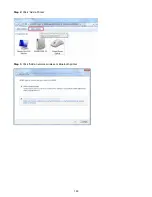
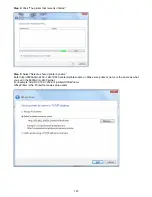
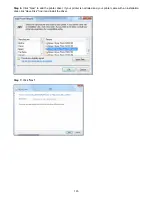
Страница 149: ...144 Step 2 Click Add a Printer Step 3 Click Add a network wireless or Bluetooth printer ...
Страница 152: ...147 Step 8 Click Next and you are done You will now be able to see your printer on the Devices and Printers Page ...
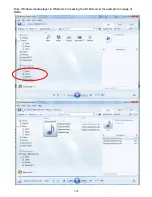
Страница 154: ...149 Take Windows media player in Windows 7 accessing the DLNA server for example for usage of DLNA ...
Страница 160: ...155 Rule inactive ...
Страница 196: ...191 ...
Страница 199: ...194 ...
Страница 207: ...202 2 Click Connect to a workplace and press Next 3 Select Use my Internet connection VPN and press Next ...
Страница 208: ...203 4 Input Internet address and Destination name for this connection and press Next ...
Страница 209: ...204 5 Input the account user name and password and press Create ...
Страница 210: ...205 6 Connect to the server ...
Страница 212: ...207 ...
Страница 222: ...217 2 Click Connect to a workplace and press Next 3 Select Use my Internet connection VPN and press Next ...
Страница 223: ...218 4 Input Internet address and Destination name for this connection and press Next ...
Страница 224: ...219 5 Input the account user name and password and press Create ...
Страница 227: ...222 9 Go to Network connections enter username and password to connect L2TP_IPSec and check the connection status ...
Страница 241: ...236 2 ipoe_eth0 with DDNS www hometest1 com using username password test test ...
Страница 250: ...245 in the system tray Step 6 Double click on the icon to display your current Internet connection status ...
Страница 252: ...247 Click Import Certificate button to import your certificate Enter the certificate name and insert the certificate ...
Страница 253: ...248 Click Apply to confirm your settings ...
Страница 259: ...254 Http Port The device equips user to change the embedded web server accessing port Default is 80 ...
Страница 261: ...256 Mobile Network User can press Scan to discover available 3G LTE mobile network ...
Страница 267: ...262 Example Ping www google com ...
Страница 268: ...263 Example trace www google com ...


