


125
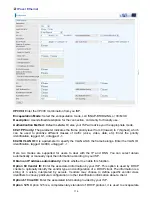
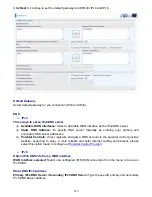
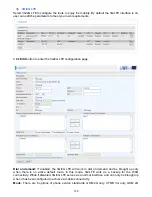
3G/4G LTE
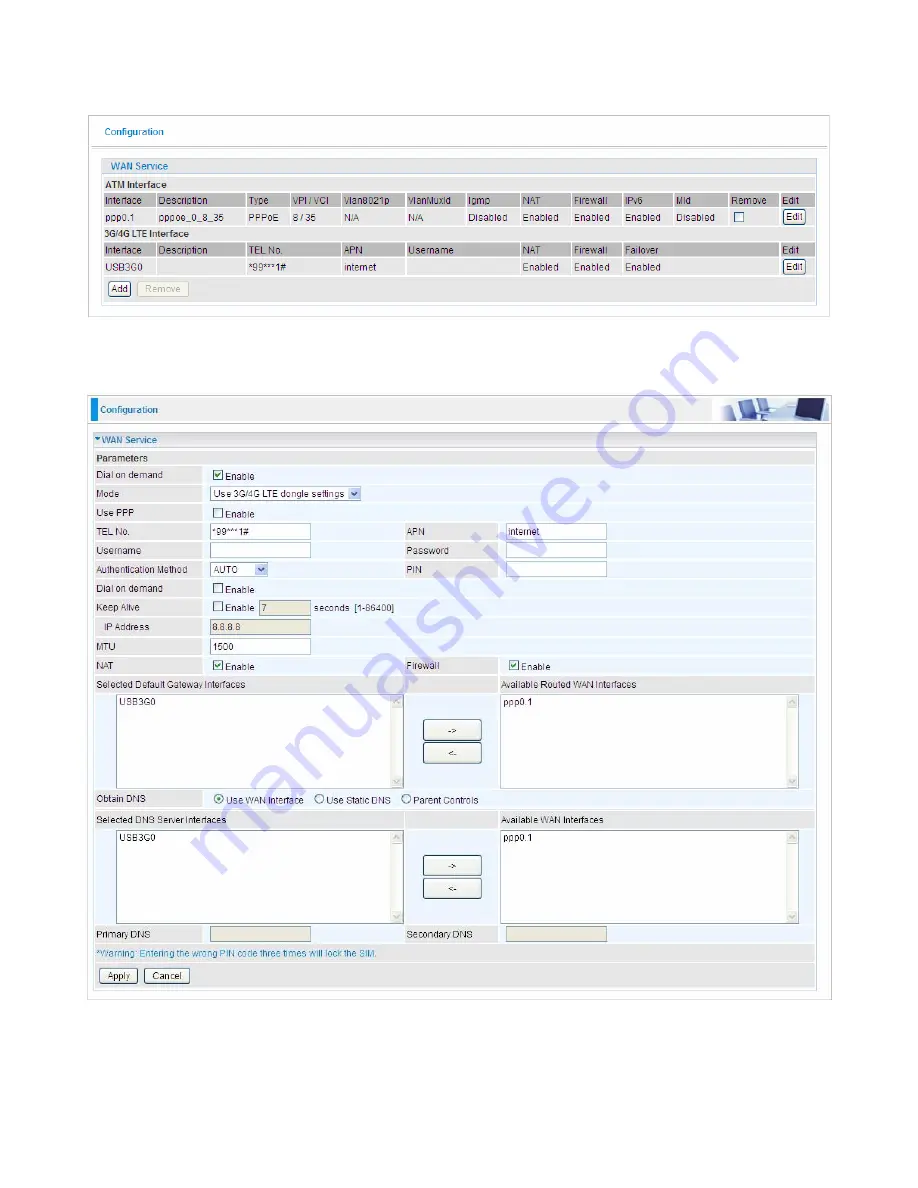
Select 3G/4G LTE to configure the route to enjoy the mobility. By default the 3G/LTE interface is on,
user can edit the parameters to meet your own requirements.
Click
Edit
button to enter the 3G/4G LTE configuration page.
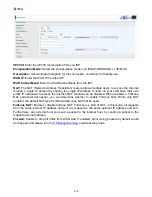
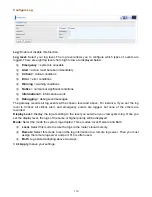
Dial on demand:
If enabled, the 3G/4G LTE will work in dial on demand and be brought up only
when there is no active default route. In this mode, 3G/LTE work as a backup for the WAN
connectivity. While if disabled, 3G/4G LTE serves as a normal interface, and can only be brought up
when it has been configured to achieve a mobile connectivity.
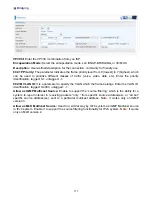
Mode:
There are 6 options of phone service standards: GSM 2G only, UTMS 3G only, GSM 2G
Содержание BiPAC 6900AX(L)-2400
Страница 20: ...15 3G LTE Router mode ...
Страница 66: ...61 7 Success ...
Страница 94: ...89 Configure AP as Enrollee Add Registrar with PIN Method 1 Set AP to Unconfigured Mode ...
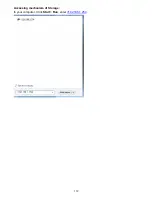
Страница 144: ...139 Accessing mechanism of Storage In your computer Click Start Run enter 192 168 1 254 ...
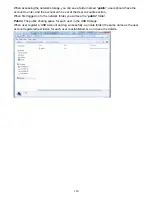
Страница 146: ...141 Access the folder public ...
Страница 149: ...144 Step 2 Click Add a Printer Step 3 Click Add a network wireless or Bluetooth printer ...
Страница 152: ...147 Step 8 Click Next and you are done You will now be able to see your printer on the Devices and Printers Page ...
Страница 154: ...149 Take Windows media player in Windows 7 accessing the DLNA server for example for usage of DLNA ...
Страница 160: ...155 Rule inactive ...
Страница 196: ...191 ...
Страница 199: ...194 ...
Страница 207: ...202 2 Click Connect to a workplace and press Next 3 Select Use my Internet connection VPN and press Next ...
Страница 208: ...203 4 Input Internet address and Destination name for this connection and press Next ...
Страница 209: ...204 5 Input the account user name and password and press Create ...
Страница 210: ...205 6 Connect to the server ...
Страница 212: ...207 ...
Страница 222: ...217 2 Click Connect to a workplace and press Next 3 Select Use my Internet connection VPN and press Next ...
Страница 223: ...218 4 Input Internet address and Destination name for this connection and press Next ...
Страница 224: ...219 5 Input the account user name and password and press Create ...
Страница 227: ...222 9 Go to Network connections enter username and password to connect L2TP_IPSec and check the connection status ...
Страница 241: ...236 2 ipoe_eth0 with DDNS www hometest1 com using username password test test ...
Страница 250: ...245 in the system tray Step 6 Double click on the icon to display your current Internet connection status ...
Страница 252: ...247 Click Import Certificate button to import your certificate Enter the certificate name and insert the certificate ...
Страница 253: ...248 Click Apply to confirm your settings ...
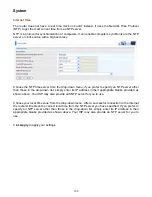
Страница 259: ...254 Http Port The device equips user to change the embedded web server accessing port Default is 80 ...
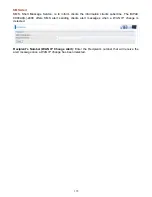
Страница 261: ...256 Mobile Network User can press Scan to discover available 3G LTE mobile network ...
Страница 267: ...262 Example Ping www google com ...
Страница 268: ...263 Example trace www google com ...


