Assembly and initial set-up
9
the jack stand is firmly installed on the bottom
of the wooden box, if necessary, add a plank
between the wooden box and the jack stand to
ensure that the latter is stable and firmly
supported.
6.
Remove the tension in the chains to place the
snowblower on the jack stand, but keep the
chains in place to help handle the hitch.
a.
Reposition the snowblower hitch: see
assembly section -> assembly of the hitch on
the snowblower. This latter has been
shipped in a position for ease of shipping and
must be repositioned.
b.
Once this is done, remove the jack stand and
then the chains.
7.
Install the snowblower on the tractor loader to
release it from the wooden box (see the hooking
/ unhooking section)
8.
Reposition and secure the electric wires on the
snowblower and the hitch according to where
the electric wires pass over the loader arms. Be
careful to always leave enough play for all
possible movements of the accessory with the
loader. Make sure that the wire does not come
into contact with sharp, hot surfaces or any
other surface that could damage the electrical
wiring.
Assembly general instructions
•
Unless otherwise specified, torque all bolts to
“torque specification table” (see table of content for
page number)
•
Refer to parts breakdown section for part
identification.
Assembly
WARNING
THIS ACCESSORY AND ALL OPTIONS ARE HEAVY!
To avoid risk of strain injury, NEVER lift the accessory or
any options by hand alone when handling the components
or assembly. Use proper lifting device and seek assistance.
When accessory is off the ground, NEVER be underneath
the accessory. Serious injury including possibility of death
could occur if accessory were to drop suddenly.
Always wear protective shoes and appropriate gloves
when manipulating or using this equipment.
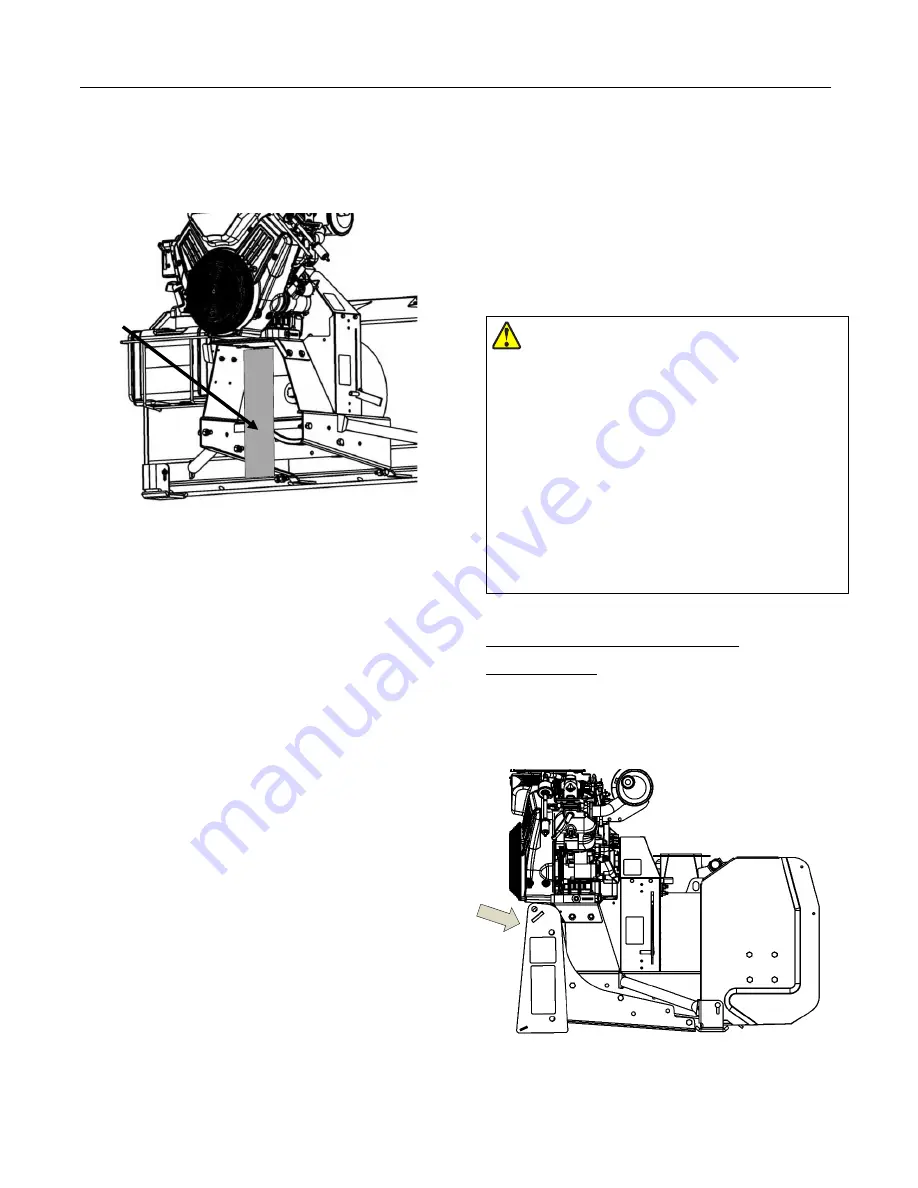
Assembly of the hitch on the
snowblower
The snowblower is shipped with the hitch in shipping
mode to reduce transportation costs. (the hitch is under
the engine).
Содержание 700968-1-33V
Страница 8: ...Important safety information 6 Decal 109032 2 places...
Страница 32: ...Part list and parts breakdown 30 Part list and parts breakdown...
Страница 33: ...Part list and parts breakdown 31...
Страница 35: ...Part list and parts breakdown 33...
Страница 38: ...Part list and parts breakdown 36...
Страница 41: ...Part list and parts breakdown 39...
Страница 44: ...Part list and parts breakdown 42...
Страница 47: ...Part list and parts breakdown 45...
Страница 49: ...Part list and parts breakdown 47...
Страница 51: ...Part list and parts breakdown 49...
Страница 53: ...Part list and parts breakdown 51...


